
How to Fill a Raised Bed: Instructions & Tips
With a raised bed, you can garden anywhere and grow your own vegetables. Once you've built the raised bed, it's time to fill it. We provide you with instructions on how to fill a raised bed correctly. We also explain what you should bear in mind when filling a raised bed on the balcony.
This Article Contains:
- Building and Filling Raised Beds
- Instructions: How to Fill a Raised Bed Correctly
- Filling the Raised Bed on the Balcony
- Filling Wooden Raised Beds - Pay Attention to the Weight of the Soil!
- Long-Term Raised Bed Maintenance: How to Do It
- Planting Raised Beds: Tips and Ideas
- Mixed Crop Planting Plan for Raised Beds
- Frequently Asked Questions About Filling Raised Beds
Quick Overview
How to Fill a Raised Bed?
- First, line your raised bed with foil and, if necessary, place a vole grid at the bottom
- Next comes the drainage layer of coarse wood cuttings and shredded material (35 - 50 cm/ 13,8 - 19,7 in)
- On top of this, you can layer grass cuttings and leaves as a transition layer to the soil (10 - 15 cm/ 3,9 to 5,9 in)
- Next comes a layer of compost (20 cm/ 7,9 in) for an extra portion of nutrients
- Last but not least, the planting layer of soil (30 cm/ 11,8 in)
Filling the Raised Bed on the Balcony
- A drainage layer is very important, as raised beds on the balcony are usually closed at the bottom and the water cannot drain away
- You can omit vole grids here
Building and Filling Raised Beds
A raised bed offers a number of advantages and is a good start to gardening, especially for beginners. With a raised bed, you can create a bed anywhere and also grow and harvest your own vegetables on the balcony or in the city. You can read about what you need to consider when Building a Raised Bed here.
Before you start filling, you should line the inside of your raised bed with foil. This is particularly important for wooden raised beds to protect the wood from rotting. A vole grid should also be placed at the bottom. The small rodents feel particularly at home in raised beds and like to nest in them.

Once the basic structure for your raised bed is in place, it's time to fill it. Here it is important that you work in layers. Here is an overview of the layers in a raised bed:
Filling Raised Beds - Layers at a Glance
- Drainage layer 1: 20 to 30 cm/7.8 to 11.8 in of coarse wood cuttings (branch and shrub waste that does not release toxins)
- Drainage layer 2: 15 to 20 cm/5.9 to 7.8 in in of shredded material (fine prunings or chaff)
- Transition layer: 10 to 15 cm/3.9 to 5.9 in of grass clippings and leaves
- Nutrient layer: 20 cm/7.8 in in coarse compost (less decomposed)
- Planting layer: 30 cm/11.8 in of soil mixed with well-decomposed compost
Instructions: How to Fill a Raised Bed Correctly
- Vole mesh & foil: Before you fill your raised bed, you should lay out the wire mesh just discussed. You should also line the inside of your raised bed with foil.
- Drainage layer: As we mentioned above, it makes sense to first fill in a loose layer that ensures good drainage and aeration. For example, twigs and branches from pruned fruit trees, pieces of wood or wood chips are suitable for this. The material also serves as food for soil organisms and will gradually decompose.
- Organic material and raw compost: Next, you can place garden waste such as grass cuttings and leaves. Similar to your compost heap, they will decompose together with the woody components of the drainage layer. This layer therefore provides a nutrient reservoir for your vegetable plants. You can also spread slightly rotted raw compost on top of the layer of garden waste. Be generous with this, so your raised bed will have enough nutrients for years and you will hardly need to fertilize it.

- Ripe compost and topsoil/garden soil: Next, you can alternate between mature compost and soil. You can either use organic garden soil from the DIY store or buy a trailer load of humus or topsoil from a builders' merchant. The second option is usually cheaper, but also much more time-consuming.
- Top layer: A loose, nutrient-poor substrate, such as potting compost or special raised bed cover soil, is recommended as a top layer. Your plants can germinate well here, but are not immediately spoiled with nutrients. This stimulates root formation and ensures that your plants penetrate into the deeper, nutrient-rich layers. They are also better supplied with water there.
- Optional mulch layer: Last but not least, you can also add a layer of mulch to your raised bed to protect the soil from drying out. This is because water is a weak point of raised beds: Due to the elevation and faster heating, a raised bed dries out much faster than a conventional bed. A mulch layer of weed-free grass clippings, leaves or straw ensures that the soil underneath stays moist for longer.

Don’t Waste Precious Space in Your Vegetable Garden!
With our bed planner, it’s easy to design a beautiful and productive companion planting layout. You’ll see which plants grow well together — and which don’t — along with tips for crop rotation and succession planting!
Plan Your Bed NowFilling the Raised Bed on the Balcony
In a raised bed, it is particularly important to work with a drainage layer to avoid waterlogging. Waterlogging can lead to root rot and make your raised bed plants sick. A drainage layer is particularly important in raised beds on the balcony, as these raised beds are usually closed at the bottom and lined with foil. This means that the water cannot run out at the bottom and inevitably builds up. However, it is also important to install a drainage layer for raised beds that are open at the bottom. In this case, however, the layer can be a little thinner, as the water can drain into the soil. You can also leave out the vole grid for raised beds on the balcony. As they are closed at the bottom anyway, the small rodents cannot get into the bed.

Filling Wooden Raised Beds - Pay Attention to the Weight of the Soil!
Another point is the filling of large wooden raised beds. If you fill your raised bed with soil, this will weigh quite a lot in large beds. If the soil fills up with water, it can become so heavy that it pushes the wooden frame of your raised bed apart. To avoid this, it is a good idea to reinforce the frame with a threaded rod. This will keep your raised bed in shape and prevent the frame from breaking apart.
Long-Term Raised Bed Maintenance: How to Do It
The lower layers of your raised bed consist of intact and slightly rotted material. This organic material is decomposed by soil organisms over time. This is why the soil in the raised bed settles over time and looks as if it is becoming less. This can also happen a few days after filling, when cavities created during filling collapse. So don't be surprised if your raised bed looks much less full after a while - this is completely normal.
After the first or second season, however, it makes sense to replace the bottom layers. This may seem a little time-consuming, but it only needs to be done once every 1 - 2 years. To do this, you can shovel some of the soil out of the raised bed and temporarily move the rest to one side of the bed. Then fill the free half with wood scraps, green cuttings and raw compost. Now push the top layers to the other side over the material you have just filled in and fill in the other half at the bottom. Then you can fill in the rest of the soil and you're ready to go again.

Planting Raised Beds: Tips and Ideas
Once your raised bed is filled, it's time for the final step: planting your raised bed. To bring as much biodiversity as possible into your raised bed and thus increase its ecological value, you should grow your raised bed in a Mixed Culture. In addition to vegetables, you can also grow flowers and herbs, which provide food and a habitat for insects, especially in the city.
We have already created Planting Plans for a Whole Garden Year in a Raised Bed. You can also find ideas and inspiration for a planting plan for the first year, when the soil is still very rich in nutrients. All of these planting plans show you mixed crops that are great for planting in your raised bed. We wish you lots of fun and a successful harvest!
Mixed Crop Planting Plan for Raised Beds
For inspiration, we have prepared some bed plans for your raised bed. With mixed cultivation, you can make the most of the little space you have.
If you have any questions or comments, please write to us at [email protected]. Would you like to receive helpful gardening tips all year round and plan your own beds optimally? Then register here or download the Fryd app for Android or iOS.
Fryd - Your digital bed planner
Cover picture by congerdesign on Pixabay

Marie
Marie is an agronomist. She is particularly interested in the sustainable and organic cultivation of vegetables and other plants. In her own garden, she gained experience and likes to try things out to learn from nature. She is particularly interested in the values and principles of permaculture, in order to contribute not only to the well-being of nature, but also to the well-being of people and future generations.
Learn MoreCurrent Topics in the Community

...My Summer Kitchen, Part 13 ➡️ Puff pastry pockets filled with three kinds of vegetables and urid bean hummus ⬅️ ...we recently had to save two packages of organic puff pastry...☺️ ...there was still some of the second ravioli filling left over, consisting of tree spinach #wildbuckwheat*, #ox-tongue lettuce* (second flush), and button mushrooms—and today we added a nice portion of blanched #Daubenton cabbage*! Everything was finely chopped and mixed with some cottage cheese, urid bean hummus, garlic, jalapeño*, cayenne pepper*, cumin, and homemade vegetable broth*. Place one sheet of puff pastry on a baking sheet, spread the filling on top (leaving a 2 cm border!), and top with slices of Gouda. Brush the edges with egg yolk, place the second sheet of pastry on top, and press the edges together with a fork. Use a spatula to score segments, brush with egg yolk, and sprinkle with black cumin. Pop it in the oven at 190°C convection for about 20–25 minutes. Enjoy while still warm...😋 * From my garden!
Liked 8 times
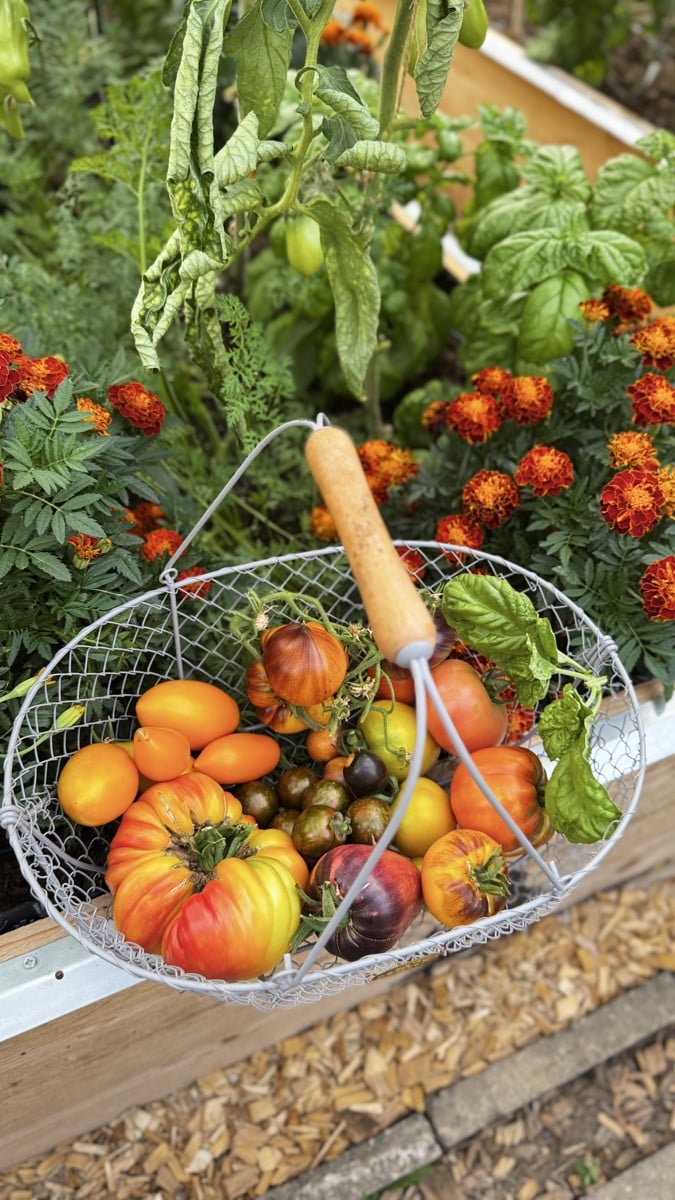
Months of hard work, sweat, and patience—and now El Huerto is proving that every minute was worth it. Oh yes! 🌿🍅
Liked 9 times
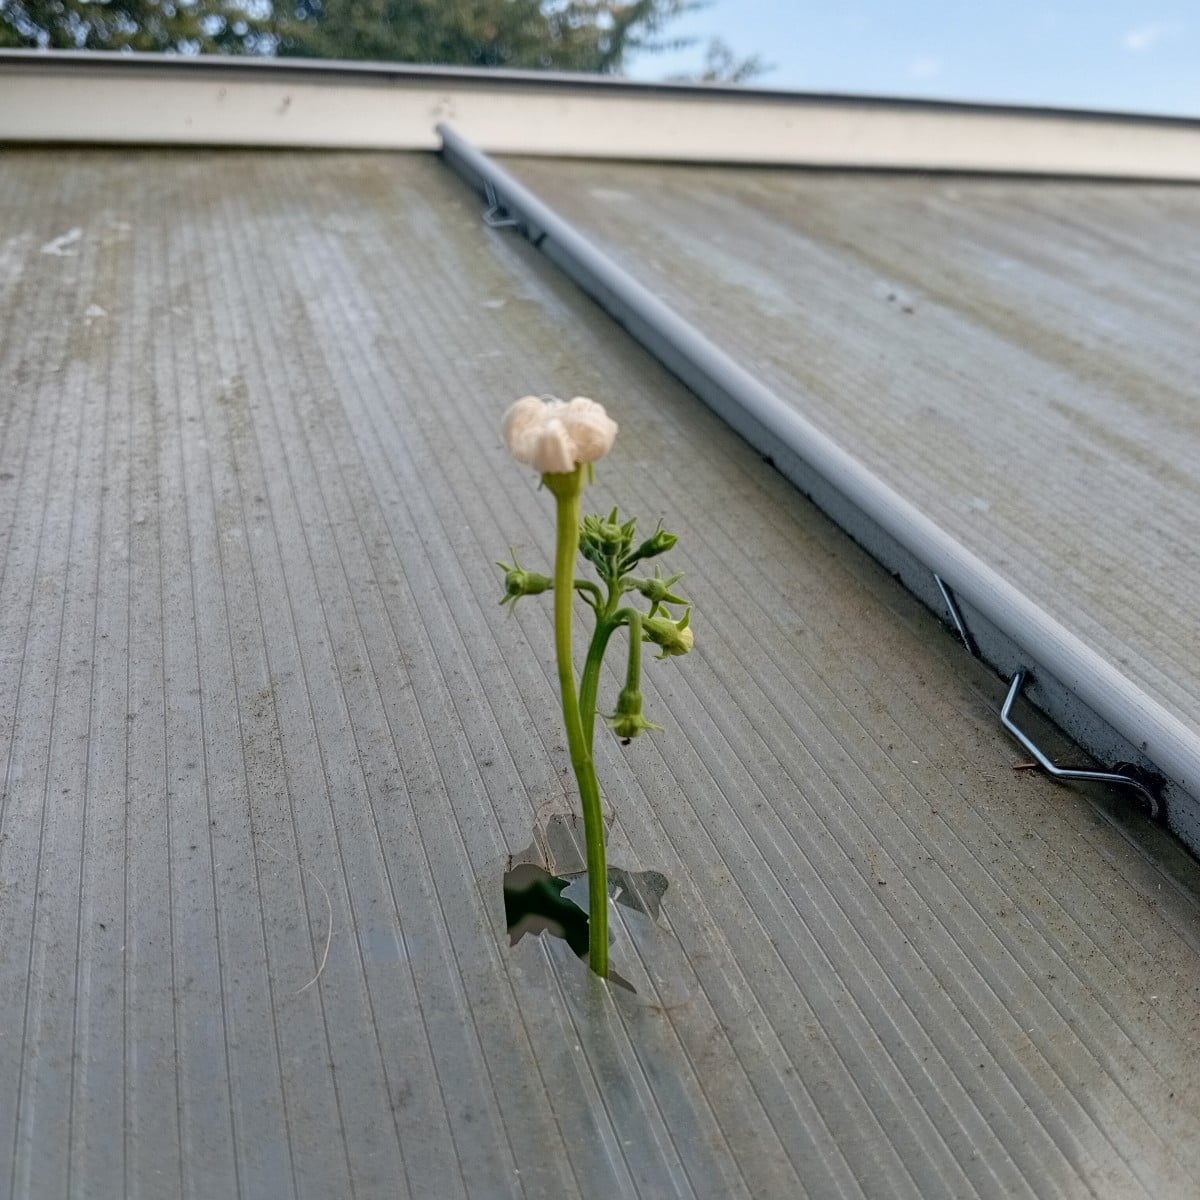
Clever attempts to escape through the only hole in the hail.
Show 1 answerPopular Articles

Gardening in March: Preparation & Cultivation

Propagating Peppers/Chillies: How to Grow Them Successfully

Cultivation or Direct Sowing: When and Which Vegetables to Propagate?

Sowing and Propagating Tomatoes: This Is How It Works

Raised Beds: Your Planting Plan for a Year

Plant Lights for Growing and Overwintering Plants

Growing Cucumbers Seedlings in Pots: Tips for Propagation

Pricking Out Vegetable Plants: Tips and Instructions

Growing & Harvesting Rocket: Good & Bad Companion Plants

How to Grow Broccoli: Tips for Cultivation
FAQ
How do I fill a raised bed correctly?
It is best to work with different layers to fill your raised bed. First comes a drainage layer of coarse wood cuttings and shredded material. Then about 15 cm of grass clippings or leaves, followed by a nutrient layer of compost. Finally, the planting layer of nutrient-rich soil.
When is the best time to fill my raised bed?
To allow the soil in the raised bed to settle, you should fill it about two to four weeks before planting. However, it is best to do this in the fall of the previous year or in early spring.
How high to fill the raised bed with soil?
The raised bed is not completely filled with soil, but also with a drainage and nutrient layer. A 30 - 50 cm thick layer of soil covering the other layers is sufficient for planting.
How often should I refill the raised bed?
You should replace the bottom drainage layers every one to two years, as they decompose over time. However, to ensure that your raised bed is well drained, you need to regularly add new layers. You can also top up the top layer of soil every year if necessary.