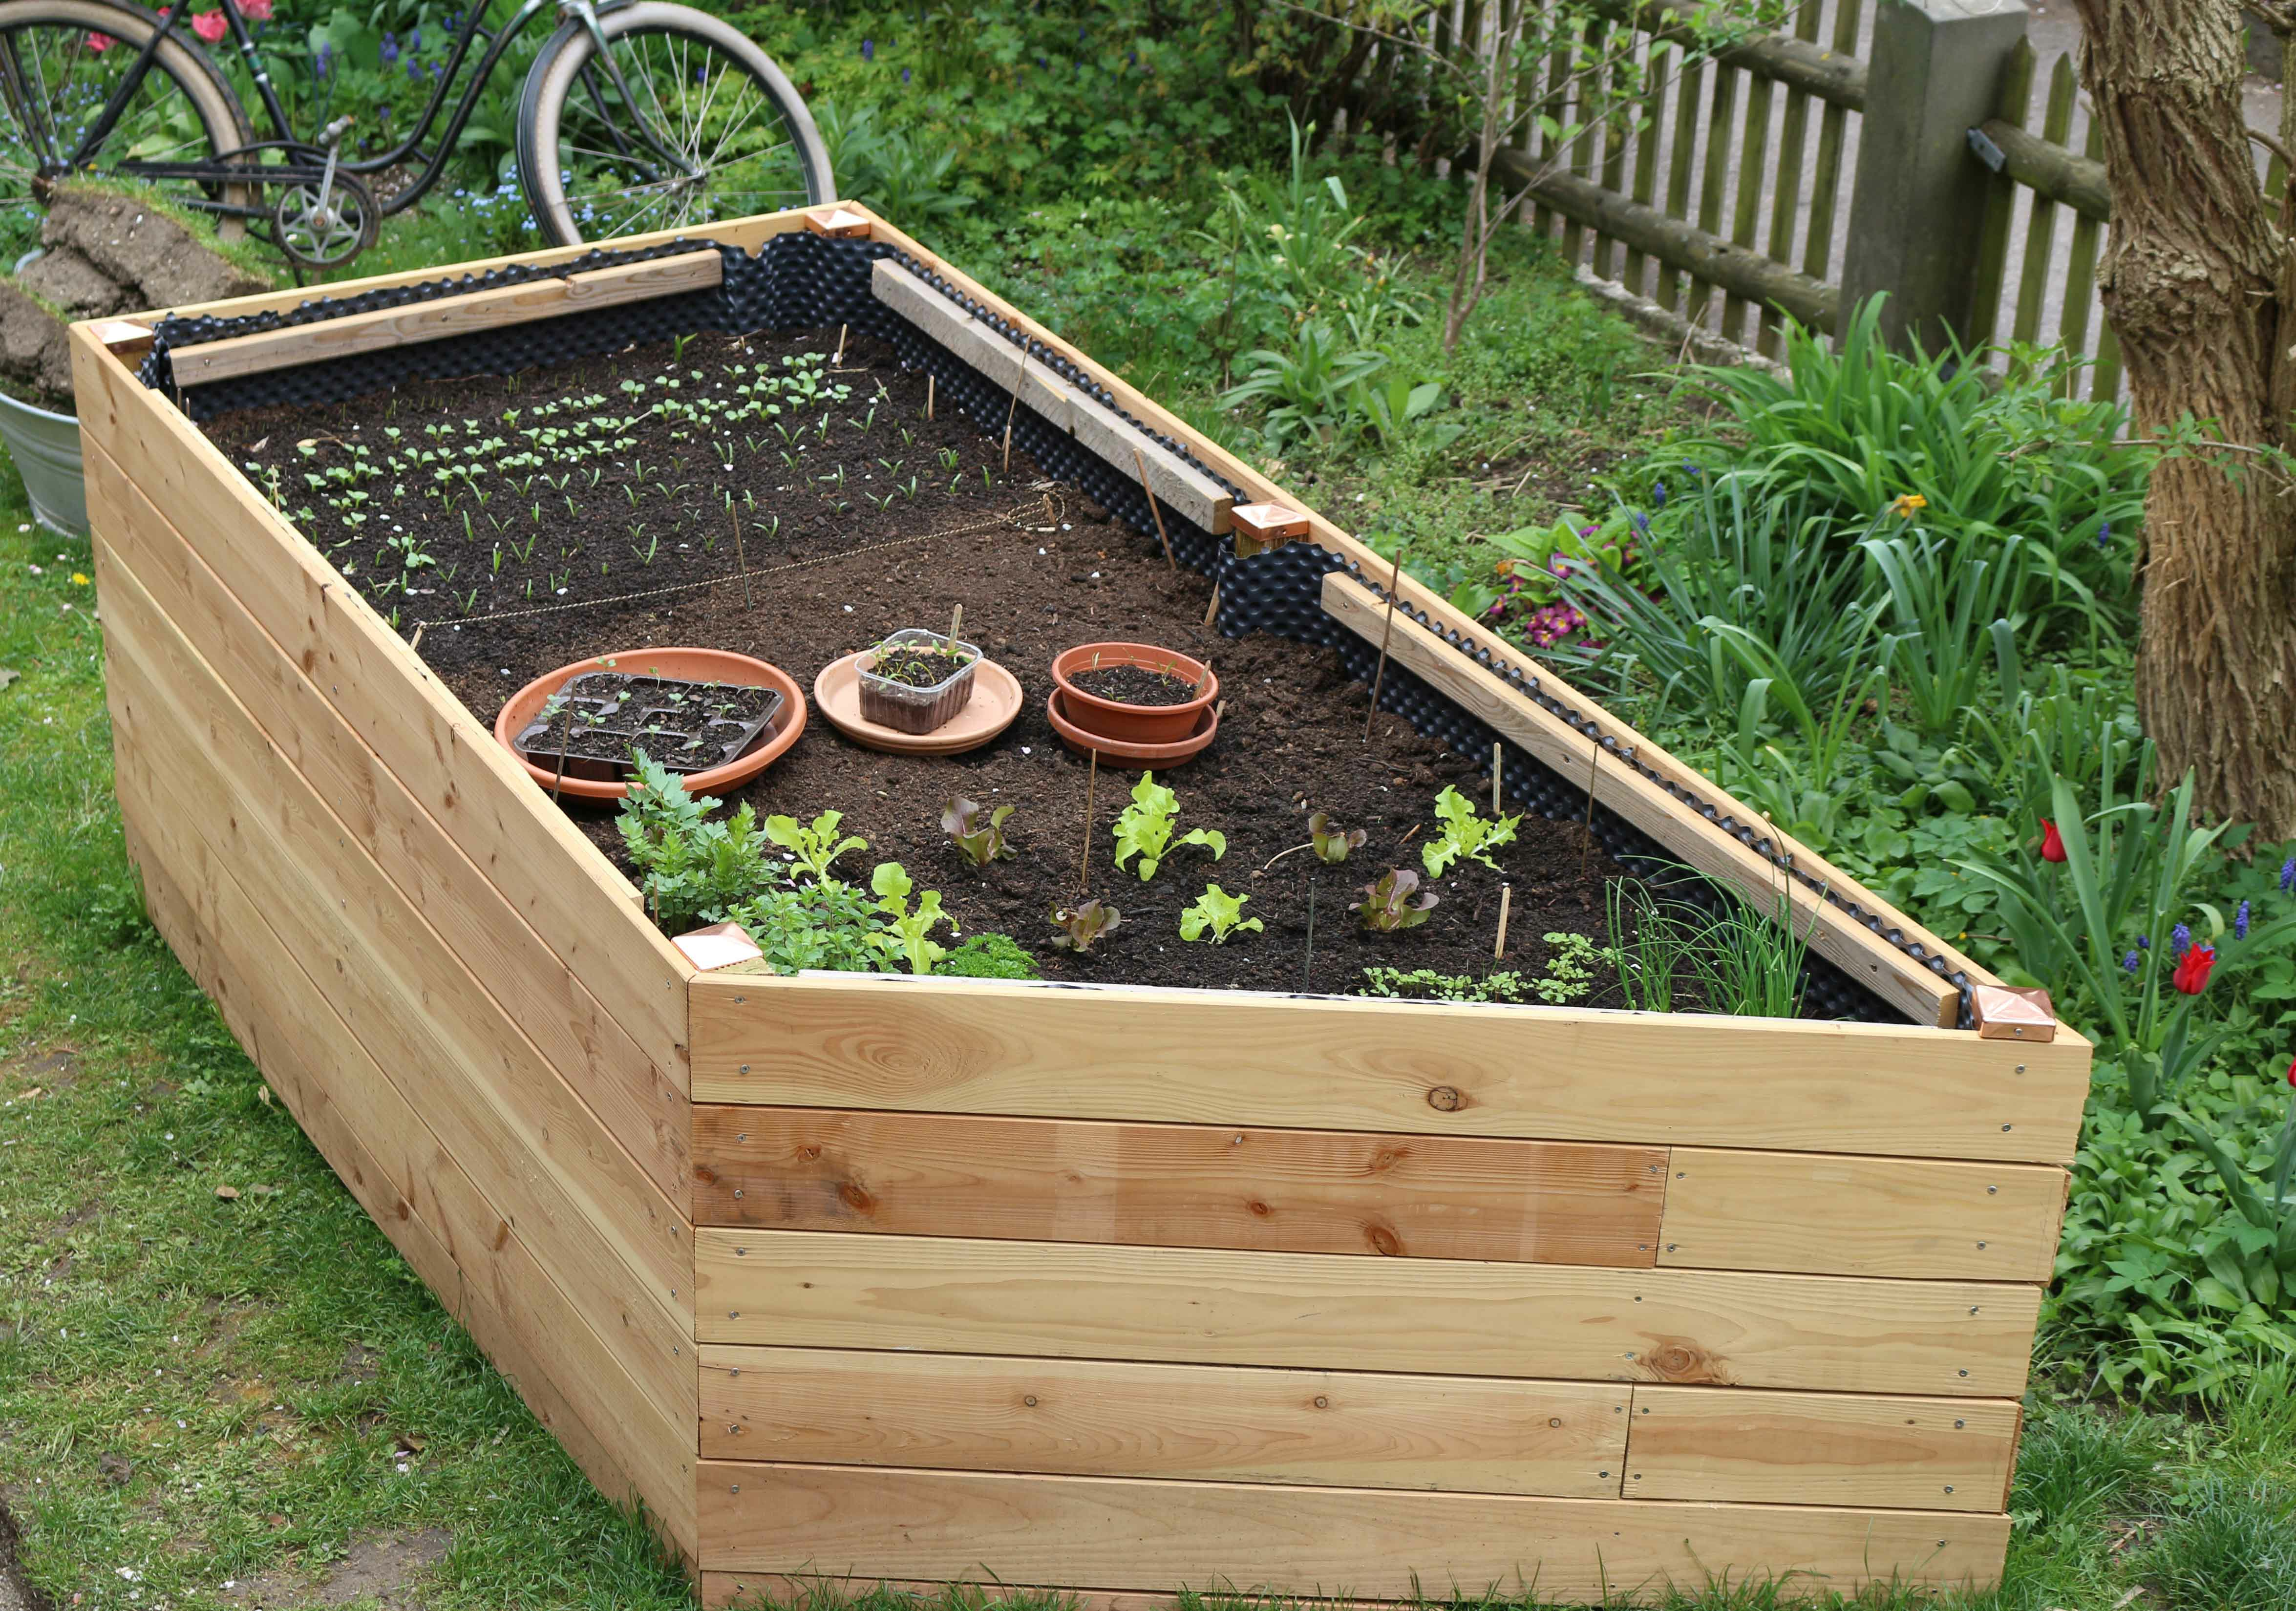
Building and Filling Raised Beds: A Guide
With a raised bed, you can garden anywhere and grow your own vegetables, herbs or flowers. In this article, we explain what you need to look out for when building a raised bed. We also explain how to fill your raised bed. With these tips, you are guaranteed a rich harvest from your raised bed.
This Article Contains:
- Creating a Raised Bed: The Right Location
- Advantages of Raised Beds
- Building a Raised Bed - What to Consider
- Keeping Voles Away From Raised Beds
- Drainage: Prevent Waterlogging in the Raised Bed
- Wooden Raised Bed: Prevent Moisture in the Wooden Frame
- Fill the Raised Bed Correctly - Here’s How
- Frequently Asked Questions About Building Raised Beds
Quick Overview
Building Raised Beds - Tips at a Glance
- Select location depending on the plants: full sun, partial shade, shade
- Threaded rod to support the weight of the soil and prevent it from breaking apart
- Protect the wood with dimpled sheeting or foil and a free stand so that the wood can dry well
- Drainage is important to prevent waterlogging; make holes in the ground or frame if necessary
Filling Raised Beds - Layers at a Glance
- Vole grids as protection against unwanted rodents
- Drainage woody garden waste to avoid waterlogging
- Raw compost and green garden waste as a nutrient reservoir
- Compost and soil to fill the raised bed
- Loose, low-nutrient soil, e.g. growing or raised bed soil as a top layer
- Mulch layer to slow down drying out (optional)
Creating a Raised Bed: The Right Location
There are many different types and uses for a raised bed. It is therefore advisable to consider where the bed should be placed and what should grow in it before building it. You should also bear in mind that the raised bed will be difficult to move once it is in place.
Basically, you can set up a raised bed almost anywhere. This gives you the opportunity to grow food almost anywhere. Whether in the garden, on a balcony or on the roof. Wood, concrete, soil, metal or plastic, the substrate is not particularly important. If you have a nutrient-poor or shallow area in your garden, you can set up a raised bed there and use the area despite its unfavorable characteristics.
Ultimately, when choosing the right location, you should consider which types of plants you want to grow in your raised bed and what their needs are (e.g. "sun-loving" or rather "semi-shady").
Tips for the Right Location for Wooden Raised Beds
If you opt for a raised bed with a wooden frame, it is advisable to build the bed as freestanding as possible. Due to moisture (from rain or irrigation water), the wood tends to rot quickly over time. If you give your raised bed some space, the air around it can circulate better and the frame will dry out more quickly.

Advantages of Raised Beds
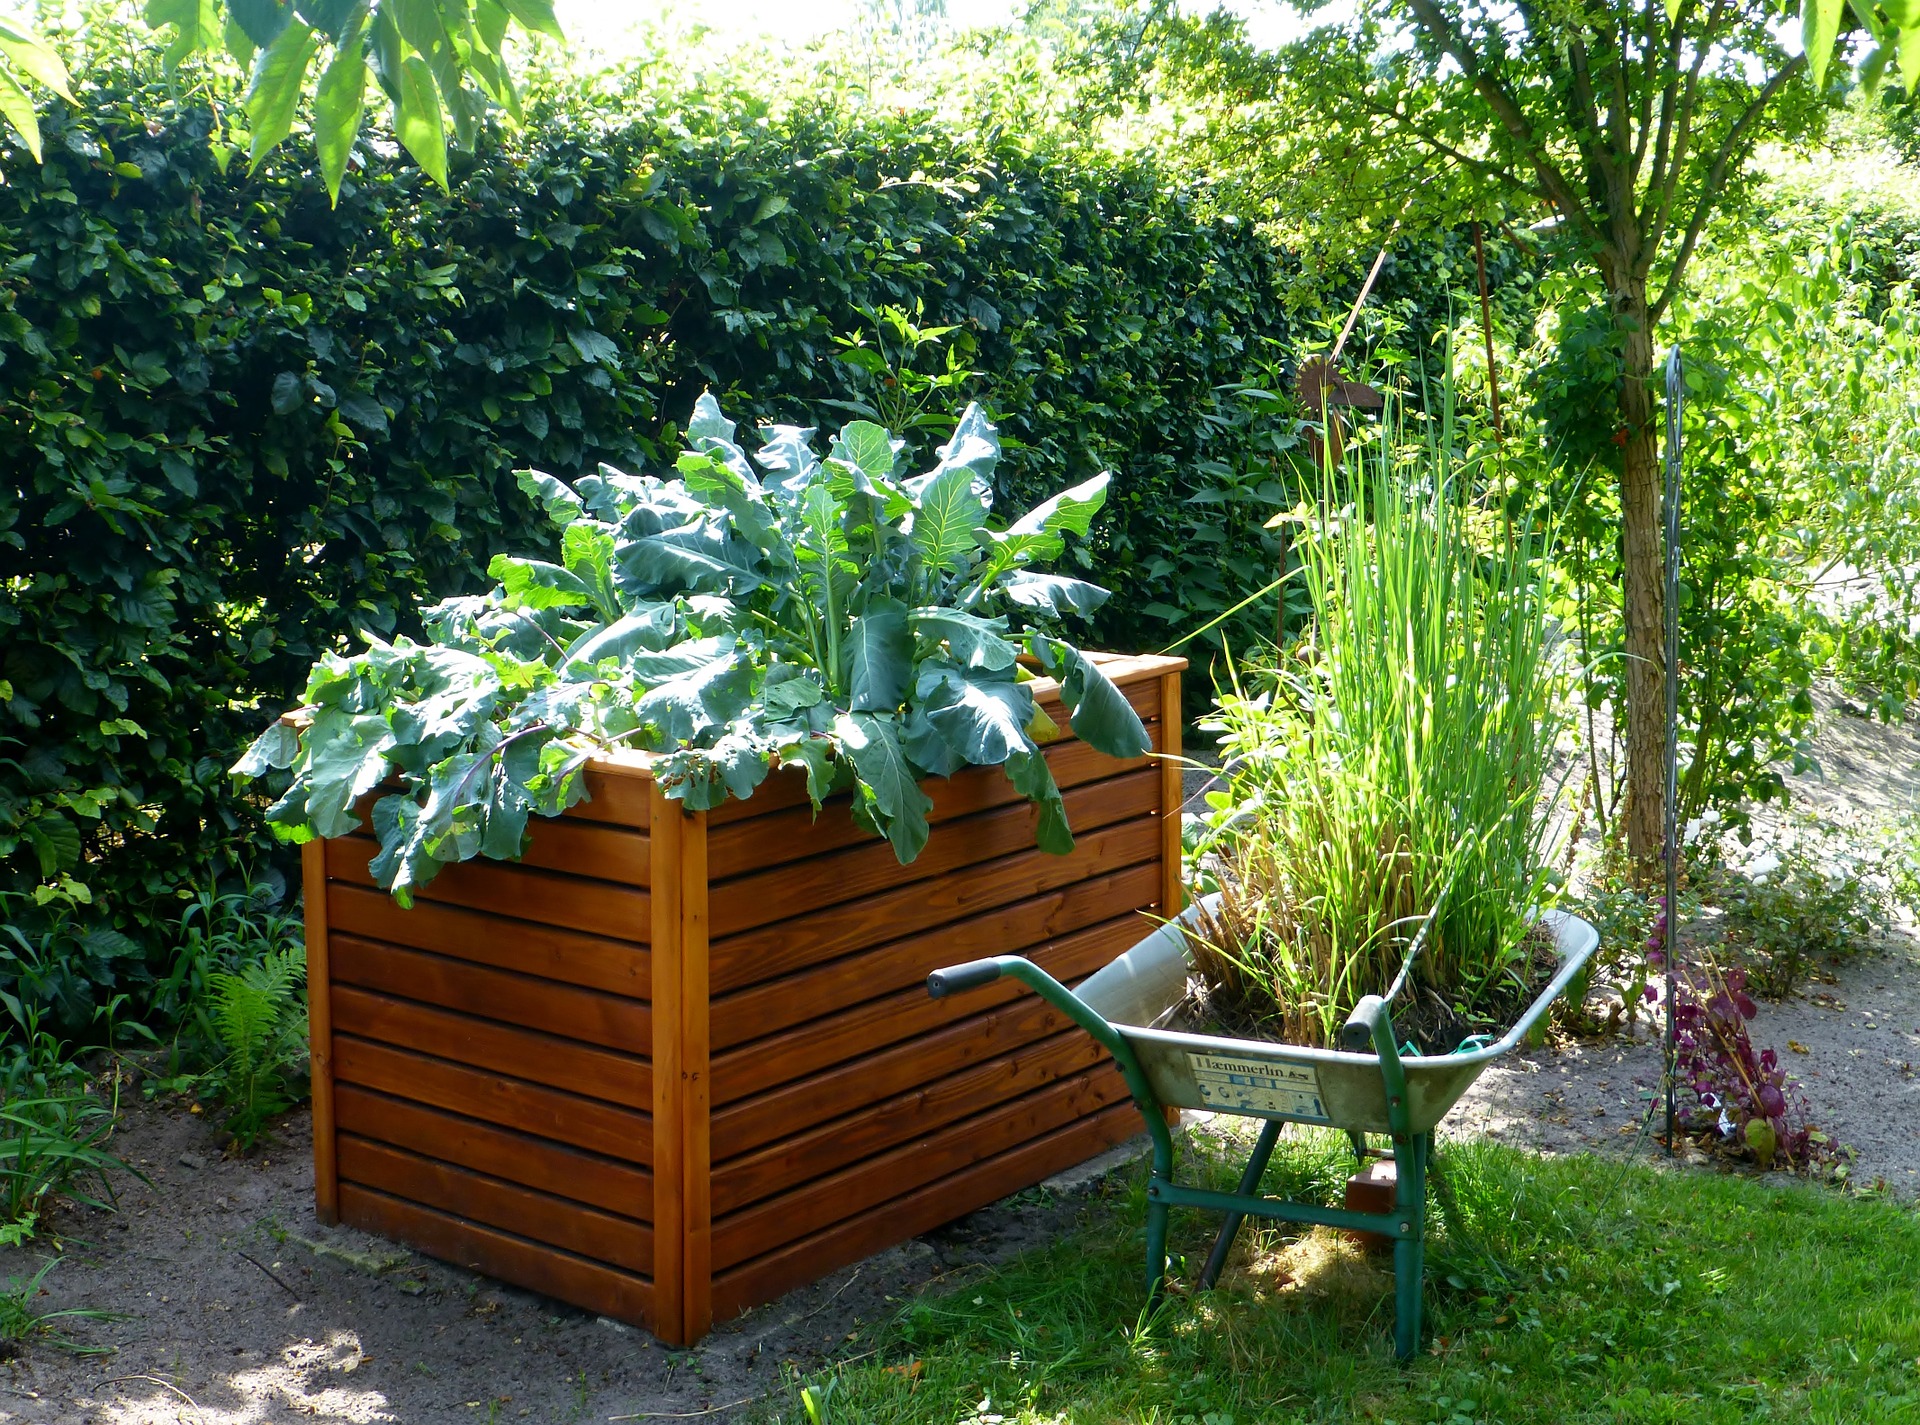
Raised beds are - as the name suggests - high. They usually consist of a wooden or stone frame up to 80 to 90 cm/31.5 to 35.4 in high, which is filled with green cuttings, compost and garden soil. Their elevated position offers many advantages.
- Faster warming: Due to its elevated position, a raised bed warms up much faster than the soil in spring, as it is exposed to warm air from all sides. This accelerates germination and allows crops that require warmth to be grown earlier in the year. Conversely, the soil in the raised bed will be colder in winter than in the garden soil.
- Back-friendly working: At a height of approx. 70 to 80 cm/27.6 to 31.5 in , a raised bed allows you to look after your plants without having to crawl around on the ground in a hunched position all the time. This is easy on the back and eliminates one of the most unpleasant side effects of gardening.
- Plant protection: As most weed seeds spread close to the ground, a raised bed is a very effective way of protecting your plants from competition. In addition, snails and other pests have a much harder time reaching your plants.
- Cold frame function: Due to the faster warming, your raised bed can fulfill a dual function. In spring, you can pre-grow your seedlings there, which you can later move to regular beds. You can then use the raised bed to grow salads, herbs and other everyday vegetables.
Creating Raised Beds Is a Good Start to Gardening for Beginners...
Due to the improved starting conditions for the plants, raised beds are particularly suitable for beginners in the gardening world, as the chances of success look better than in conventional beds. But experienced gardeners also enjoy a pain-free back and an earlier start to the season.

Any More Questions?
To exchange ideas with other gardeners and benefit from the experience of others, you can visit our Fryd community. There are already experienced raised bed gardeners here who will be happy to help you.
Become Part of the Community NowBuilding a Raised Bed - What to Consider
First dig a 10 to 15 cm/3.9 to 5.9 in deep pit for the area where you want your raised bed to stand. Then you can start building the desired border out of wood or stone. Once the box is in place, you can start filling it.
There are a few points to bear in mind when creating a raised bed. If ignored, these can lead to a nasty surprise later on. Here are three of the most common dangers when building raised beds and what you can do about them:
Keeping Voles Away From Raised Beds
These dainty little rodents love (as their name suggests) to burrow through the earth. In itself, this is not a problem. But it quickly becomes one when a whole family of voles suddenly decides to move into your newly built raised bed. Once there, the cute rodents dig their way through your entire bed, eating or damaging the roots of your plants and making a huge mess in the process. In the long term, this stress would mean the end for your plants.
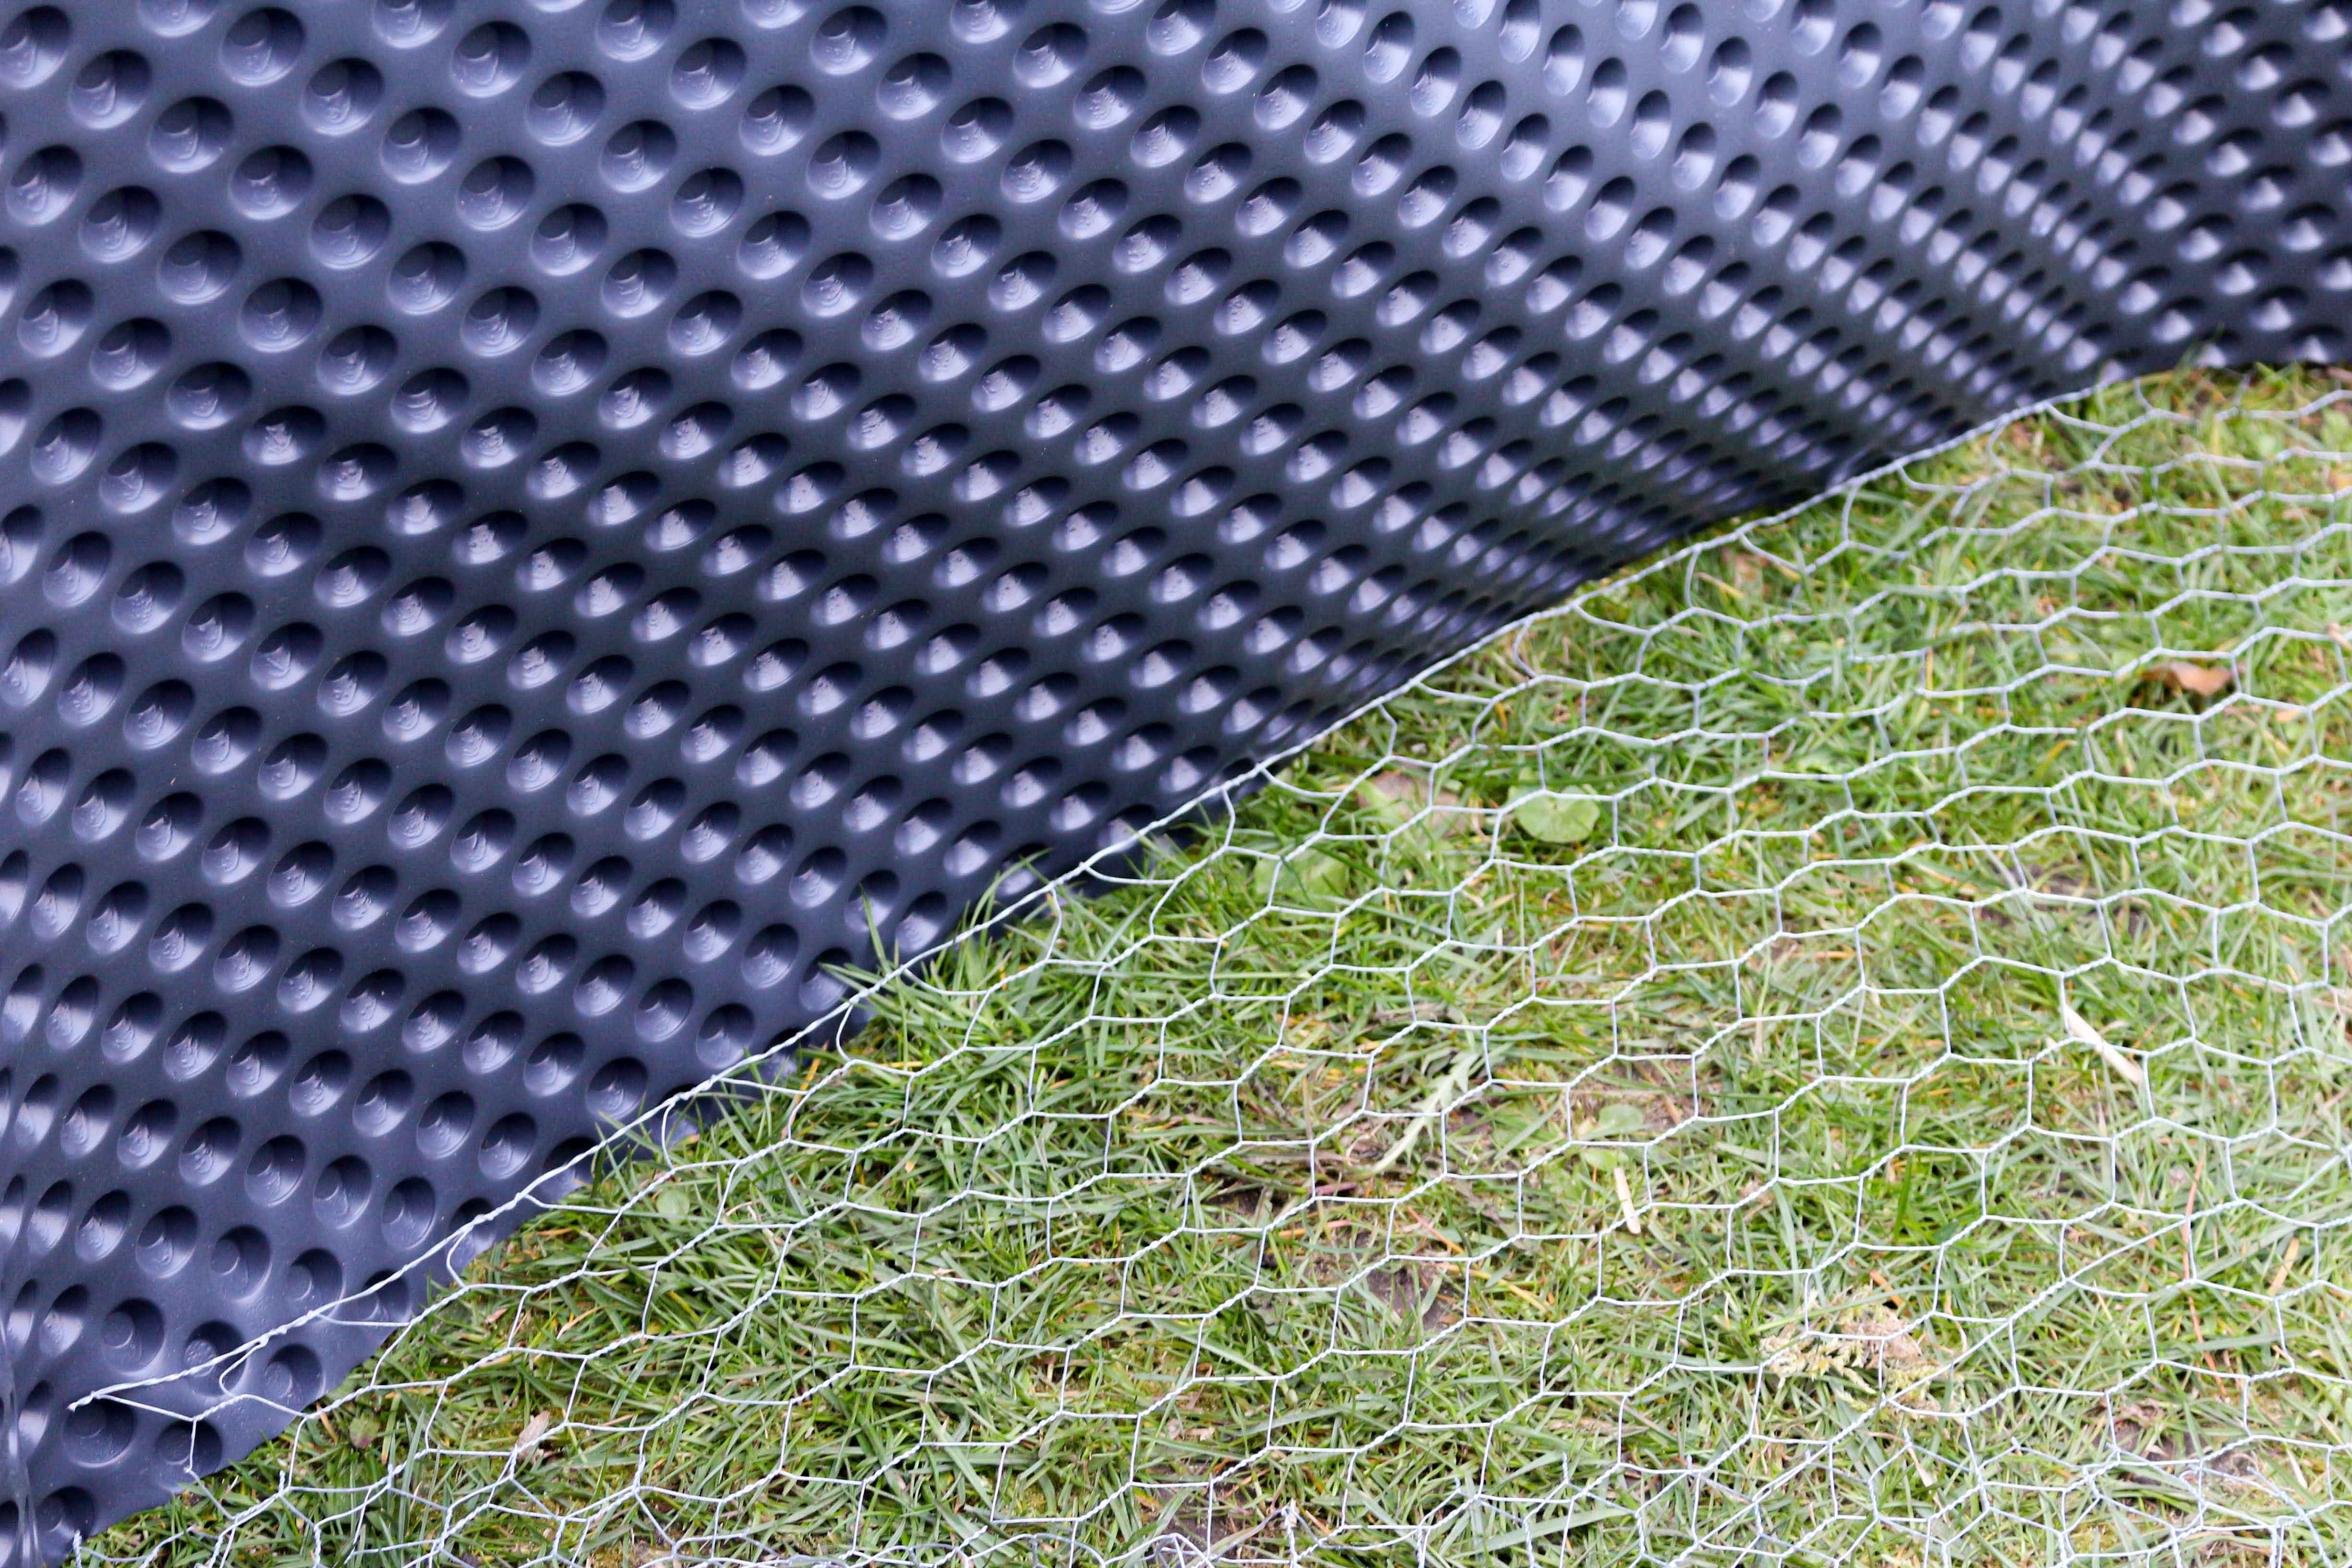
Gardens on the outskirts of towns or near fields in particular are often affected by this problem. To prevent such chaos from the outset, it is therefore advisable to install a vole grid when building a raised garden bed. This is placed directly above the topsoil and prevents the mice from digging up into your raised bed from below. A close-meshed rabbit or chicken wire, for example, is suitable for this.
Drainage: Prevent Waterlogging in the Raised Bed
For Raised Beds Closed at the Bottom
If your raised bed is on the balcony, for example, and you line the entire raised bed with foil to protect it from dirt, there is no way for the water in the soil to drain away. If it rains heavily or you are a little too careful when watering, the excess water can build up in the raised bed for a long time. This waterlogging can be very dangerous for your plants! If their roots are no longer sufficiently aerated, they will start to rot and die.
Therefore, always make sure that you install drainage when building a closed raised bed . To do this, drill holes in the frame or otherwise provide recesses through which the water can drain away. You can also attach "drainage pipes" to the holes, which direct the draining water into a container. You can collect this water and reuse it later for watering, for example.
With Raised Beds Open at the Bottom
Waterlogging can also occur with this type of raised bed, for example if the ground on which the raised bed stands is very hard and impermeable. In this case, it is advisable to create a "drainage layer" before filling the raised bed. A layer of logs, branches or wood chippings, for example, is suitable for this. This layer allows excess water to seep into the topsoil more quickly and effectively prevents waterlogging.
Wooden Raised Bed: Prevent Moisture in the Wooden Frame
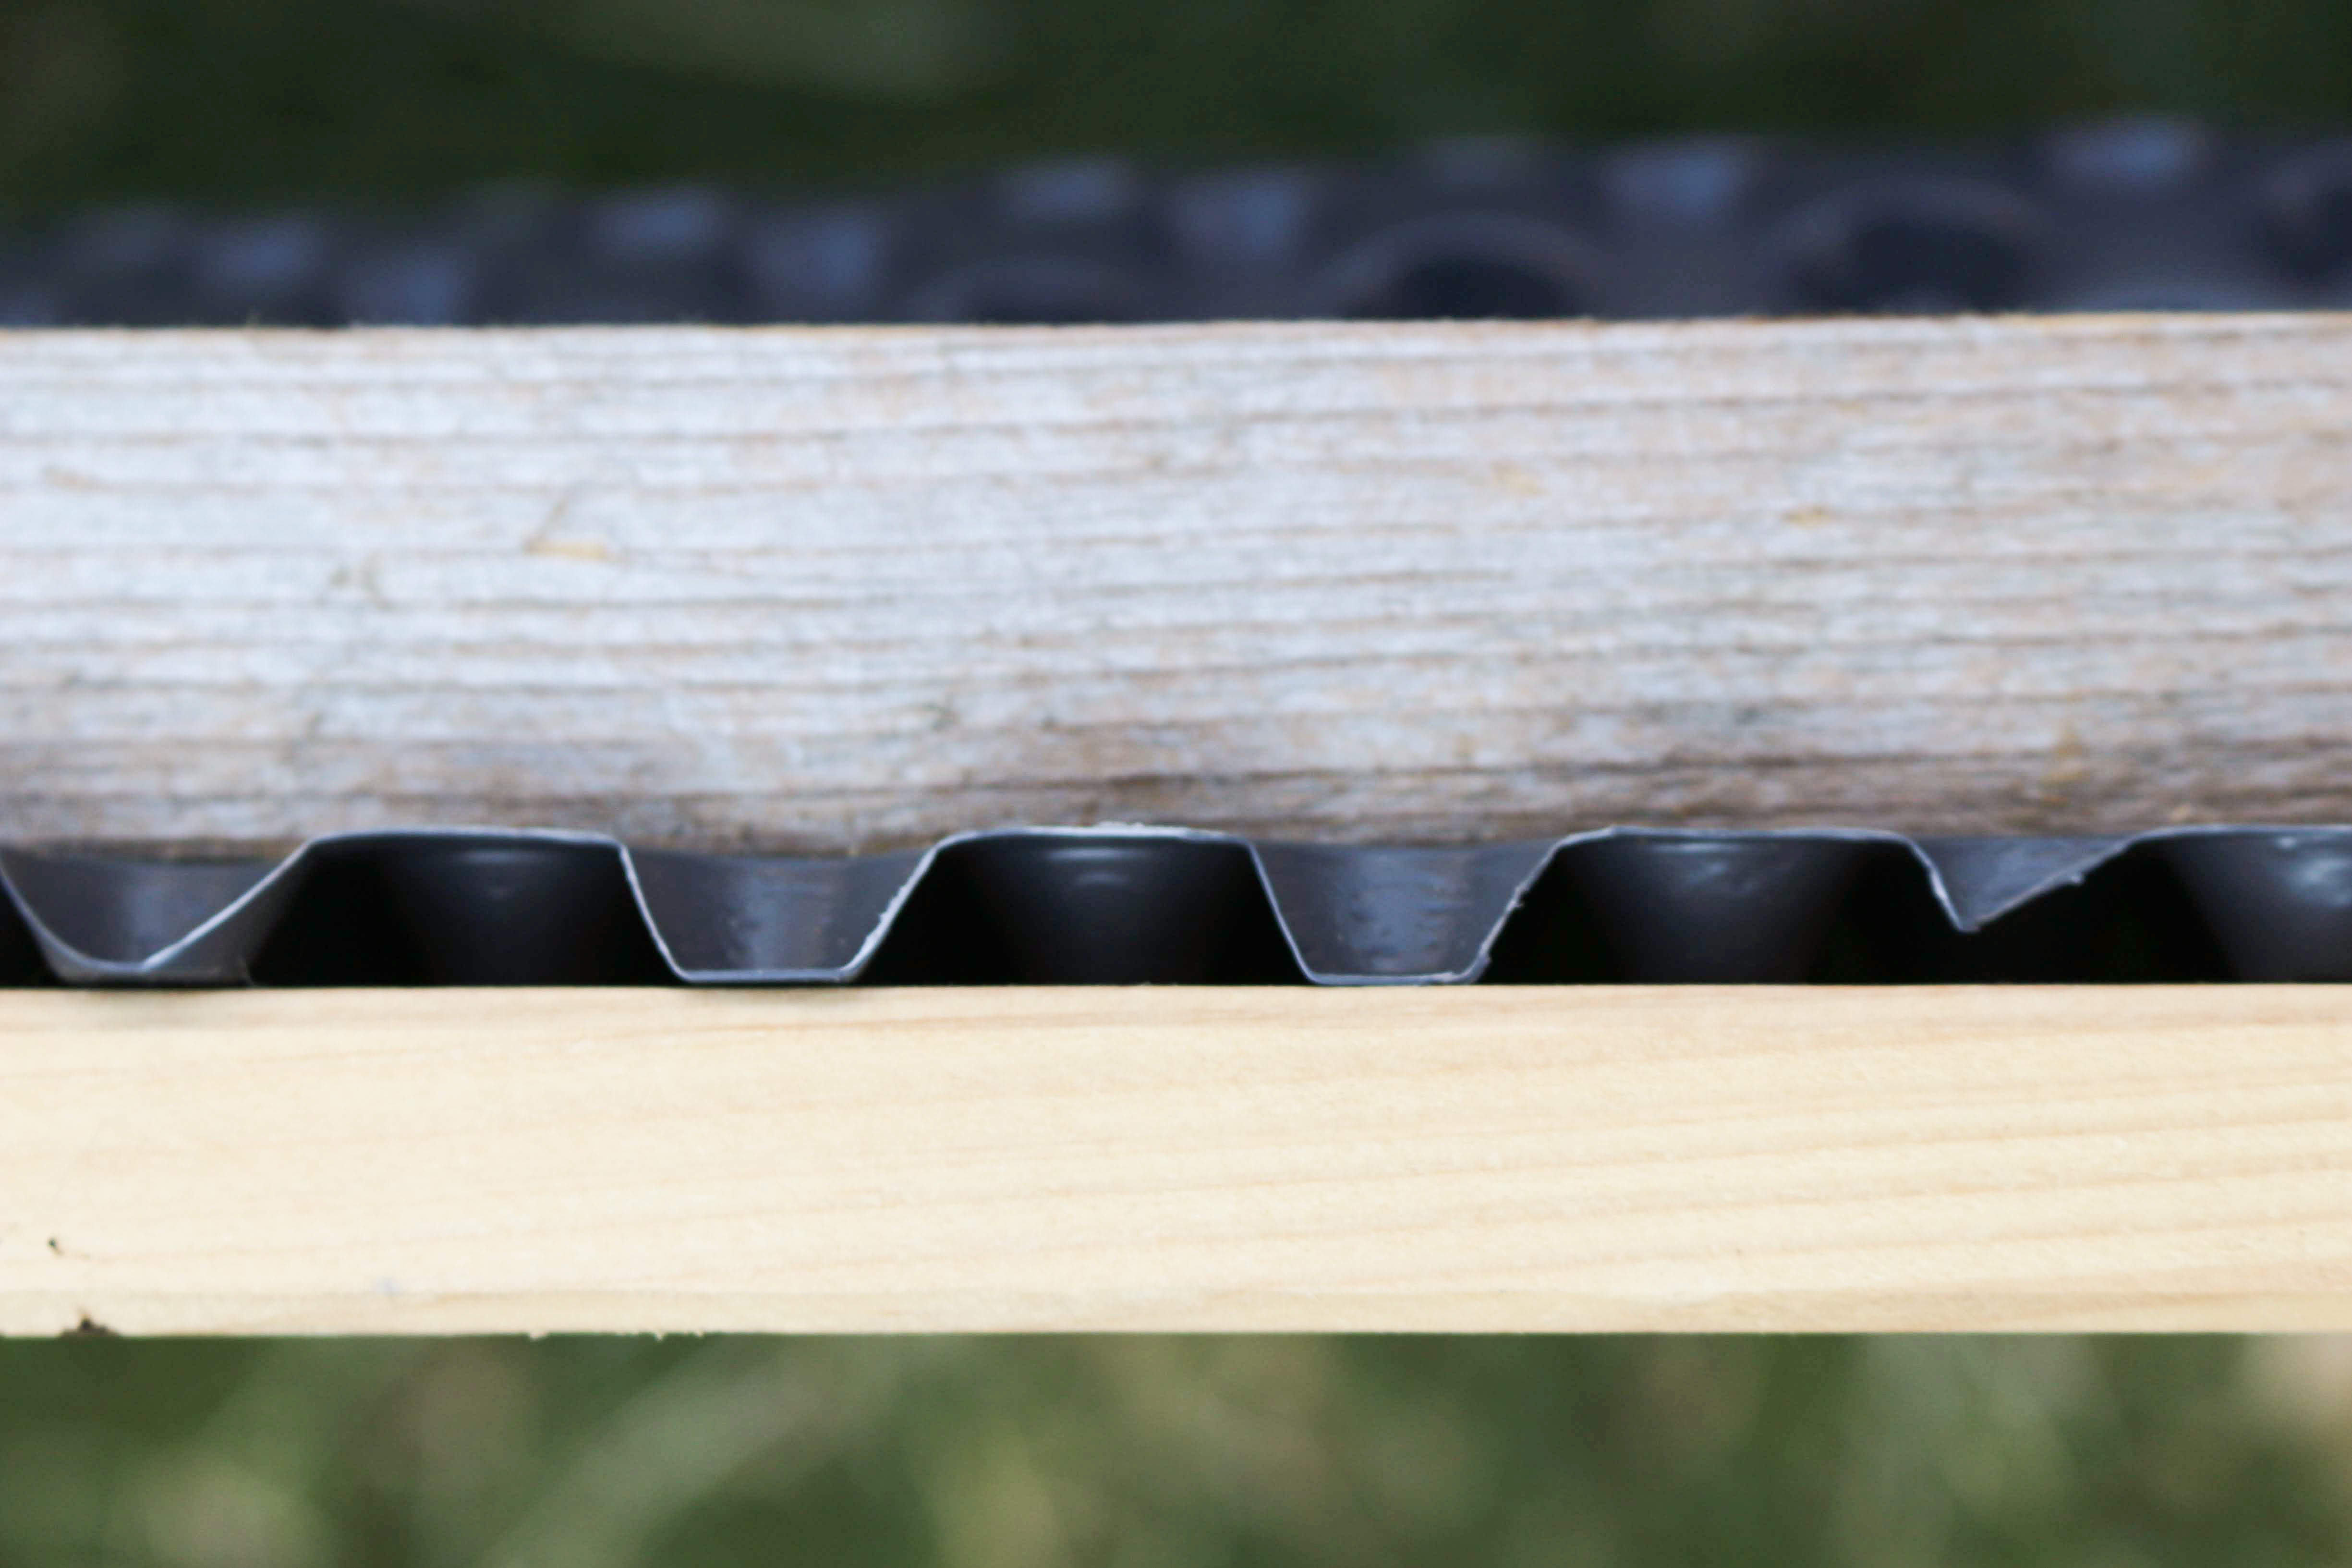
As mentioned above, constant moisture can be quite damaging to a wooden raised bed frame. Excess water from the bed soaks into the wood and causes it to rot more quickly. In addition to drainage and a well-ventilated location, you can take other precautions to ensure that your raised bed lasts as long as possible. For example, you can line the inside of your frame with a pond liner. This prevents direct contact between the wooden frame and damp soil. A so-called dimpled sheet is even better. This is actually intended to protect concrete foundations, but it fulfills the same function for your raised bed. The dimples create small cavities between the film and the wood of the frame. This allows the wood to dry if it has become wet during watering or due to rain. You can also seal your raised bed frame with a protective wood stain. Although this is not absolutely necessary if you follow all the other instructions for wood protection, it offers additional protection.
Fill the Raised Bed Correctly - Here’s How
Before you fill your raised bed, you must first place a film in the box to protect the wood from rotting. This should be waterproof, rot-proof and free of harmful substances. Then place a vole grid at the bottom and attach it to the bedding box so that no more mice can slip through. Now you can start with the actual filling.
When filling the raised bed, proceed in layers. The correct order of the layers ensures good drainage, aeration and nutrient supply. You can find most of the materials for filling in your own garden, but they are also available from DIY stores or building materials stores. You can find detailed Instructions on How to Fill a Raised Bed Correctly here. There are more tips on the topic here, e.g. how to fill a raised bed on the balcony correctly.
At a Glance: 5 Layers in the Raised Bed
- Drainage layer 1: 20 to 30 cm/7.8 to 11.8 in of coarse wood cuttings (branch and shrub waste that does not release toxins)
- Drainage layer 2: 15 to 20 cm/5.9 to 7.8 in in of shredded material (fine prunings or chaff)
- Transition layer: 10 to 15 cm/3.9 to 5.9 in of grass clippings and leaves
- Nutrient layer: 20 cm/7.8 in in coarse compost (less decomposed)
- Planting layer: 30 cm/11.8 in of soil mixed with well-decomposed compost
We hope you now feel well informed and that nothing stands in the way of you building your own raised bed. If you have any further questions or if you have taken a completely different approach to your raised bed and would like to tell us about it, please send us an email to [email protected].
Want to get helpful gardening tips all year round and plan your own beds in the best possible way? Then register here or download the Fryd app for Android or iOS.
Fryd - Your digital bed planner

Eric
Eric is 23 years old and has been studying agricultural sciences at the University of Hohenheim since 2015. Together with a friend, he has been cultivating an allotment garden in Stuttgart since 2017.
Learn MoreCurrent Topics in the Community

Liked 8 times
Although temperature is no longer the main topic here, I can wholeheartedly recommend fermented foods, if only for their color. The red one is a fermented mixture of fennel bulb, horseradish, radish, and a little red cabbage. I look forward to it every time I prepare my salad for work.
Show 5 answers
Liked 5 times
Good morning 😊 I was just on Instagram and saw a post there. Someone was complaining that food and other things have become so expensive. That's when I thought of you. We, our gardening community, are really clever. For example, last year I had an insane amount of currants. Of course, you could also buy currants in the store at that time. When I looked at them out of pure curiosity, I was shocked. A small bowl was really expensive. And I think you do the same as me: you freeze fruit and vegetables that you have too much of for later, or you turn them into jam, jelly, or something else. That saves a lot of money and you know what you're eating.
Show 14 answersLiked 3 times
I had actually hoped to harvest a few more sprouts from my FlowerSprouts plants after the frost, but all the plants have rotted from the bottom up and two have fallen over😭. On top of that, the stems and most of the sprouts have been nibbled by some kind of rodent😭. Does anyone have any experience with the frost hardiness of this variety?
Show 1 answerPopular Articles

Overwintering Parsley: How to Do It Successfully
How to Grow Lettuce in Winter: Varieties, Sowing, Harvesting

Growing Sage Plant: Tips for Sowing and Harvesting

What Herbs Can Be Planted Together?
Create & Design a Permaculture Garden

Overwintering Plants: Tubs, Pots and Raised Beds

Pruning, Fertilizing & Propagating Currants: Care Tips

Pruning Raspberries: How to Do It

Vegetable Garden With Greenhouse: How to Use Greenhouse Effect

Winterizing Beds and the Garden: How to Do It
FAQ
What are the advantages of a raised bed?
A raised bed warms up more quickly, is easy on the back and offers natural plant protection against weeds and pests.
What materials do you need to build a raised bed?
Wood, stone, metal or plastic can be used for construction, and a vole grid is also recommended.
How do you fill a raised bed correctly?
The filling is done in layers: coarse wood cuttings, shredded material, grass cuttings and leaves, coarse compost, and finally a layer of soil and well-decomposed compost.
How do you protect a raised bed from voles and waterlogging?
A vole grid on the ground and good drainage help to avoid these problems.