
Planting Currants: Location, Care for & Companion Plants
Currants are an easy-care crop and are therefore also suitable for beginners to gain their first experience in the garden. Once established in the garden, they will provide you with a fresh harvest year after year. There are a few things you should know about currant bushes to ensure they grow successfully. We give you tips on the location, good and bad companion plants as well as instructions on planting, caring for and harvesting currants.
This Article Contains:
- Planting Currant Bushes: What You Need to Know
- The Right Location & Soil
- Planting Currant: Companion Plants
- Mixed Crop Planting Plans With Red Currants: Examples & Ideas
- When to Plant Currants?
- How to Plant Currant Plants: A Guide
- Caring for a Currant
- Harvesting & Storing Currants
- Frequently Asked Questions About Planting Currants
Quick Overview
Planting Currant Bushes: Location, Soil & Timing
- Light: Sunny to semi-shady
- Water: Moist
- Soil: Medium-heavy, shallow, nutrient-rich, slightly acidic soil
- Planting distance: 1 - 1.5 m/1.1 - 1.6 yd
- Planting depth: The root ball is planted about a hand's breadth deeper into the soil (red and white currants are not planted quite as deep)
- Time for planting out: Best in the fall between October and November
Mixed Cultivation With Currants: Companion Plants
- Good Companion plants: tomato, blueberry, cress, lemon balm, marigold, gooseberry, currant
- No known bad companion plants
Planting Currant Bushes: What You Need to Know
Currants (Ribes), like gooseberries, belong to the gooseberry family (Grossulariaceae). The shrubs are so popular because of their small, healthy berries, which contain a lot of vitamin C. They are available in black, red or white.
White, Red & Black Currant Varieties
The berries vary in aroma and taste depending on their color. While red currants (Ribes rubrum) are characterized by their particularly sour taste, the white variety tastes milder and sweeter. Black currants (Ribes nigrum), on the other hand, have a more bitter taste.
Although the shrub is hardy and frost-resistant , most varieties of this genus shed their leaves over the winter and go into hibernation. A shrub can live for up to 15 years. So once the work is done, you can harvest your own berries from your garden for a long time with the right care.
The Right Location & Soil

To grow and thrive, a currant plant can also thrive in a semi-shady spot. However, the fruits gain in sweetness and flavor in a sunny location. You can also reap larger harvests. If you only have shade available, it is best to plant white currants (Ribes sativa). This variety bears sweeter fruit and sometimes even prefers to grow in partial shade. In a sunny location, it is important to remember that currants are shallow-rooted plants. This means that even watering must be ensured in dry conditions. A layer of mulch helps to keep evaporation to a minimum. Due to its shallow root system, it can also be grown on the balcony without any problems. A large pot that is at least 40 cm/15.7 in deep is sufficient for this.
Which Soil for Currants?
The native berry shrub is well adapted to the conditions in our latitudes. It is therefore not too picky about its location and thrives in almost any garden soil in this country. However, currants prefer medium-heavy, nutrient-rich soil. The soil should have a slightly acidic pH value of between 5.5 and 6.
Planting Currant: Companion Plants
| Good Companion Plants | Bad Companion Plants |
|---|---|
| Blueberry | No known bad companion plants |
| Cress | |
| Gooseberry | |
| Lemon balm | |
| Marigold | |
| Tomato |
Currants are perennial crops that you can easily integrate into your garden. Due to their similar habitat requirements, other native berries such as gooseberries, jostaberries or blueberries are good companions for a mixed culture in the berry patch. Currant bushes can also be planted very well in a woodland garden with trees and vegetable plants. A forest garden works according to the principles of permaculture, creating a stable system that is less susceptible to diseases or pests. You can find out which fruit trees you can plant for this and how they can be underplanted in the article Planting fruit trees.
Mixed Crop Planting Plans With Red Currants: Examples & Ideas
Here are some examples and ideas for your mixed cultivation with currants. In a cottage garden, berry hedges are often planted as a border on the north side. You can also combine the shrub with herbs and flowers. We have also prepared a berry bed in which annual vegetable plants grow, as tomatoes and redcurrants also harmonise very well.

Don’t Waste Precious Space in Your Vegetable Garden!
With our bed planner, it’s easy to design a beautiful and productive companion planting layout. You’ll see which plants grow well together — and which don’t — along with tips for crop rotation and succession planting!
Plan Your Bed NowWhen to Plant Currants?
Like the vast majority of berry bushes, currants are best planted out in the fall. When planted before winter, currants benefit from the winter moisture and reliably sprout new shoots the following spring. The shallow roots can cause the plant to dry out quickly, making it more difficult to grow. The soil is usually wetter in winter than in summer, so you don't need to worry about this. But don't worry if you missed the fall! Planting is possible all year round. Just make sure that the root ball is always moist.
How to Plant Currant Plants: A Guide

- Prepare the site: As already mentioned, currants are shallow-rooted plants. This means that they are less competitive against weeds and you should keep the soil free of them. Particularly robust weeds such as gorse, stinging nettle or couch grass will otherwise simply grow through the currant's root system and are difficult to remove afterwards without damaging the shrub. To get rid of weeds, you can mulch with organic material using the no-dig method. This saves you the hassle of weeding. For particularly stubborn weeds, you can also spread cardboard to eliminate the weeds.
- Dig a planting hole: Dig a generous planting hole for the newcomer, which is about twice as wide and deep as the root ball. Loosen the soil around the planting hole with a digging fork to make it easier for the roots to anchor themselves in the soil. For an optimal start, add some compost to the planting hole. Now place the root ball in a bucket of water so that it can soak up the water before planting out.
- Pruning: Before planting out, the young plant should be pruned. This guarantees better budding next spring. Choose the strongest 5 to 6 shoots, ideally not all growing in the same direction. These shoots are shortened to around a third of their length. At least four buds should remain on each shoot. Shorten the remaining shoots to a few centimetres above the ground. Although this pruning seems very radical, it supports the young plant in its development.
- Planting: Take the root ball out of the bucket and place it in the planting hole. When planting, there are variety-specific differences that you should bear in mind: Red varieties (Ribes rubrum) should be placed a few centimetres deeper in the planting hole. Black varieties (Ribes nigrum) are planted even deeper (about a hand's width) than before. This encourages young shoots to sprout. Close the hole, tamp down the soil and water the shrub abundantly. Finally, apply a layer of mulch, which not only retains moisture but also provides nutrients. If you want to plant several shrubs, you should leave about 1 to 1.5 m/1.1 to 1.6 yd between the plants.
Caring for a Currant

With the right care, you can harvest delicious berries from your garden for years to come. Regular watering, a good supply of nutrients and regular pruning are particularly important for healthy fruiting. If you would like to know more about how to care for your currant bush, take a look at our article on the subject. Here you will find tips on pruning, fertilizing and propagating currants.
Harvesting & Storing Currants
The currant harvest begins on St. John's Day on June 24 and lasts until around the end of July. The exact harvest window varies depending on the variety. Otherwise, harvesting the small berries is easy. Compared to gooseberries or raspberries, they have no thorns or spines that make harvesting difficult. The panicles on which the fruits grow and ripen can be harvested completely. To do this, simply cut them off with a garden secateurs. You can use a fork to make it easier to remove the berries from the panicle. To do this, hold the top of the vine and slowly remove the berries with the fork. Now you can prepare delicious jams, jellies or cakes to preserve the berries. Preserved fruit and vegetables from your own garden are particularly popular in winter. You can read about all the common methods of preserving here.
Good luck with growing your own currants! If you have any questions or other comments on the topic, please write to [email protected].
Want to get helpful gardening tips all year round and plan your own beds in the best possible way? Then register here or download the Fryd app for Android or iOS.
Fryd - Your digital bed planner
Cover picture by Capri23auto on Pixabay.
Source: Charles Dowding, #No Dig, 2023, Munich: Dorling Kindersley Verlag GmbH, Work instructions and descriptions

Marie
Marie is an agronomist. She is particularly interested in the sustainable and organic cultivation of vegetables and other plants. In her own garden, she gained experience and likes to try things out to learn from nature. She is particularly interested in the values and principles of permaculture, in order to contribute not only to the well-being of nature, but also to the well-being of people and future generations.
Learn MoreCurrent Topics in the Community
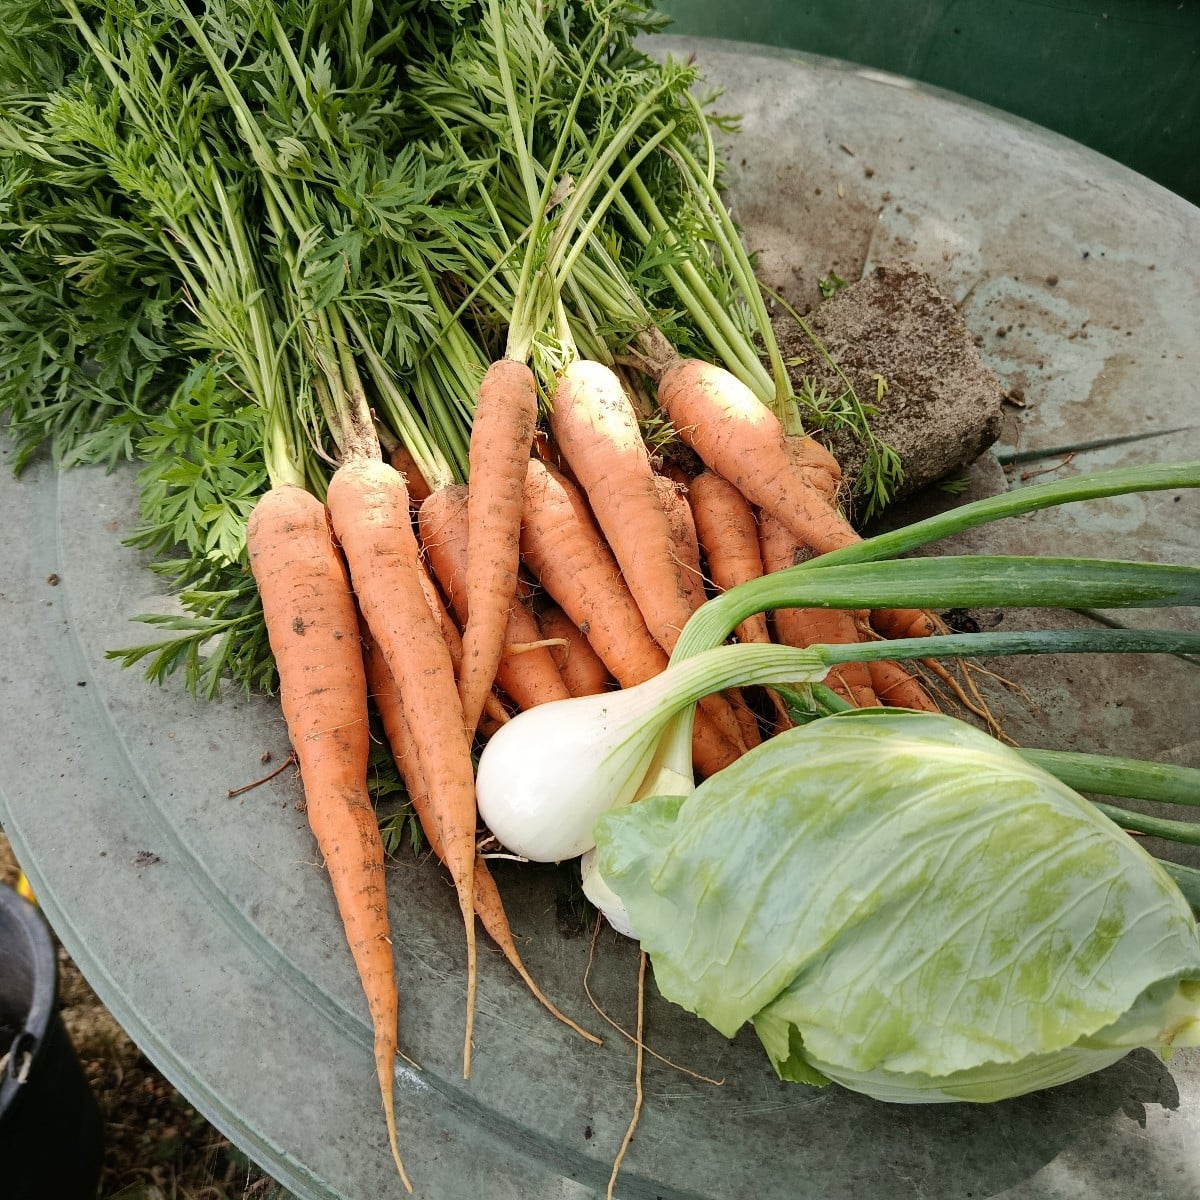
Today I harvested my first batch of carrots, along with a clumped onion and a small pointed cabbage. I finally planted my flower sprouts, kale, and Brussels sprouts today. The plants were already a little overdue. I secured everything with netting. The cucumbers are blooming, but they’re getting a bit of powdery mildew at the base. I always cut that off. My onions are growing huge this year. And I harvested some mahonia berries. Does anyone have a good recipe?

Liked 4 times
The #Emmental is actually a landscape like Tolkien's Shire. Right now, it's more like a semi-desert...
Show 1 answer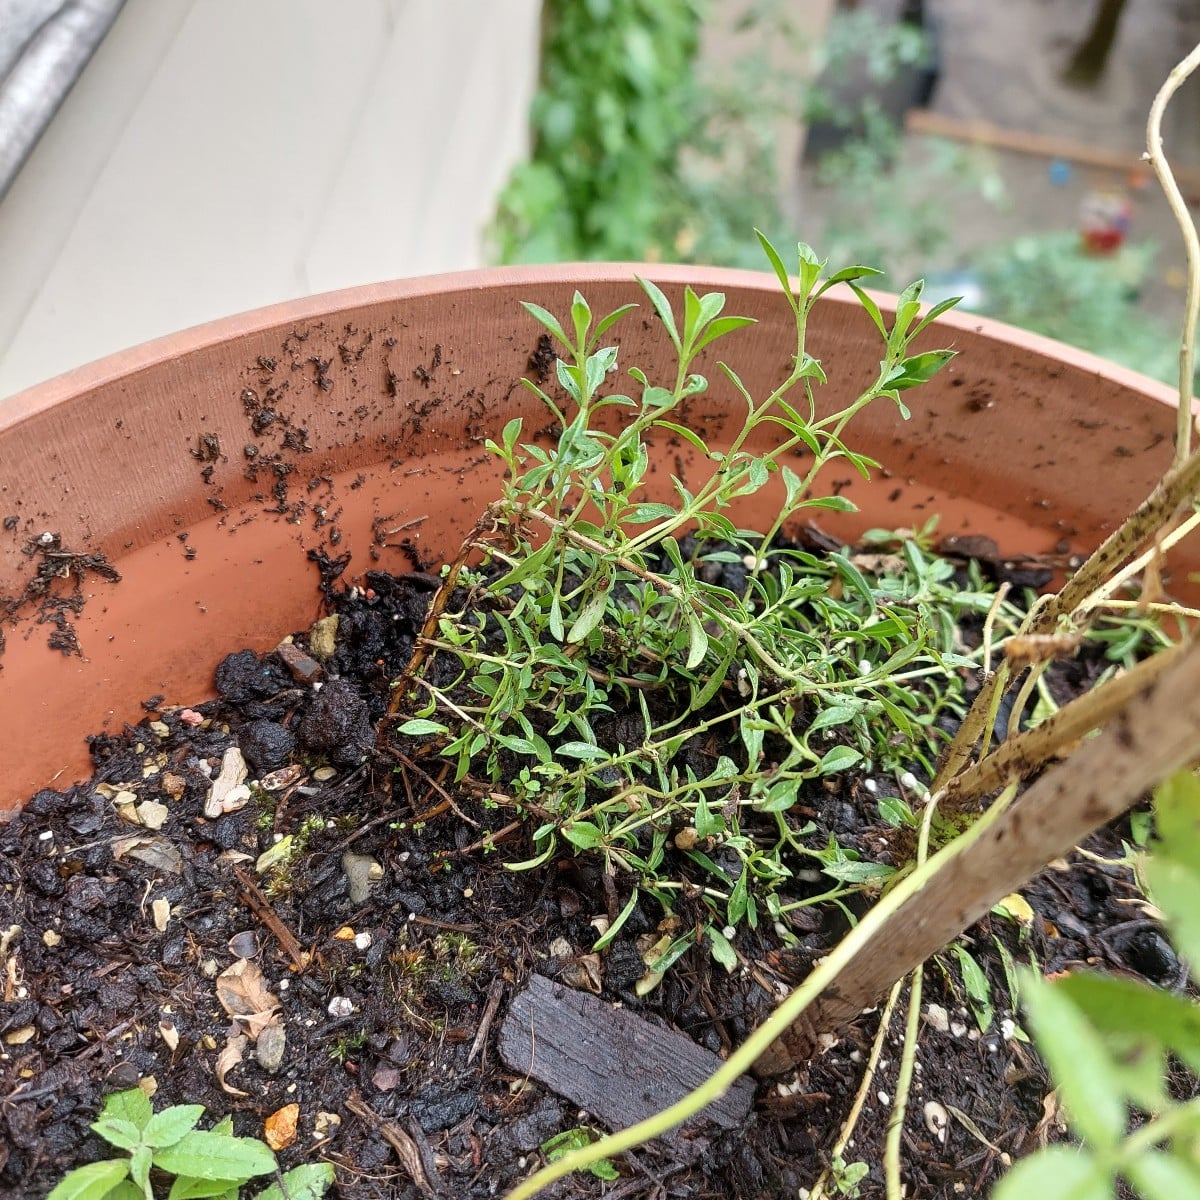
What can I do to keep the rain and the water from the upper balcony from always washing away half the soil from my planters?
Show 3 answersPopular Articles

Gardening in March: Preparation & Cultivation

Propagating Peppers/Chillies: How to Grow Them Successfully

Cultivation or Direct Sowing: When and Which Vegetables to Propagate?

Sowing and Propagating Tomatoes: This Is How It Works

Raised Beds: Your Planting Plan for a Year

Plant Lights for Growing and Overwintering Plants

Growing Cucumbers Seedlings in Pots: Tips for Propagation

Pricking Out Vegetable Plants: Tips and Instructions

Growing & Harvesting Rocket: Good & Bad Companion Plants

How to Grow Broccoli: Tips for Cultivation
FAQ
When to plant currants?
Planting in the fall between October and November is best. This gives the shrub enough time to grow well over the winter.
When to fertilize currants?
Fertilize your currant bush about twice a year. Once before bud break in spring and then again in fall after the harvest, before the winter dormancy begins.
What are good and bad companion plants for currants?
Good companion plants for currants are other native berries: Gooseberry, blueberry & jostaberry. Cress, lemon balm, marigold & tomato also go well next to the shrub. There are no known bad neighbors.
When to prune currants?
Pruning should be carried out after the last harvest or in February before budding. Pruning is also carried out during planting. During the season, you should also thin out the leaves so that the shrub is better exposed to light.