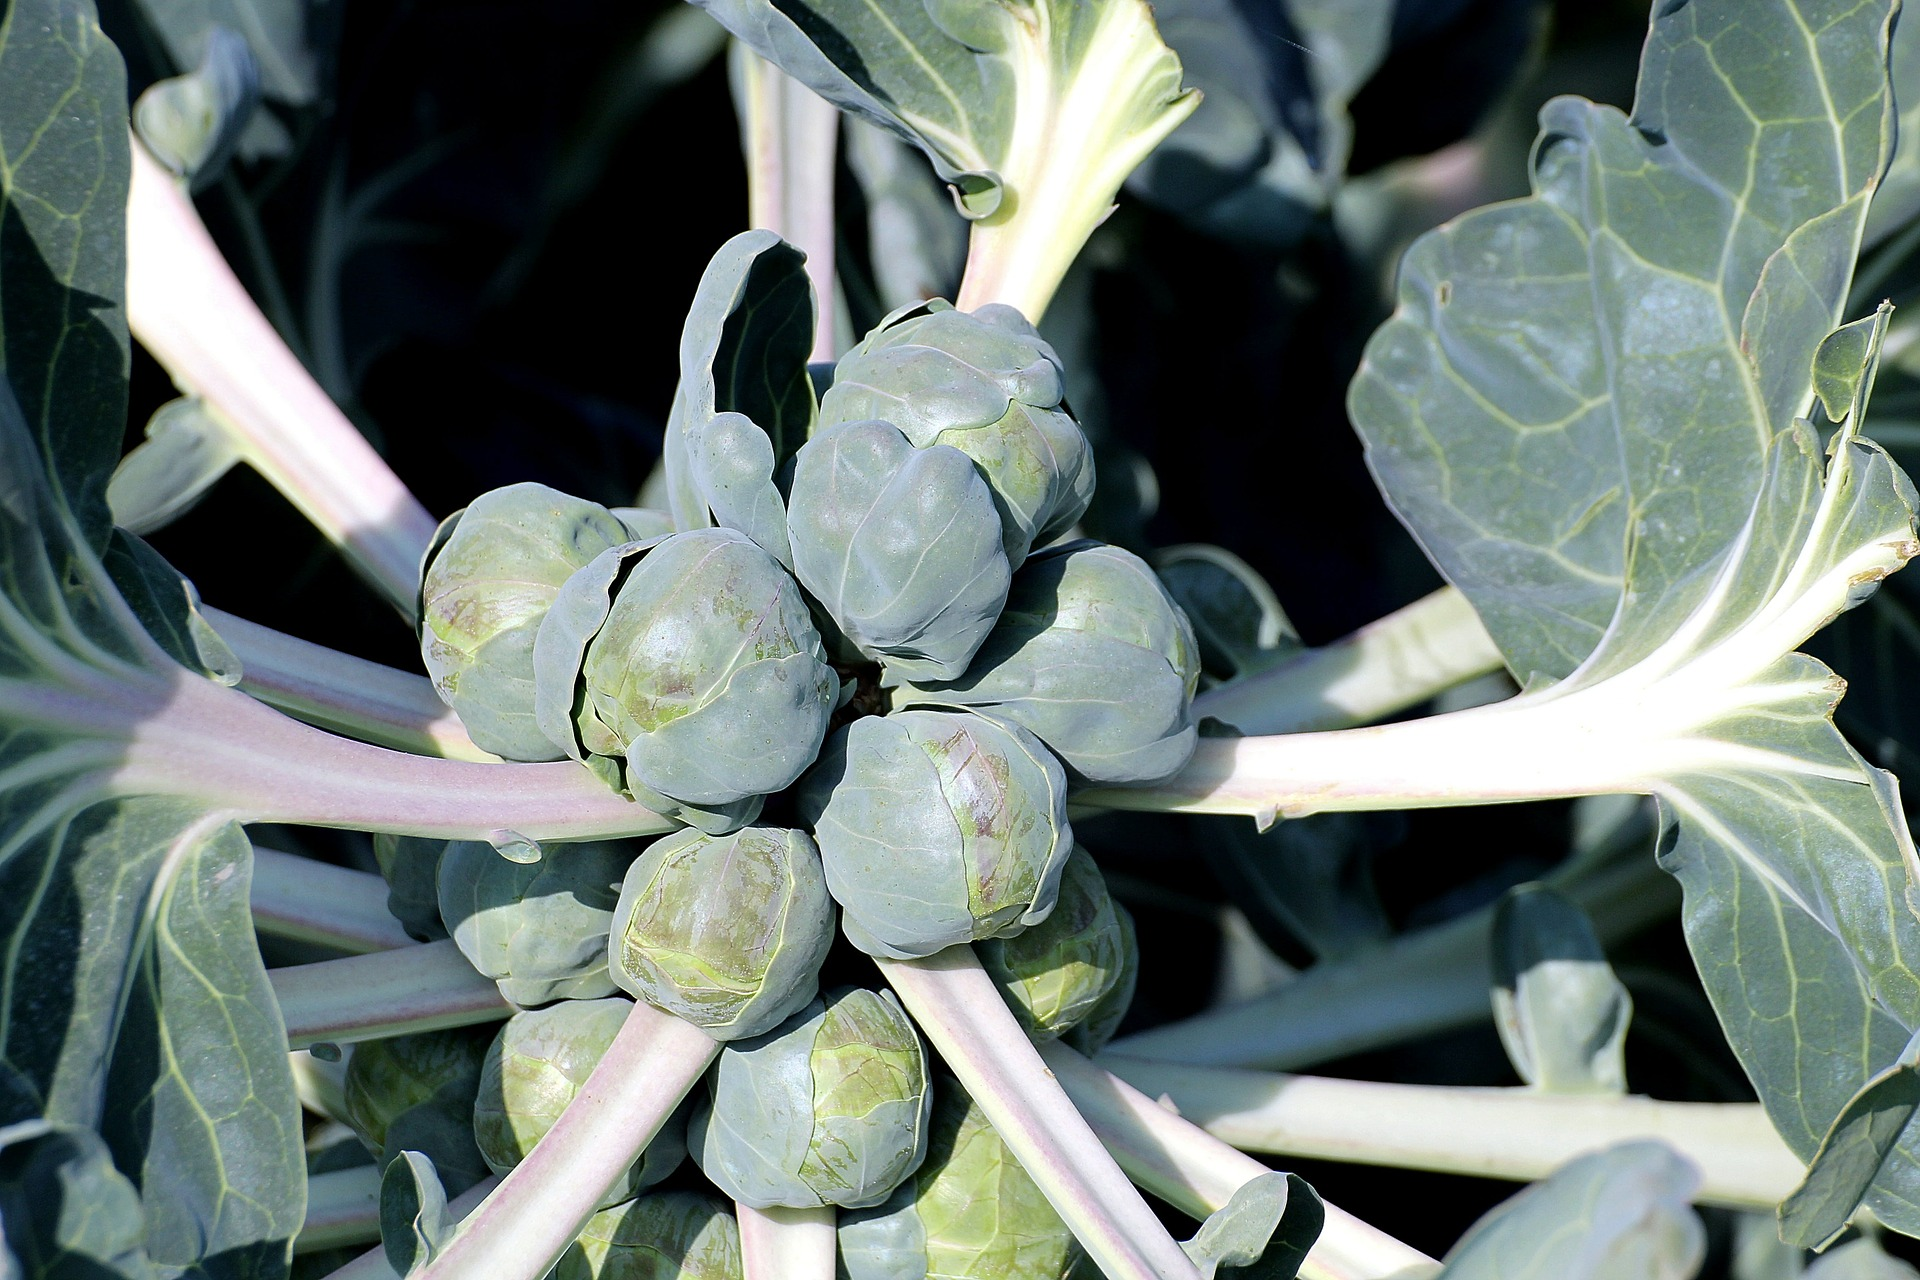
Growing Brussels Sprouts: Cultivation, Sowing & Harvesting
Brussels sprouts don't just look impressive when grown, their ingredients are also impressive! In addition to plenty of vitamin C, it contains numerous minerals and fiber. As a popular winter vegetable, it always brings fresh nutrients to your plate, even in the cold season. In this article, you can find out everything you need to know about growing Brussels sprouts.
This Article Contains:
- Growing Brussels Sprouts: What You Need to Know
- Varieties: Early and Late Brussels Sprouts
- Mixed Cultivation With Brussels Sprouts: Succession Cropping & Companion Plants
- Your Planting Plan With Brussels Sprout
- Sowing Brussels Sprouts: Tips for Sowing
- Planting Brussels Sprouts
- Proper Care of Brussels Sprouts
- Fertilize Brussels Sprouts: Here’s How
- Preventing Diseases in Brussels Sprouts
- Harvest Time: Harvesting, Storing & Processing Brussels Sprouts
- Frequently Asked Questions About Growing Brussels Sprouts:
Quick Overview
Growing Brussels Sprouts: An Overview
- Light: sunny to semi-shady
- Water: after planting, water sparingly at first to stimulate root formation. Later, ensure a sufficient and even water supply.
- Soil: deep, rich in nutrients and humus. The soil should always be kept loose to increase stability.
- Planting distance: cabbage needs plenty of space, planting distance 50 x 50 cm/19.7 x 19.7 in
- Sowing depth: 1 cm/0.4 cm
- Germination period: 7 to 14 days
- Germination temperature: 15 and 25 ° C/59 and 77 ° F
- Brussels sprouts in mixed cultivation:
- Succession cropping: Good successor crop for early potatoes or peas
- Crop rotation: 3-year break between cabbage crops
- Good companions: artichoke, eggplant, beans, chilli, dill, pea, cucumber, camomile, carrots, physalis, radish, rhubarb, beetroot, lettuce,...
Growing Brussels Sprouts: What You Need to Know
Brussels sprouts, sometimes called sprouting cabbage, are a variety of the vegetable cabbage and thus belong to the cruciferous family (Brassicaceae). The versatile cabbage plants are all descended from less impressive wild forms (Brassica oleracea), which can still be found in the Mediterranean region and on the Atlantic coasts. Brussels sprouts were first successfully cultivated near Brussels, hence their original name "Choux de Bruxelles" (Brussels cabbage). You can find an Overview Article on Cabbage Cultivation and Different Types of Cabbage here.
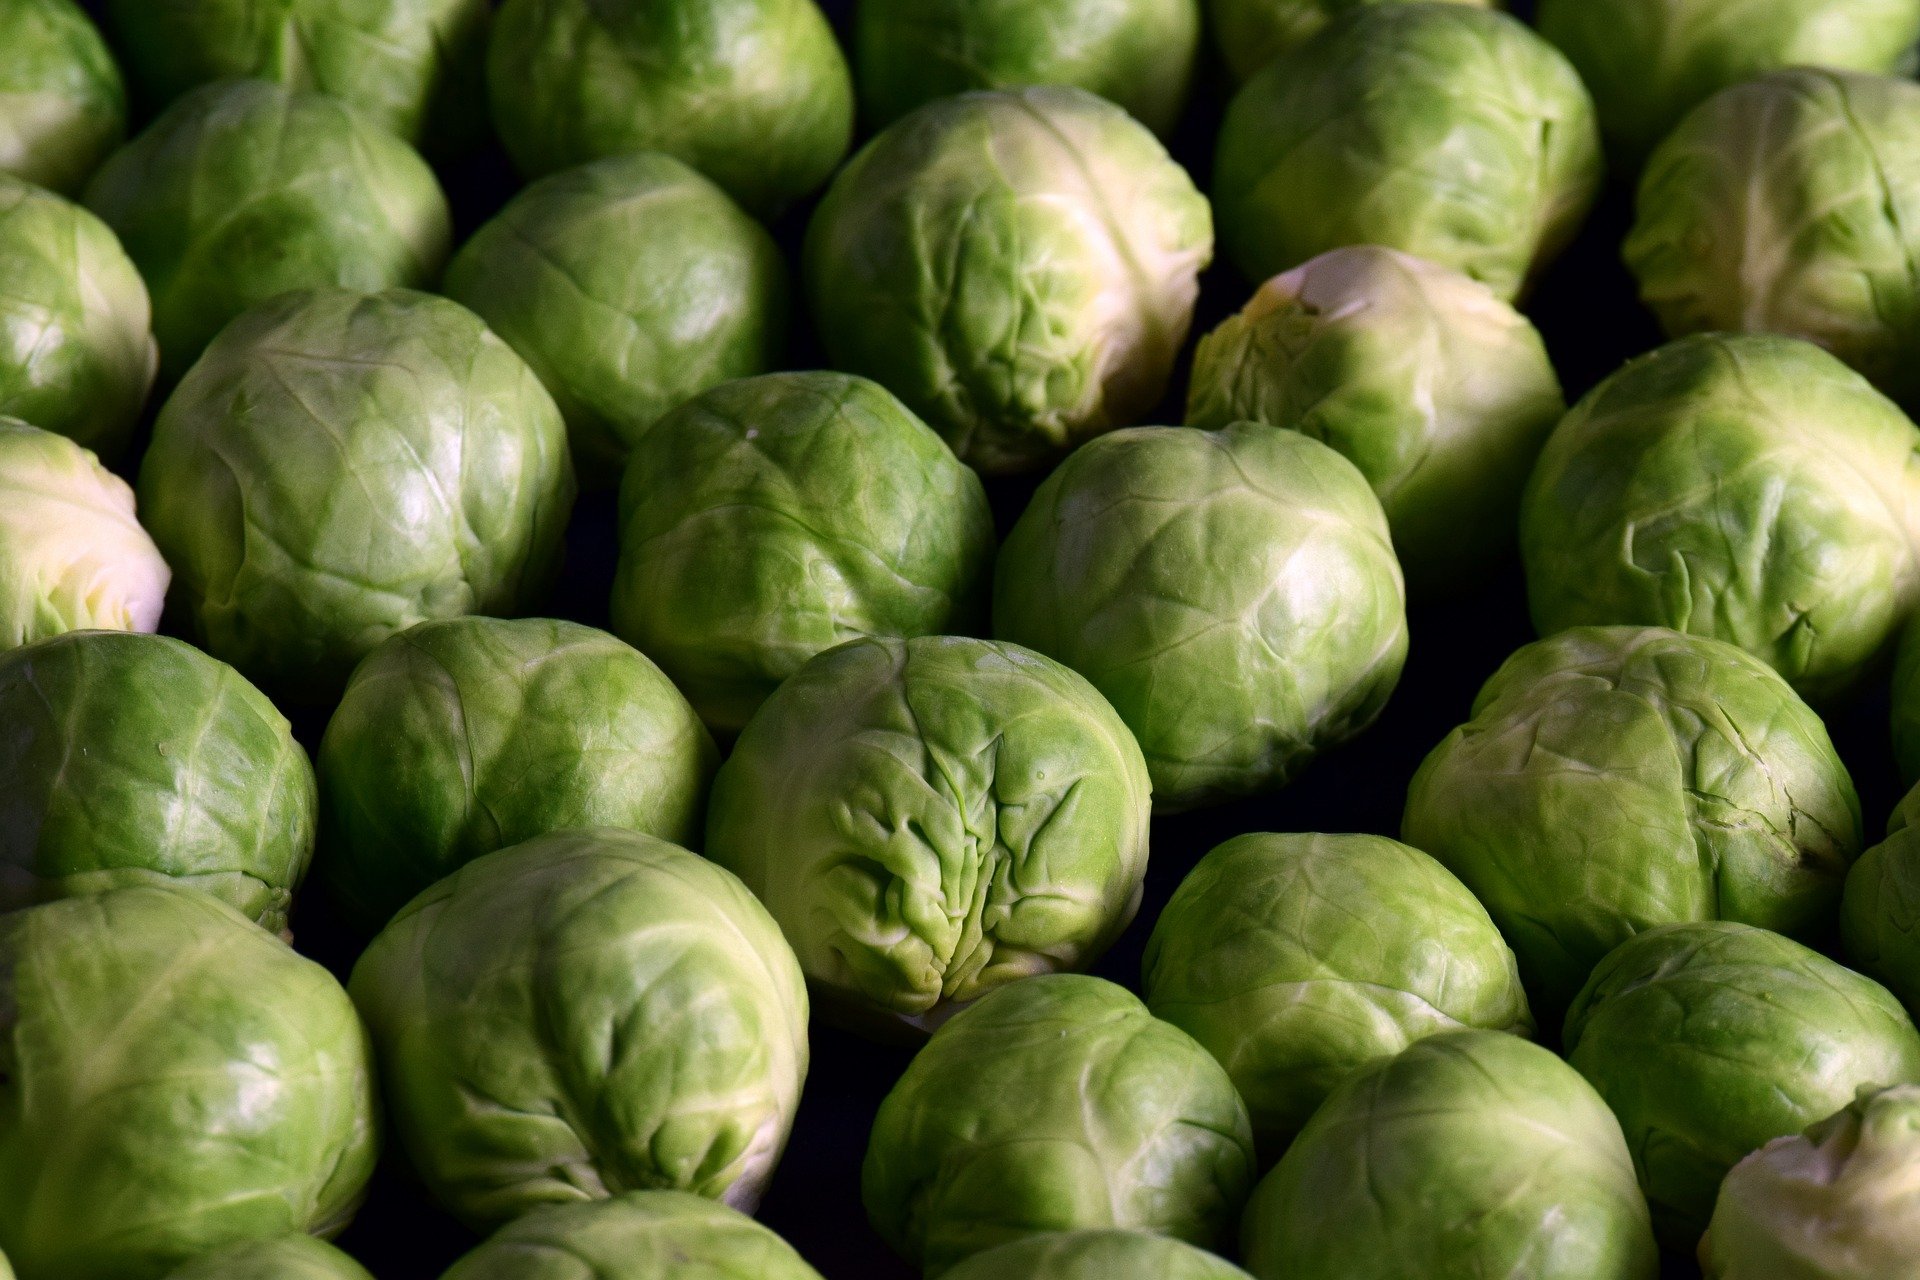
How Does Brussels Sprouts Grow?
The buds/florets of Brussels sprouts are located in the leaf axils and develop from many leaves that are densely layered on top of each other - small heads of cabbage form along the shoot. Brussels sprouts are very healthy and nutritious. It is the winter vegetable with the highest vitamin C content. It also contains important minerals such as calcium, magnesium and iron, as well as valuable fiber.
The Right Location
Sunny to semi-shady spots are ideal for Brussels sprouts. The soil should be deep and rich in nutrients and humus. As a heavy feeder, Brussels sprouts need a good portion of nutrients. In extremely cold regions, Brussels sprouts can be grown in cold frames or protected against a wall, with additional protection provided by covering them with spruce branches.
Varieties: Early and Late Brussels Sprouts
The desired harvest time has a significant influence on the choice of variety. A rough distinction is made between the early varieties for the fall harvest and the winter varieties, which can be harvested until spring.
The earlier varieties are not (or only slightly) frost-resistant and are therefore not suitable for overwintering. Varieties for an early harvest include 'Nelson' (harvest time from September to October) or 'Early Half Tall' (harvest from September to November).
The late varieties in particular are hardy for most regions and even benefit from frost, which makes the florets more tender and tastier by promoting sugar production through photosynthesis and slowing down the build-up of starch. However, this natural sweetening process requires the plants to be alive and cannot be artificially imitated in the freezer. Varieties for a winter harvest include 'Hilds Ideal' (harvested between October and February) and 'Groninger' (harvested between October and March).
Mixed Cultivation With Brussels Sprouts: Succession Cropping & Companion Plants
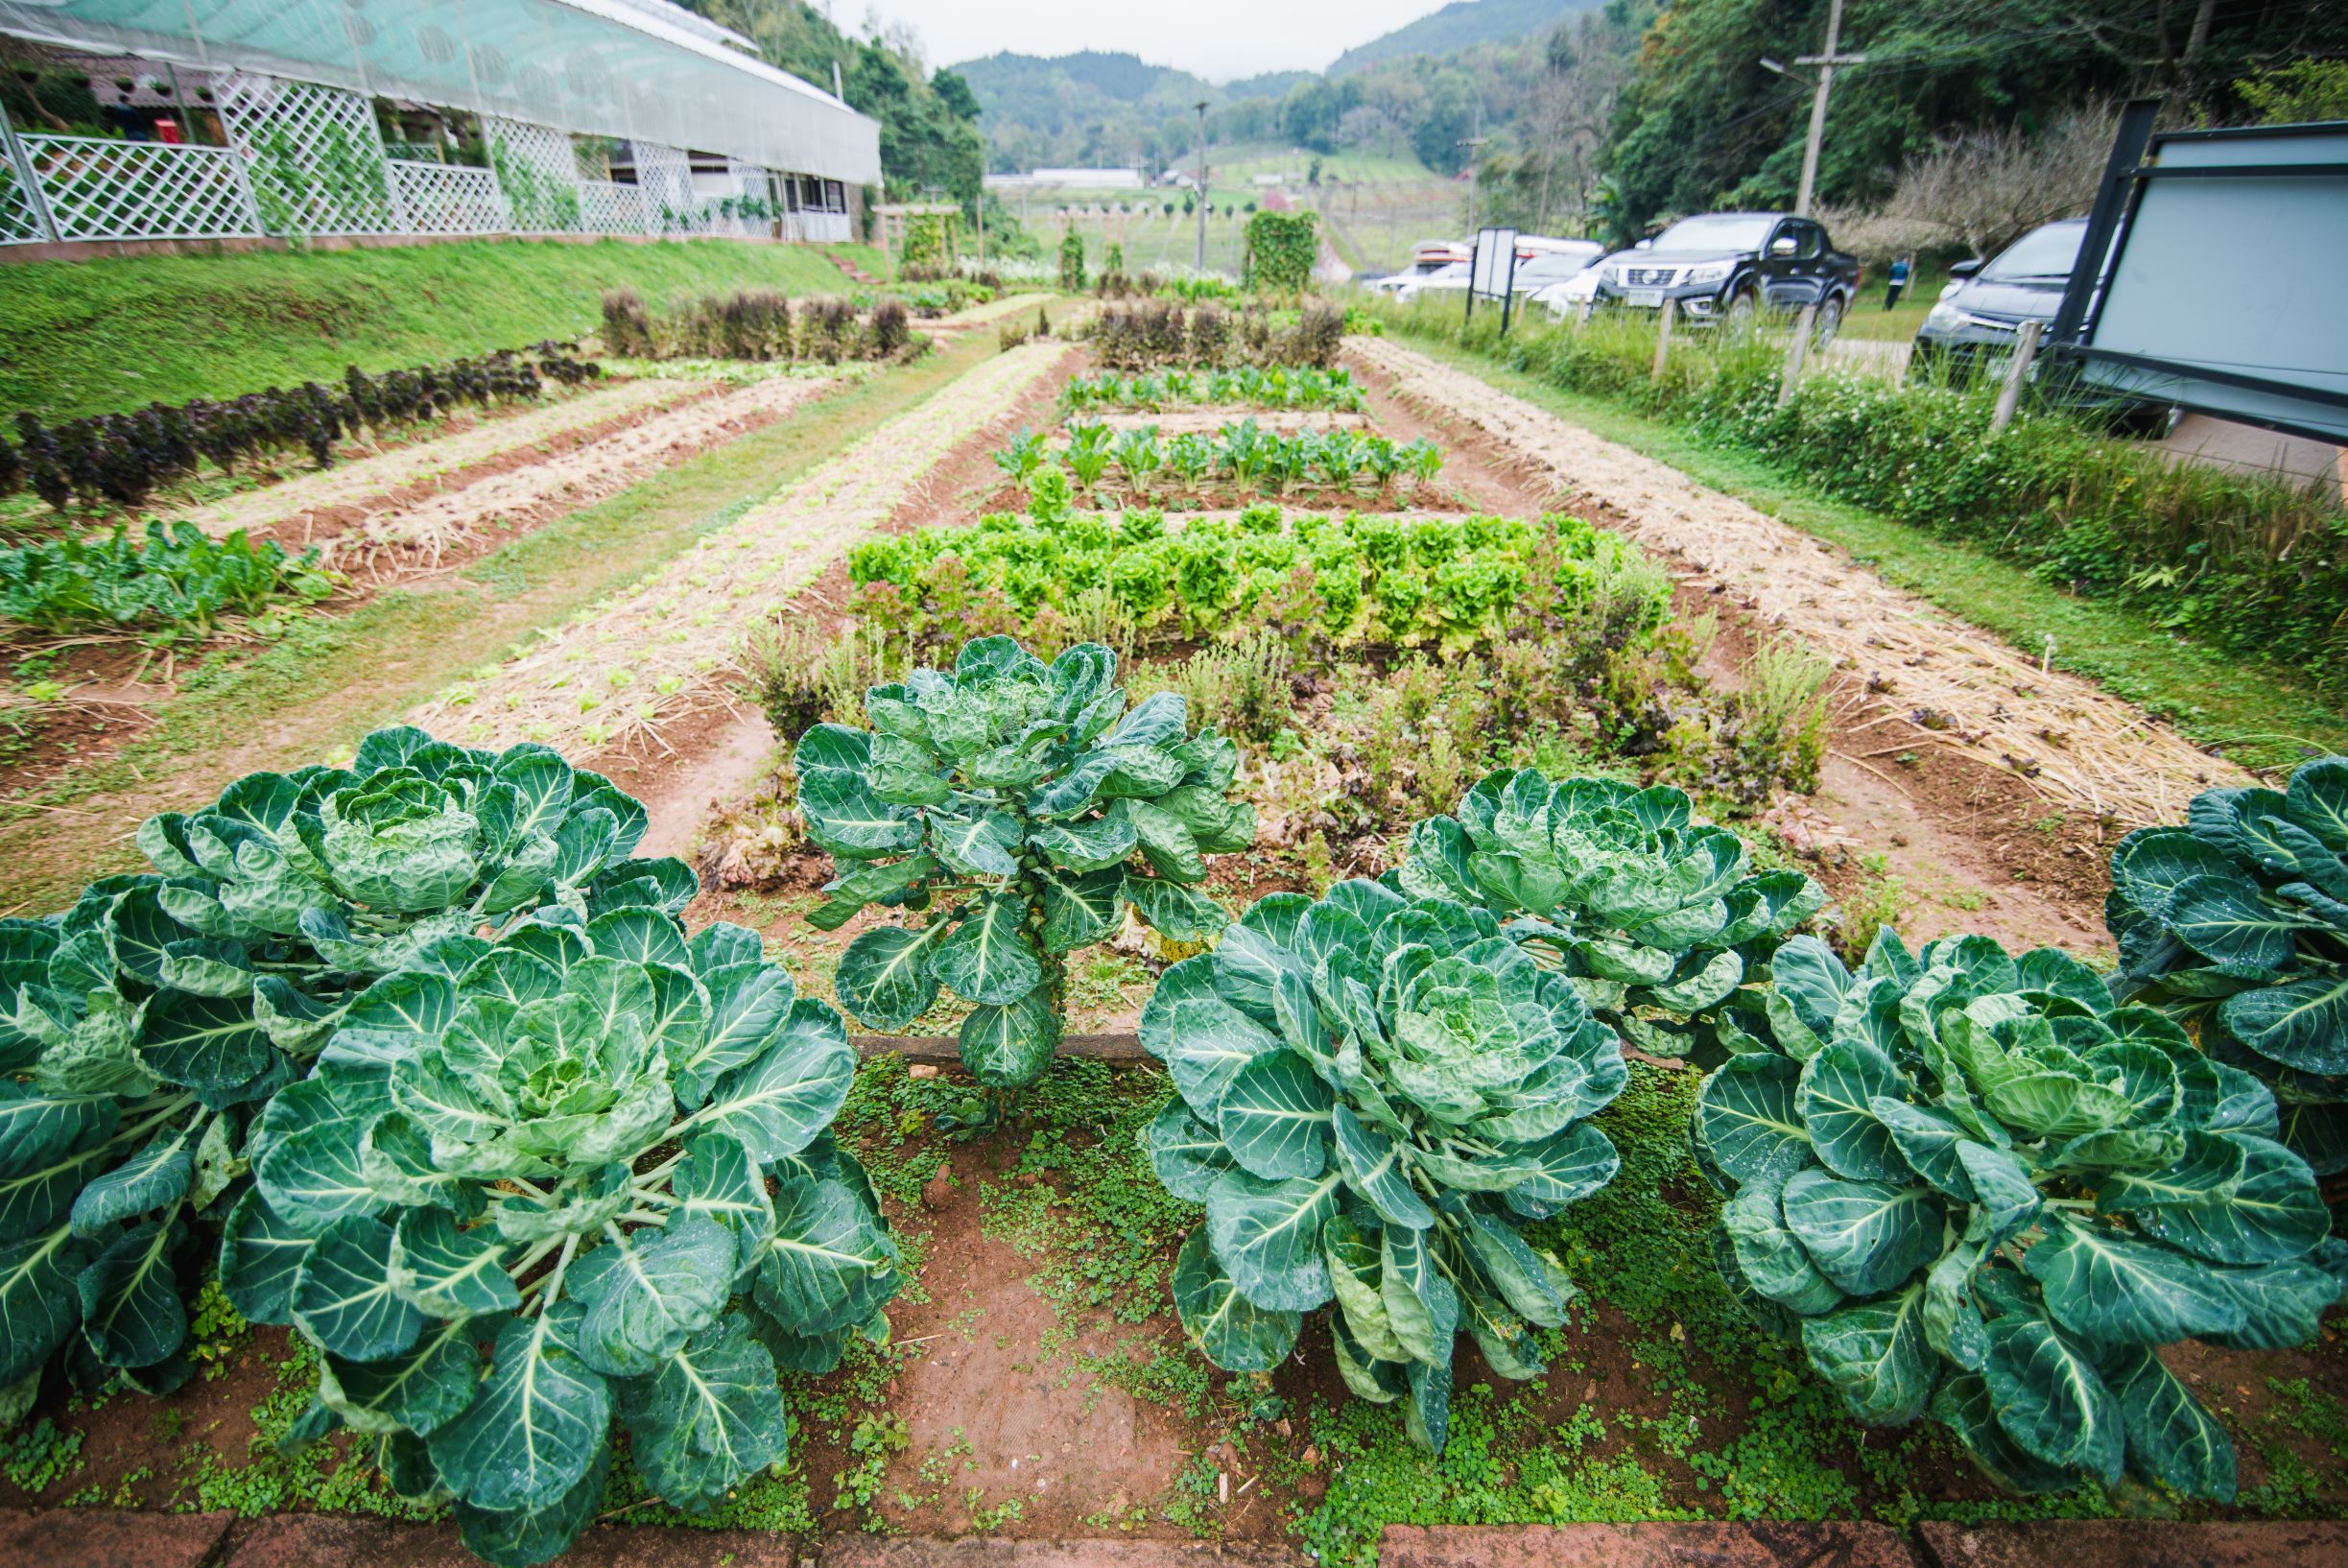
Brussels sprouts are heavy feeder crops. You should bear this in mind when planning mixed cultivation. It is best to combine Brussels sprouts with medium to low-yielding plants from other plant families. In succession cropping, Brussels sprouts are a good successor crop for early potatoes or peas. If you have had problems with soil fatigue or crop-specific pests such as the cabbage white butterfly, then you should take a break of three years on this area and not plant any cabbage plants for the time being. You can find more Tips on Mixed Cultivation With Cabbage and Examples of Mixed Cultivation Plans here in the article.
Table: Good and Bad Companion Plants
| Good Companion Plants | Bad Companion Plants | ||
|---|---|---|---|
| artichoke | cucumber | arugula | turnip |
| aubergine | dill | broccoli | |
| bean & soybean | lettuce | cabbage and collard greens | |
| beetroot | mint | chives | |
| black salsify | oregano | fennel | |
| borage | parnship | garlic | |
| carrots | pea | topinambur | |
| celery | pepper | lovage | |
| chamomile | physalis | marjoram | |
| chard | potato | mizuna | |
| chervil | radish | okra | |
| chili | rhubarb | onion & spring onion | |
| common marigold | sage | rutabaga / swedish turnip | |
| coriander | spinach | strawberry |
Your Planting Plan With Brussels Sprout
Find inspiration for your mixed crop planting plan with brussels sprouts here!

You Want to Plan a Mixed Crop?
With our bed planner, you can easily plan a colourful mixed crop. Good and bad neighbors are displayed directly and you get tips on crop rotation!
Plan a Bed NowSowing Brussels Sprouts: Tips for Sowing
Sowing outdoors is possible from mid-May to the beginning of July. If you do not yet have space in the bed, you can also start growing indoors from April until the other crops have been harvested. Of course, Brussels sprouts can be sown directly into the bed, but this is relatively disadvantageous as you need to ensure there is sufficient space between the plants. It is therefore advisable to grow them on a windowsill or in a greenhouse. The seeds are placed about 1 cm/0.4 in deep in the soil. After 1 to 2 weeks at temperatures between 15 and 25 ° C/59 and 77 ° F, the first seedlings should appear. Later, select the best seedlings and plant them 40 x 60 cm/15.7 x 23.6 in apart in the bed.
Planting Brussels Sprouts

In the first 1 - 3 weeks, the seedlings are kept rather dry, which stimulates root growth and ensures a more stable stand. Later, a stick can help to further stabilize the approx. 60 - 90 cm/23.6 - 35.4 in high shoot. The seedlings should be planted out by mid-July at the latest. The spacing of 50 x 60 cm/19.7 x 23.6 in should be maintained, even if the space seems very wide at the beginning. Planting too close together restricts lush growth and promotes disease. The gaps can be temporarily filled with fast-growing intermediate crops such as radishes. The seedlings are planted deep and later mounded up a little. It takes about 3 months for the first florets to form.
Proper Care of Brussels Sprouts
Brussels sprouts are one of the more demanding crops in the garden and require plenty of care. However, if you give the cabbage what it needs, it will grow diligently and return the favor with its fine florets. As a member of the cabbage family, Brussels sprouts are a perfect example of heavy feeders. They need plenty of water and nutrients. Therefore, sufficient moisture should always be provided, especially during floret formation.
A mulch of grass clippings or other organic materials can be very helpful when growing Brussels sprouts. It maintains the loose soil structure, protects the soil from drying out and at the same time helps to keep weeds in the gaps at bay. It also provides food for soil organisms, which contributes to humus formation and nutrient enrichment.
In September, the shoot tips of the early-ripening varieties should be broken out so that the last forces can concentrate on the roses - the Brussels sprouts are virtually decapitated. However, de-tipping should really only be used on early-maturing varieties, as this makes winter varieties more susceptible to frost damage.
Fertilize Brussels Sprouts: Here’s How
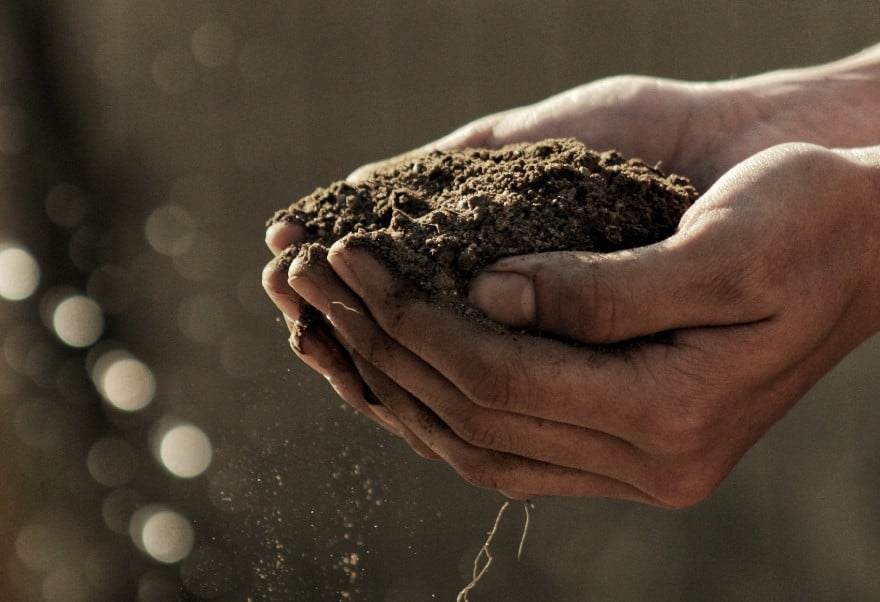
The cabbage bed should be prepared with compost and organic fertilizer in autumn if possible. According to Charles Dowding's no-dig method, an annual fertilization with compost is sufficient to provide your crops with an optimal supply throughout the season. Charles Dowding recommends a layer of compost about 2.5 cm/1 in high and up to 15 cm/5.9 in of compost for nutrient-poor, sandy soils.
If you notice a lack of nutrients during floret formation, you can optionally top up with liquid fertilizer (e.g. nettle slurry) two to three times. If the blue-green leaves turn yellow before this, the nitrogen deficiency can be remedied with horn meal. Alternatively, fertilizer can be applied during the growing season with well-rotted manure or dried cattle manure. Fertilizing with wood ash promotes firm floret formation.
Caution: Do Not Over-Fertilize Brussels Sprouts!
Over-fertilization leads to a loss of quality, brussels sprouts then only form loose florets and winter hardiness decreases. So don't fertilize too much! Cabbage tastes like it has been nourished. If grown well and organically, it will not develop an unpleasant aftertaste or smell when cooked. However, inappropriate fertilization (e.g. mineral or raw manure) can result in unpleasant odours.
Preventing Diseases in Brussels Sprouts
To prevent diseases, a break of 3 years should be observed between the cultivation of cabbage crops on the same area during crop rotation.
Common Diseases and How You Can Prevent Them:
- Cabbage hernia: Prevention by sprinkling seaweed lime into the planting hole.
- Aphids: Help by dusting with wood ash or primary rock flour
- Cabbage White Butterfly: Prevention through mixed cultivation. Individual tomatoes or celery plants between the rows prevent the butterfly from approaching. The intense scent masks the enticing smell of cabbage. Crop protection nets can also keep the moth away.
Harvest Time: Harvesting, Storing & Processing Brussels Sprouts
Depending on the variety,harvest in fall/winter from November when the florets are 2 - 4 cm/0.8 - 1.6 in thick. The thickest florets are always broken out or cut off with a knife. The florets remain in the bud stage until spring and can be harvested continuously. With hardy varieties, this can even be done in portions until spring.
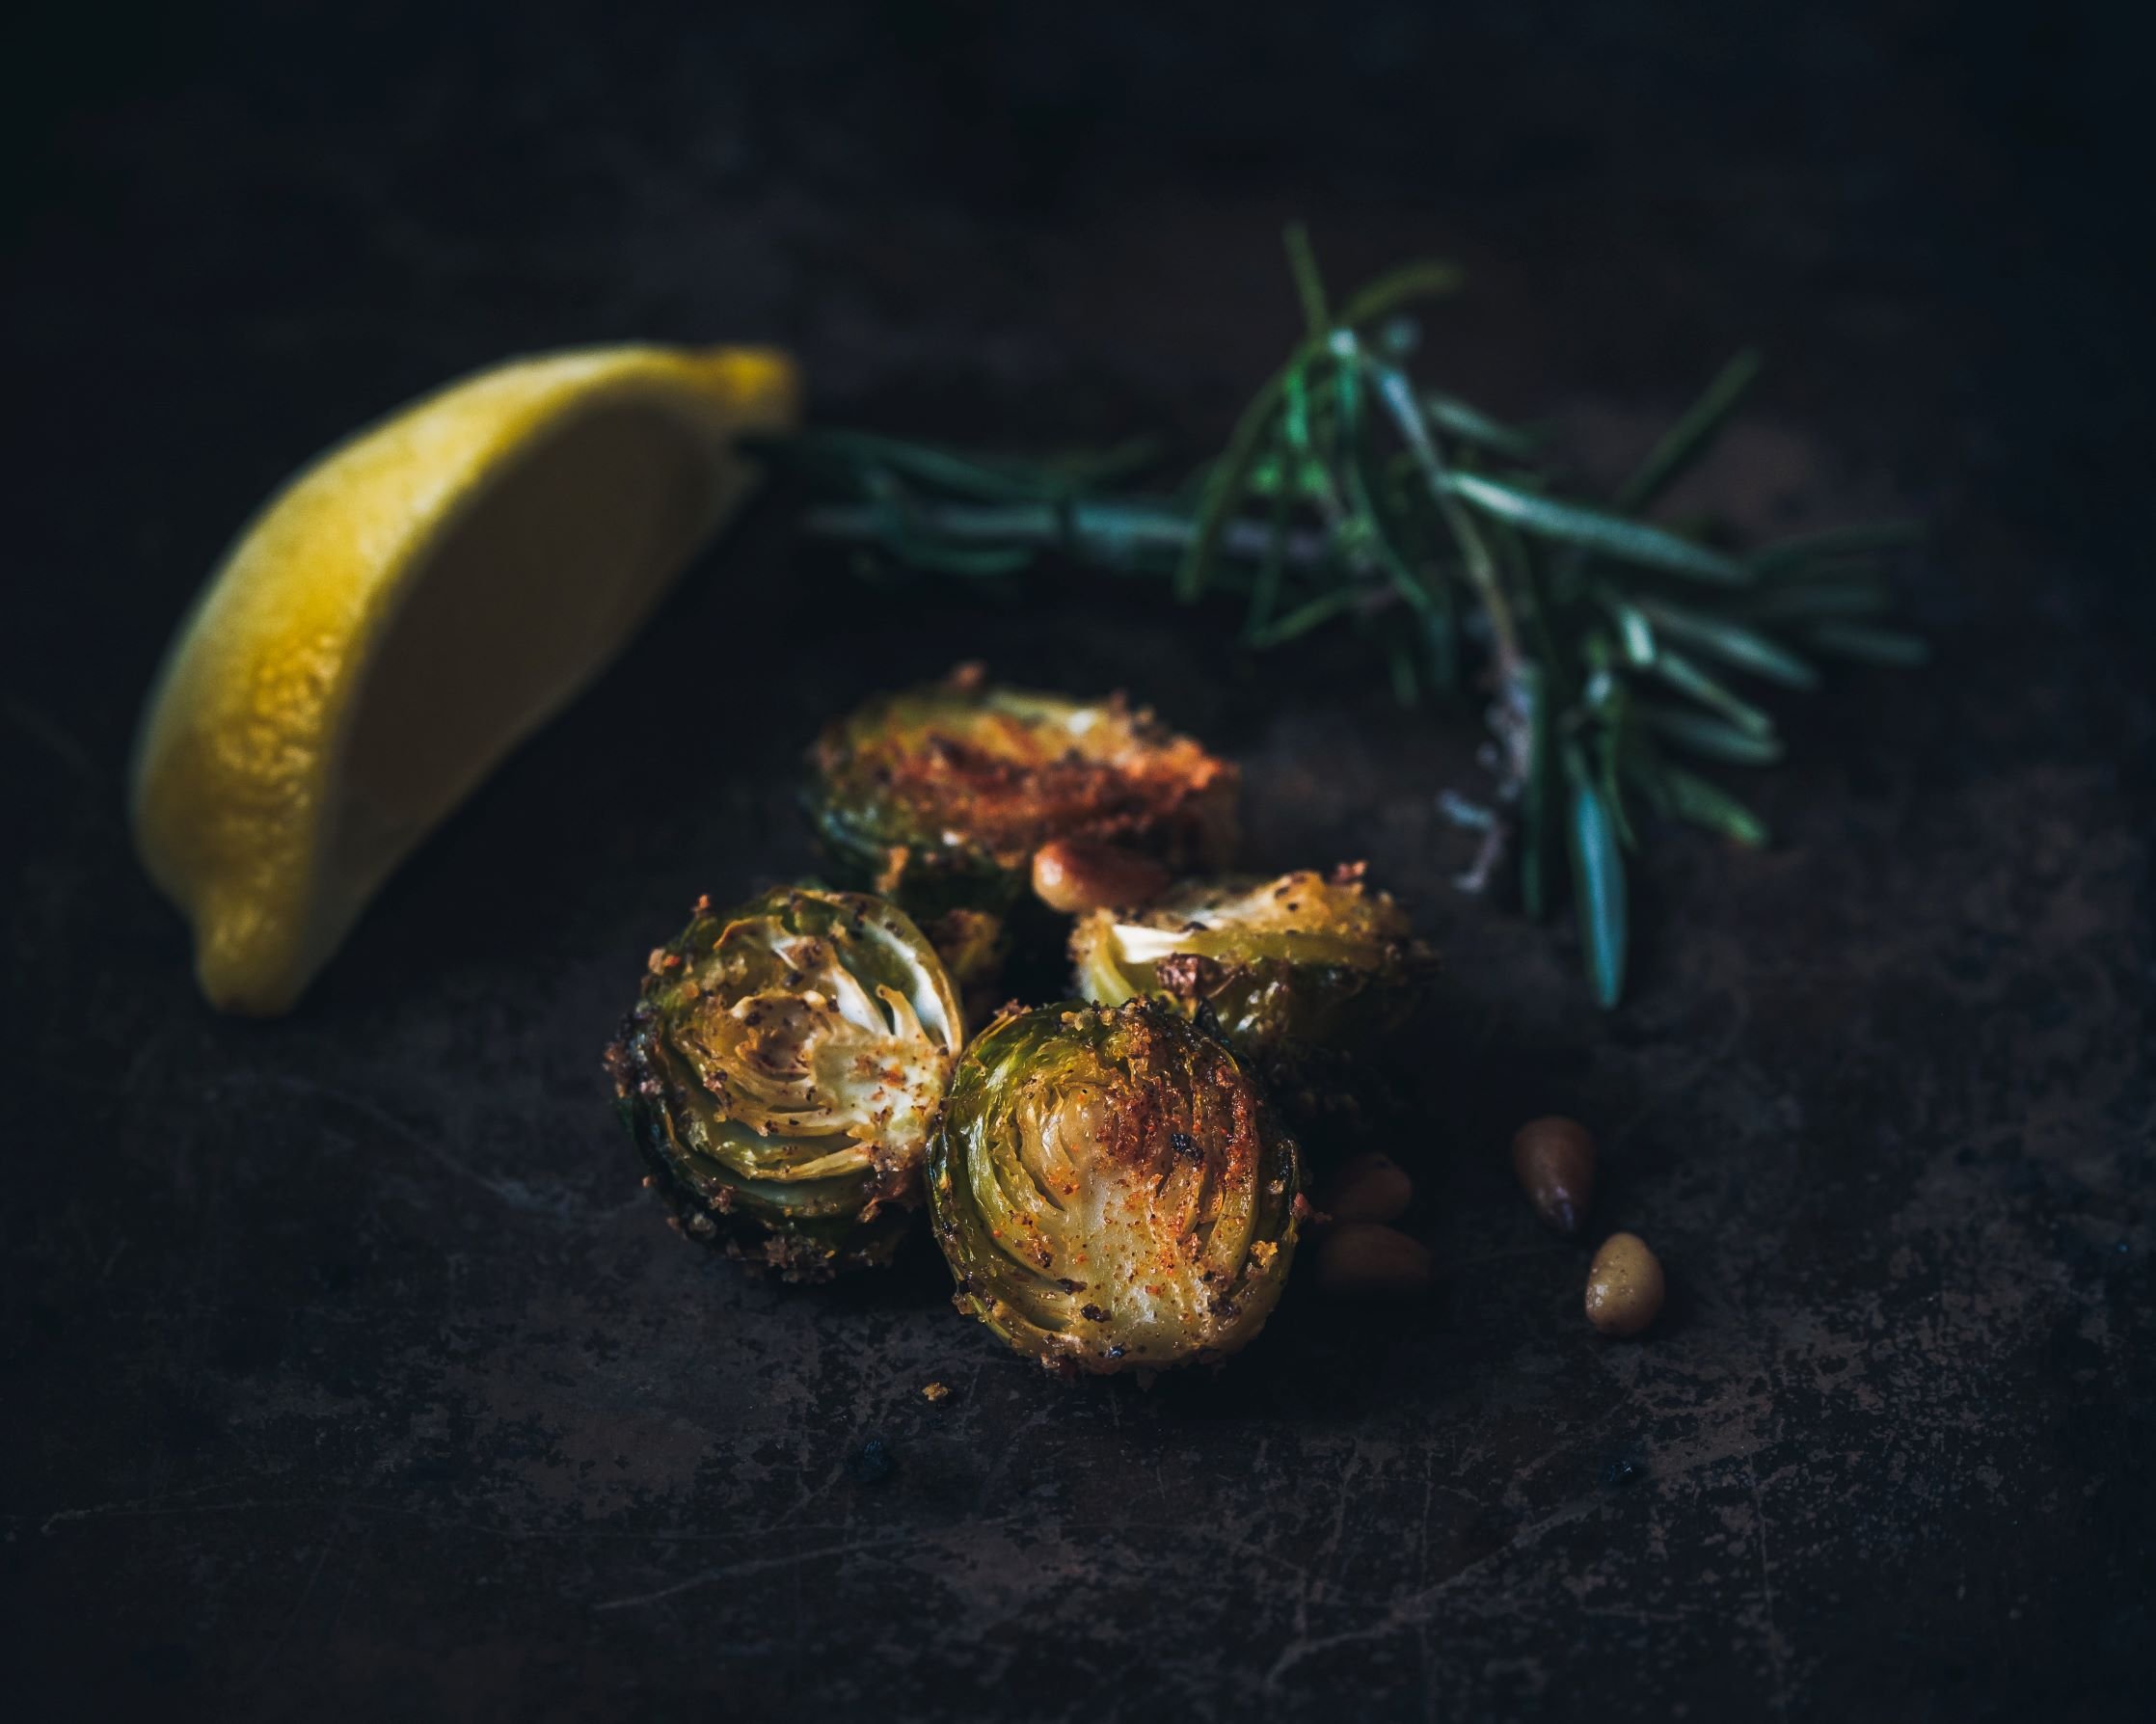
Brussels sprouts can be frozen for preservation. To do this, remove the outer, darker leaves, score a cross on the stem of the florets and then blanch for 2-3 minutes. The florets can then be briefly quenched and cooled before freezing. They can also be eaten raw or cooked. They taste particularly delicious baked with Parmesan cheese, for example.
Want to get helpful gardening tips all year round and plan your own beds in the best possible way? Then register here or download the Fryd app for Android or iOS.
Fryd - Your digital bed planner
Source: Charles Dowding, #No Dig, 2023, Munich: Dorling Kindersley Verlag GmbH

Annabell
Annabell is studying agricultural biology at the University of Hohenheim. She also enjoys gardening in her private life, spends a lot of time in nature and loves to be creative.
Learn MoreCurrent Topics in the Community


This is what it looks like. I do this with all my plants.

Last year, I created a garden or plant folder where I document all my plants. Plant (how to water it) Annual or perennial Flowering period Fruit ripening Pruning Fertilizing

Liked 1 times
My two banana plants are coming tomorrow. I'll be happy to send you a picture of them.
Show 1 answerPopular Articles
Overwintering Parsley: How to Do It Successfully
How to Grow Lettuce in Winter: Varieties, Sowing, Harvesting

Growing Sage Plant: Tips for Sowing and Harvesting
What Herbs Can Be Planted Together?
Create & Design a Permaculture Garden
Overwintering Plants: Tubs, Pots and Raised Beds

Pruning, Fertilizing & Propagating Currants: Care Tips
Pruning Raspberries: How to Do It
Vegetable Garden With Greenhouse: How to Use Greenhouse Effect
Winterizing Beds and the Garden: How to Do It
FAQ
The buds/florets of the Brussels sprouts sit in the leaf axils and develop from many leaves that are densely layered on top of each other - small heads of cabbage form along the shoot.
When and how do I sow brussels sprouts?
Depending on the variety, Brussels sprouts are sown between mid-May and early July. Alternatively, you can start growing them indoors from April. Plant the seeds 1 cm/0.4 cm deep in the soil. Germination time 1 - 2 weeks. Germination temperature 15 and 25 ° C/59 and 77 ° F.
When is the best time to plant brussels sprouts?
As soon as there is space in your bed, you can plant the Brussels sprouts outdoors. You should have planted them in the bed by July, although there are also differences between varieties. You will find exact dates on the seed packet.
What are companion plants for brussels sprouts in the vegetable patch?
Companion plants for Brussels sprouts include artichokes, eggplants, beans, chilli, dill, peas, cucumbers, chamomile, carrots, physalis, radishes, rhubarb, beetroot, lettuce and a few other plants. Read more here in the article.
Which plants are bad companions?
Bad neighbors for Brussels sprouts are other cabbages, strawberries, fennel, garlic, marjoram, horseradish, mizuna, okra, rocket or turnip.
When is harvest time for brussels sprouts?
Depending on the variety, harvest in fall/winter from November when the florets are 2 - 4 cm/0.8 - 1.6 in thick. With hardy varieties, this can even be done in portions until spring.