
Harvesting & Preserving Peas
Peas are an important source of protein in the home kitchen. But that's not all - legumes are also known for being a great green manure plant. It is therefore worth growing them in your own garden!
Have you planted your peas and are they already forming their first pods? Here you can find out what you need to consider when harvesting snap peas, paler peas and sweet peas. We also explain how you can preserve peas.
This Article Contains:
Quick Overview
Harvesting Peas
- When? Depending on the variety and sowing time, between June and August; winter peas are harvested as early as May, as they remain in the bed throughout the winter
- How often? Marrowfat peas and sugar snap peas are harvested 1-2 times a week, paler peas are harvested once
- Harvest sugar snappeas - flat pod without mature seeds
- Harvesting palerpeas - with a dried pod and fully ripe seeds
- Harvesting snap pe as - green pod and well-formed green seeds
When to Harvest Peas?
Depending on the sowing time and variety, the harvest usually begins in June and lasts until August. Most pea varieties are sown between March and June. However, there are also some varieties that you can sow and therefore harvest later. There are even some winter peas that give you a very early harvest in May. In general, however, pea plants are on the bed for between three and four months. Some varieties grow up to 1.30 m/1.4 yd high, some old varieties even up to 2 m/2.2 m.
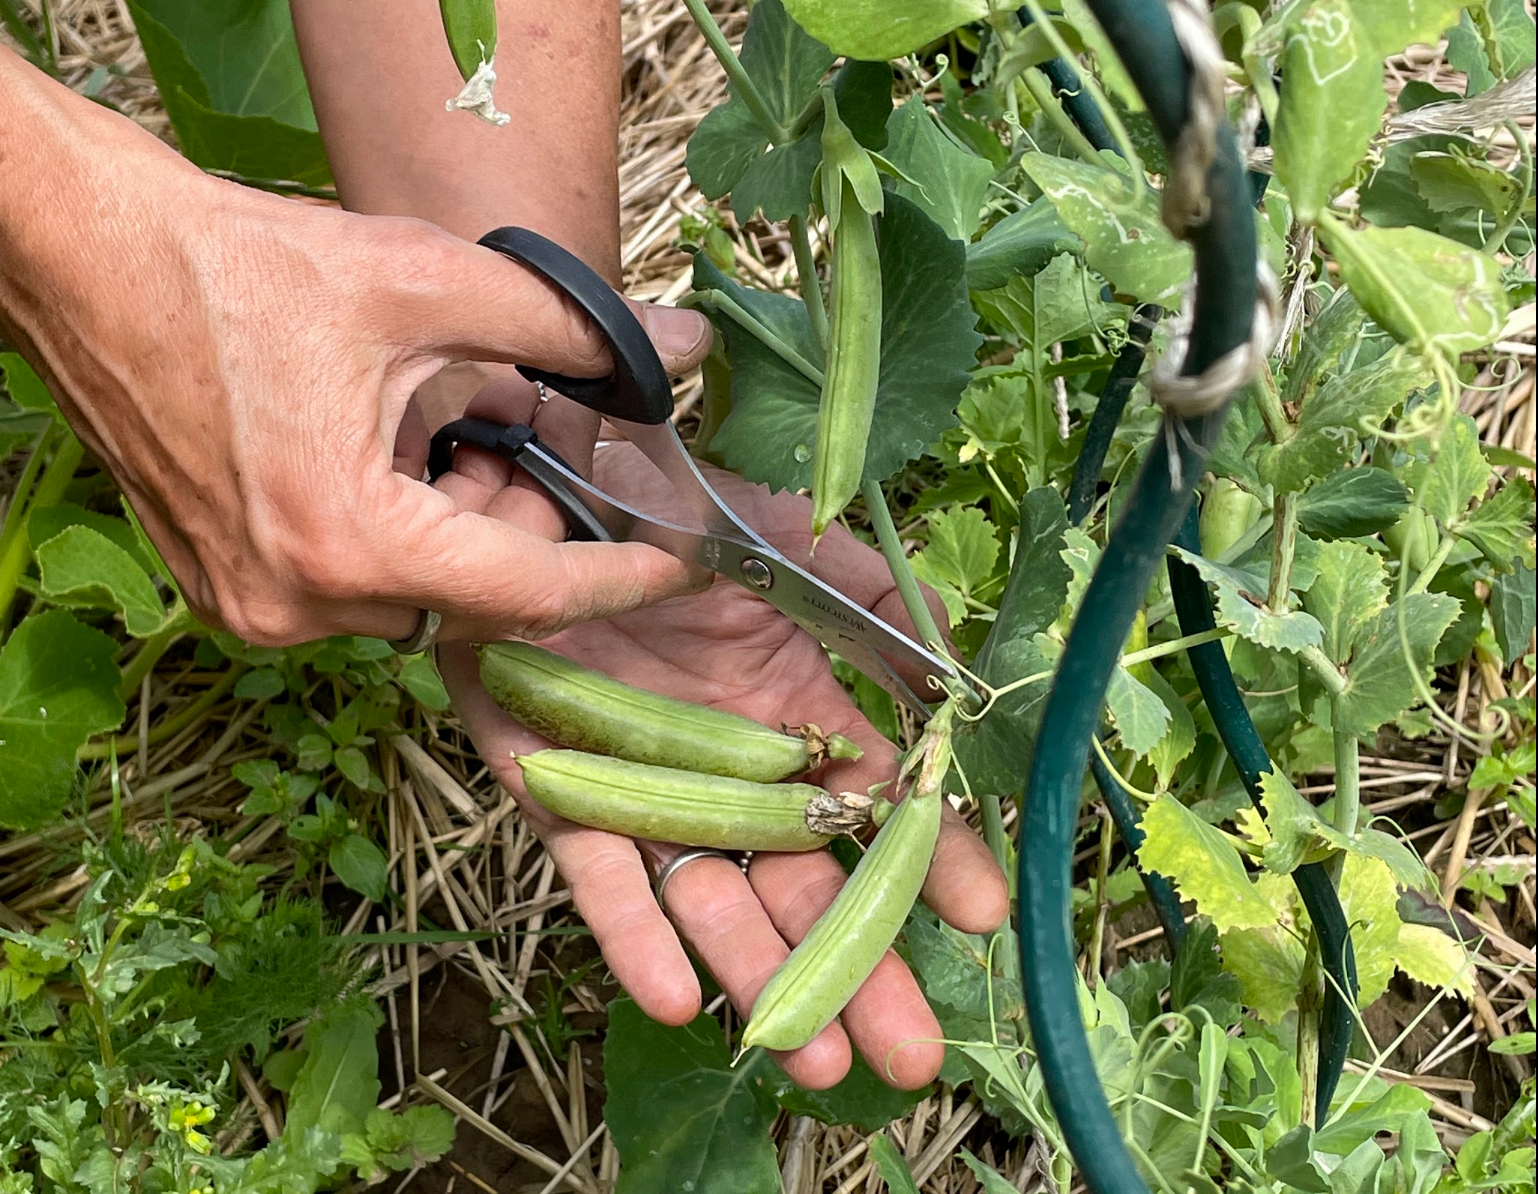
A little tip: The young sprouts of peas are also edible and can be used in salads and vegetable dishes. You can also grow peas as sprouts.
Do Peas Regrow After Picking?
Marrowfat peas and sugar snap peas are harvested continuously as soon as the fruits are ripe. It is best to harvest them once or twice a week so that they are still very tender and sweet. Always pinch off the pods that are already large enough and let the rest continue to grow. Frequent harvesting accelerates the regrowth of the new pods. Shelling peas, on the other hand, are only harvested when the pods are dry. For this reason, snap peas are harvested in one go.

Ever Feel Lost in the Garden? Connect With Others!
In the Fryd community, you’ll find friendly and helpful gardeners ready to share ideas, give advice, and celebrate wins (and failures) together. Gardening is just more fun when you’re not doing it alone.
Join the Community NowWhen Are Peas Ripe?
Harvesting Sugar Snap Peas
With sugar snap peas , the seeds in the pod are not allowed to ripen, but are harvested while they are still flat. As soon as thicker fruits form inside, the shell becomes firm and fibrous.

Harvesting Shelling Peas/Palmer Peas
Shell peas or paler peas are usually harvested dried . Only harvest them as soon as the pods are brown and dry. For a particularly easy harvest, leave the pods to dry indoors and then thresh them out. The pods burst open and you save yourself the tedious task of shelling the peas.
Harvesting Field Peas
Marrowfat peas are harvested when the grains are round and bright green. If you wait too long to harvest them, the sugar turns into starch and the peas lose their flavor. To prevent them from over-ripening and losing their flavor, you should pick and process marrowfat peas immediately after harvesting. To do this, break the pods open at the seam and split the peas, which can then also be eaten raw or cooked.

Preserving Peas: Freezing & Drying Peas
Marrowfat and sugar snap peas will only keep for a few days in the fridge. To preserve them, you can simply blanch the peas briefly, rinse them in cold water and then freeze them. Alternatively, you can also freeze sugar snap peas fresh. Paler peas keep longer than other types of peas because they are easier to dry. The dry grain is also still smooth and round. Simply leave the dried paler peas to soak overnight before preparing them and they are ready. For year-round use in the kitchen, different peas can be combined in the garden to maximize the harvest window.
Obtaining Your Own Seeds
As the pea is an annual plant, it must be sown anew each year. The seeds can be easily extracted from the pods. Simply allow a few pods of seed-resistant varieties to ripen until they are brown and dry. It is not important to harvest the pods particularly early. The seeds inside should be fully ripe, regardless of whether they become mealy and no longer taste as delicious. Then dry the ripened seeds gently (not in the sun or in the oven) and sow them the following year as described above. The seeds will wrinkle a little during drying, which is completely normal. Be aware that the germination capacity of your own and purchased seeds decreases significantly after 4 to 5 years.
You can find out how to grow your own young plants from these seeds in this article. Here you can find Tips on Sowing Peas and Growing them.
Want to get helpful gardening tips all year round and plan your own beds in the best possible way? Then register here or download the Fryd app for Android or iOS.
Fryd - Your digital bed planner
(Cover image by Daiga Ellaby on Unsplash)

Marie
Marie is an agronomist. She is particularly interested in the sustainable and organic cultivation of vegetables and other plants. In her own garden, she gained experience and likes to try things out to learn from nature. She is particularly interested in the values and principles of permaculture, in order to contribute not only to the well-being of nature, but also to the well-being of people and future generations.
Learn MoreCurrent Topics in the Community
Who needs a car anyway! Fall is planting season! I ended up going with the red Boskoop after all, and since it’s so pretty, I added two black currants as well. I’m already looking forward to next year!
Show 2 answers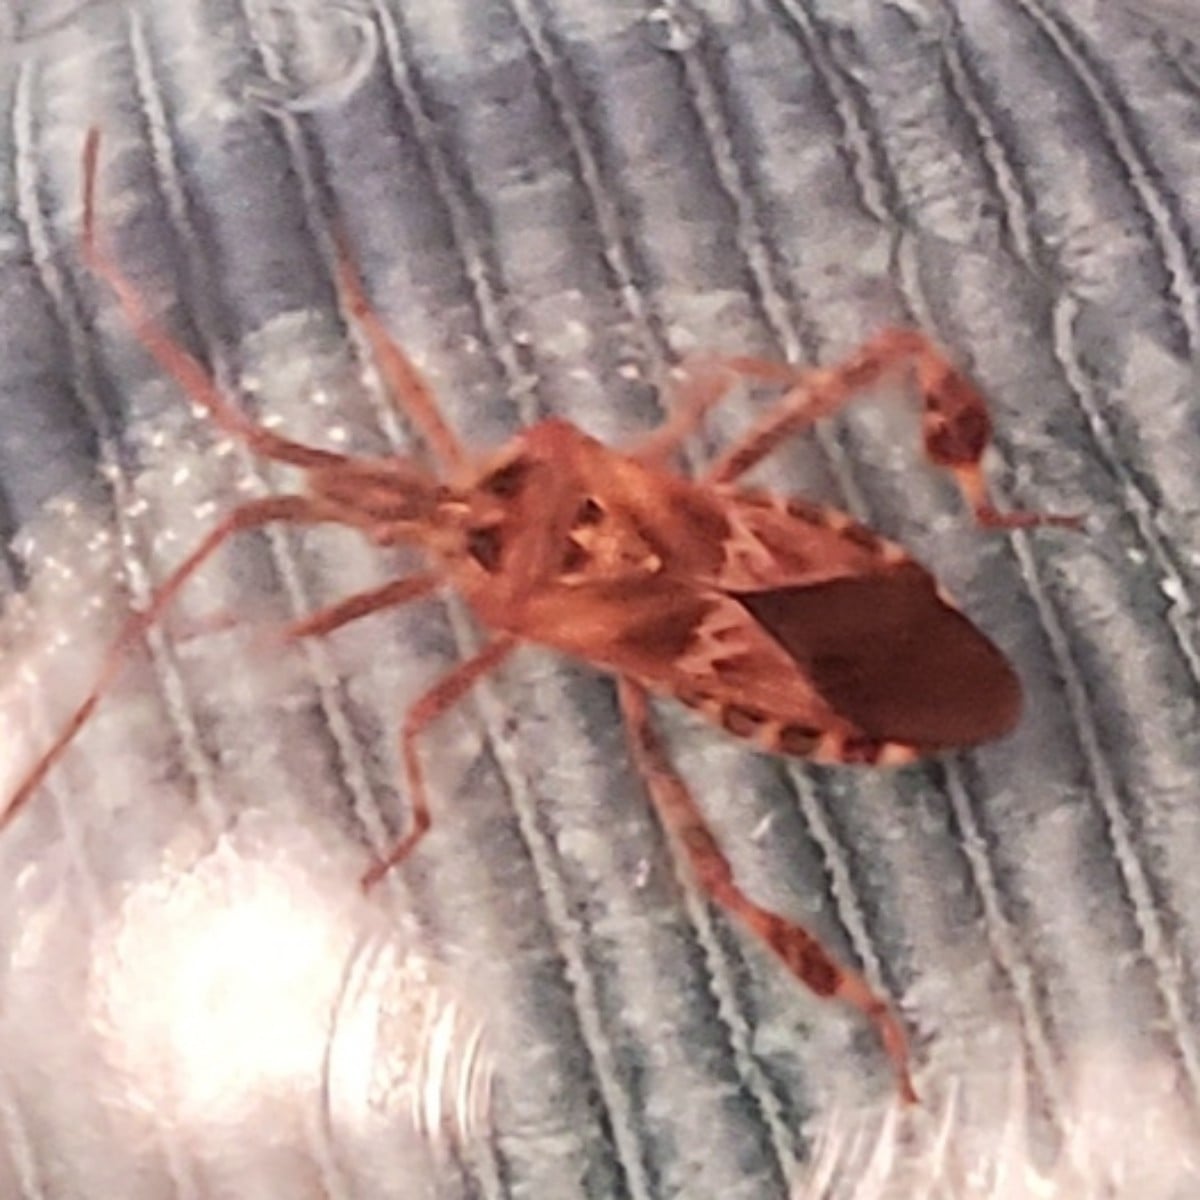
...This American pine or cone bug (Leptoglossus occidentalis) has also noticed that fall is coming! Found in Europe since 1999, it’s yet another import from North America that we really don’t need 🙄. At this time of year, they like to knock on the front door 😳 and ask to be let in so they can spend the winter indoors. Category: Pests! I sent it on its way to Hoek van Holland—maybe it’ll find a friendlier host there 🤷 ...Unfortunately, I don’t have a better photo to share 🤷
Show 1 answer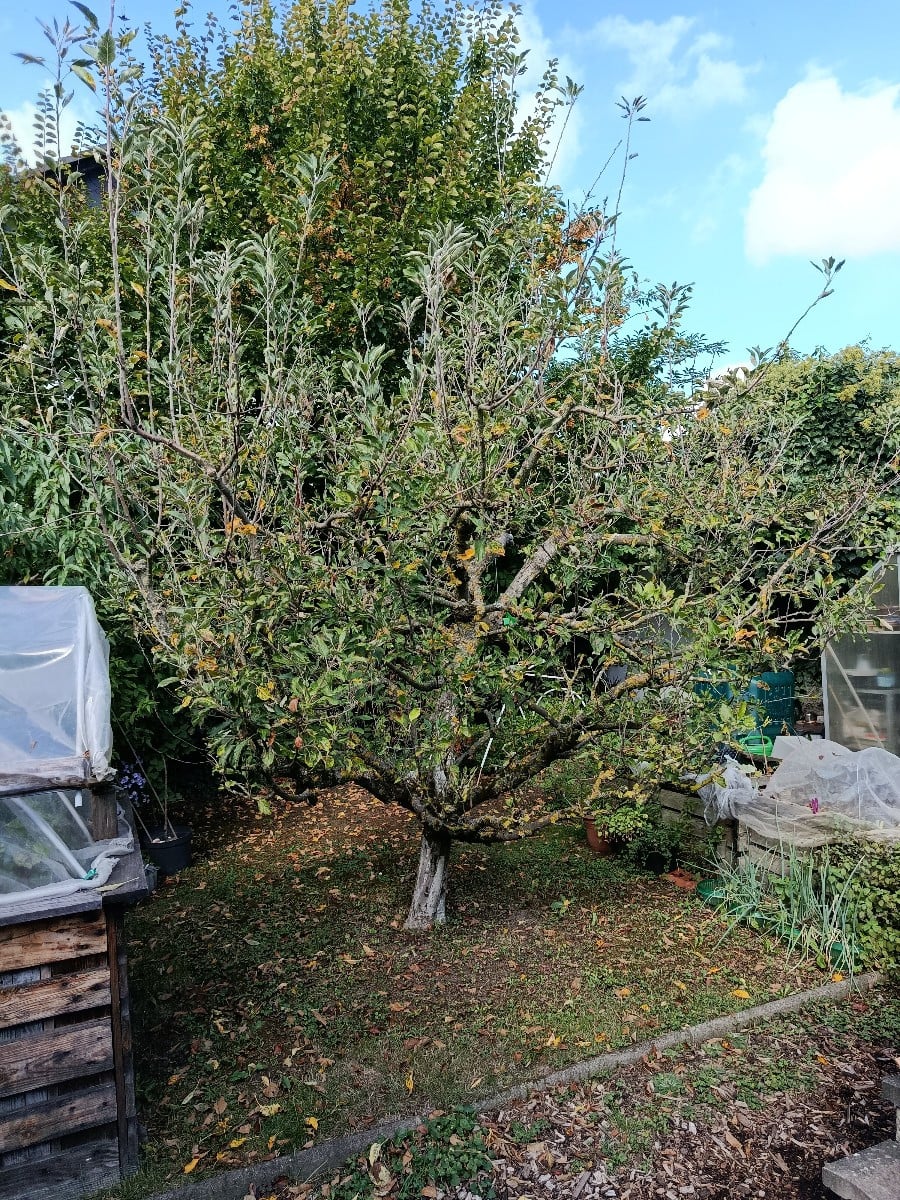
Liked 5 times
Today is a sad day. My Cox Orange was carefully cut down. I tried everything over the years, but nothing worked. Part of the problem was my choice of variety, the wrong location, improper pruning when it was young, and the hot summers. I think letting go is also part of taking responsibility, and it makes room for something new and different. Let yourself be surprised!
Show 2 answersPopular Articles

Gardening in March: Preparation & Cultivation

Propagating Peppers/Chillies: How to Grow Them Successfully

Cultivation or Direct Sowing: When and Which Vegetables to Propagate?

Sowing and Propagating Tomatoes: This Is How It Works

Raised Beds: Your Planting Plan for a Year

Plant Lights for Growing and Overwintering Plants

Growing Cucumbers Seedlings in Pots: Tips for Propagation

Pricking Out Vegetable Plants: Tips and Instructions

Growing & Harvesting Rocket: Good & Bad Companion Plants

How to Grow Broccoli: Tips for Cultivation
FAQ
When are peas ready to harvest?
Peas are ripe when the pods are full but still tender and sweet-tasting.
How do I harvest peas correctly?
Peas should be harvested in the morning by carefully picking the pods from the plant.
What is the best way to store peas?
Fresh peas should be eaten within 2-3 days or frozen immediately.