Do you want a cookie?

Green thumbs, watch out! We use cookies on our website - not the delicious ones for snacking, but the digital helpers. They enable us to find out how our website is used. If you click on "Accept", our virtual garden gnomes will be happy and promise to guard your data like their own watering can. You can find more information in our Privacy Policy.

Blog Artikel Banner Bild

Knoblauch pflanzen: Anbau, Pflege & Ernte

16.06.2021  /  Reading time: 3 minutes

Knoblauch ist aus der Küche rund um die Welt nicht wegzudenken. Sowohl die Bulben, wie auch das Grün sind gesund und lecker. Um auch in den Genuss von frischem Knoblauch und seinen Blättern zu kommen, kann man das Zwiebelgewächs ganz leicht selbst anbauen.

This article contains:

  1. Knoblauch anbauen: Standort & Boden
  2. Wann pflanzt man Knoblauch?
  3. Knoblauch stecken
  4. Knoblauch im Hochbeet

Quick Overview

Knoblauch pflanzen & anbauen: Eine Übersicht

  • Standort: sonnig, warm mit lockeren, humosen Boden
  • Zeitpunkt zum Stecken: Frühjahr (Februar bis März) oder Herbst (Oktober)
  • Stecktiefe der Zehen: 5 - 7 cm
  • Saattiefe der Samen: 1 - 2 cm
  • Pflanzabstand: 15 - 20 x 30 - 40 cm

Knoblauch anbauen: Standort & Boden

Solange der Standort stimmt, ist der Knoblauchanbau nicht besonders schwierig. Das Zwiebelgewächs wächst gerne an einem sonnigen, warmen Platz. Obwohl Knoblauch Wärme mag, sollte der Boden aber nicht zu trocken sein, da der Flachwurzler sonst im Sommer Wassermangel bekommt. Um ihn vor der Knoblauchfliege zu schützen, wähle eine gut durchlüftete Lage aus. Der Boden sollte locker, humos und nährstoffreich sein. Aber sei etwas vorsichtig mit Überdüngung, ein zu hoher Nährstoffgehalt mindert das Aroma. Mit weniger Nährstoffzufuhr werden die Bulben zwar kleiner, doch der Geschmack intensiver. Außerdem bestimmt das Pflanzmaterial das Ergebnis. Wähle daher immer gesunde Zehen zum stecken aus.

Wann pflanzt man Knoblauch?

Knoblauch kann zu zwei Zeitpunkten im Jahr gesetzt werden. Im Frühjahr oder im Herbst. Für Neueinsteiger empfiehlt sich die Pflanzung von Februar bis März. Die Bulben haben zwar weniger Zeit sich zu entwickelner und bleiben etwas kleiner, aber sie können dann im selben Jahr geerntet werden. Im Oktober kann der Knoblauch ebenfalls gesetzt werden. Geerntet wird er dann im Sommer des folgenden Jahres. Da die Pflänzchen länger wachsen können werden die Bulben größer. Bei der Herbstpflanzung sollte man die bepflanzte Fläche mit einer Laubschicht oder Mulchfolie schützen.

Knoblauch stecken

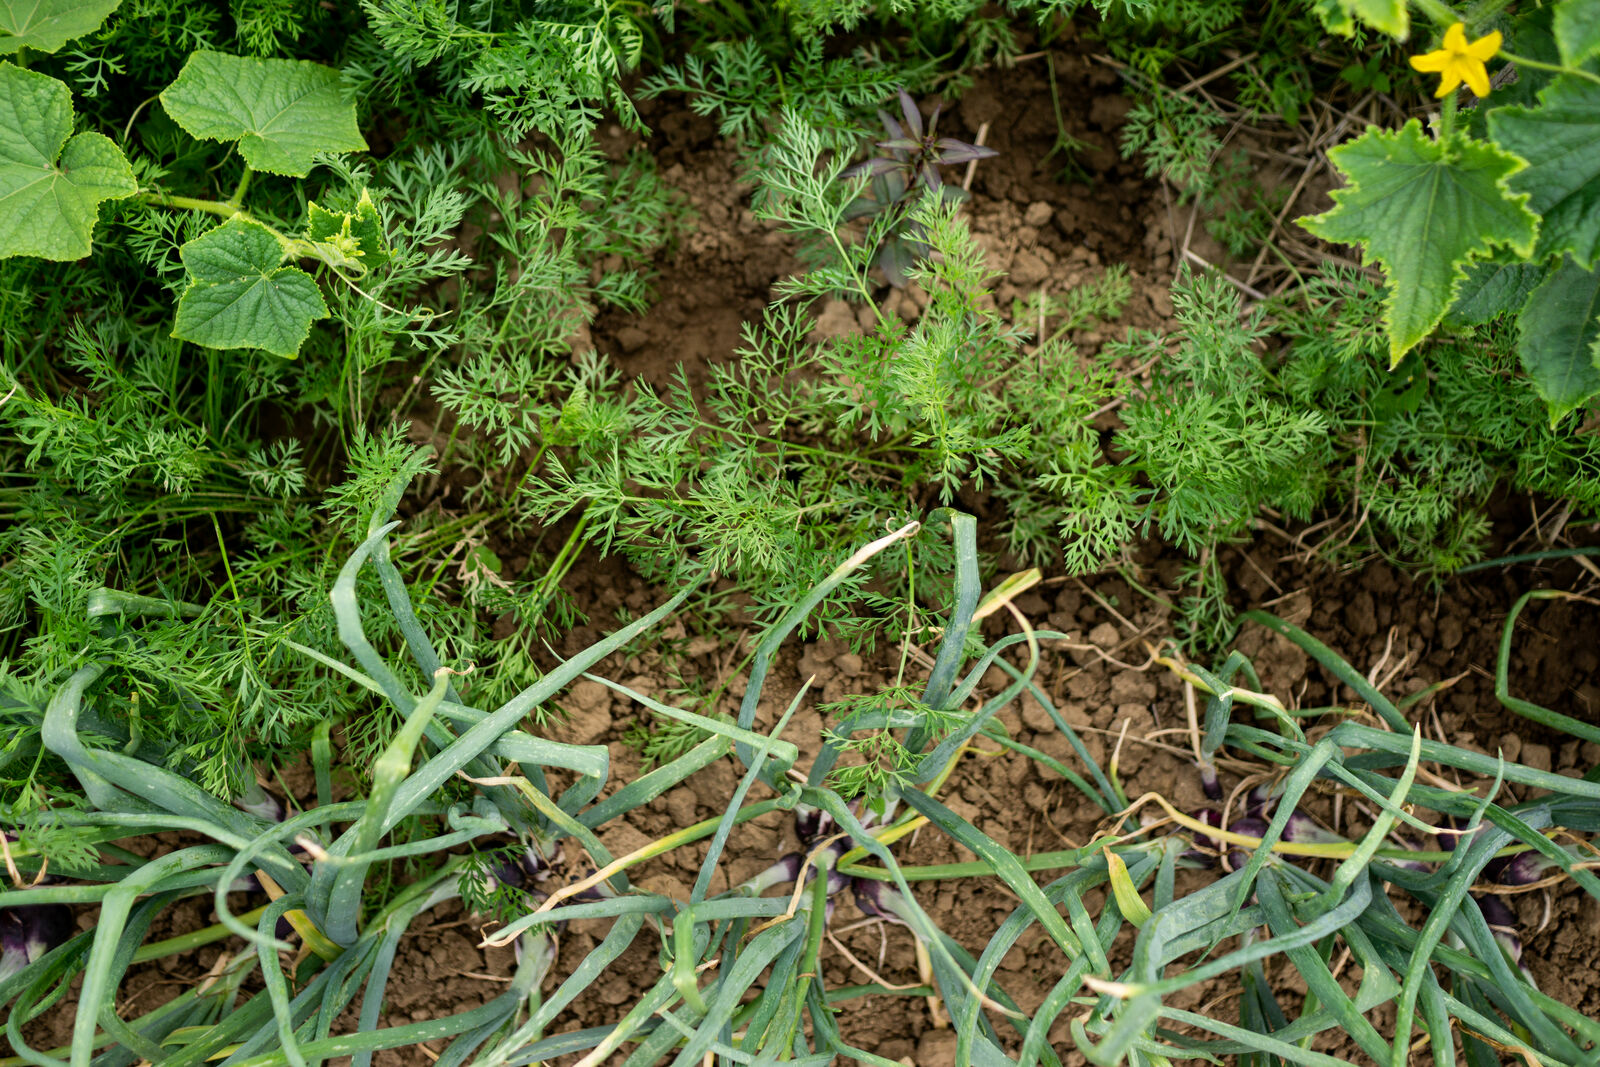
Bevor man den Knoblauch stecken kann, muss man erst noch das Beet vorbereiten. Dieses sollte feinkrümelig sein und etwas feiner Kompost mit eingearbeitet sein. Dann kannst du die Setzlinge stecken. Wenn du Bulbillen verwendest, also die “Samen” der Knoblauchpflanze, werden diese im Abstand von 10-15 cm 1-2 cm tief eingesetzt. Achtung, Brutknospen benötigen zwei Jahre um Knoblauch ernten zu können. Nutzt du die Zehen als Stecklinge, werden zuerst die Knollen in einzelne Zehen geteilt und diese dann mit 15-20 cm Abstand und 5-7 cm tief gesetzt. Sowohl Bulbillen, wie auch Zehen werden mit der Spitze nach oben eingesetzt. Der Reihenabstand beträgt 45-50 cm. Dazwischen kann man für eine Mischkultur wunderbar Tomaten, Möhren oder Gurken pflanzen. Der Knoblauch hält mit seinem Geruch auch gleichzeitig deren Schädlinge fern.

Knoblauch im Hochbeet

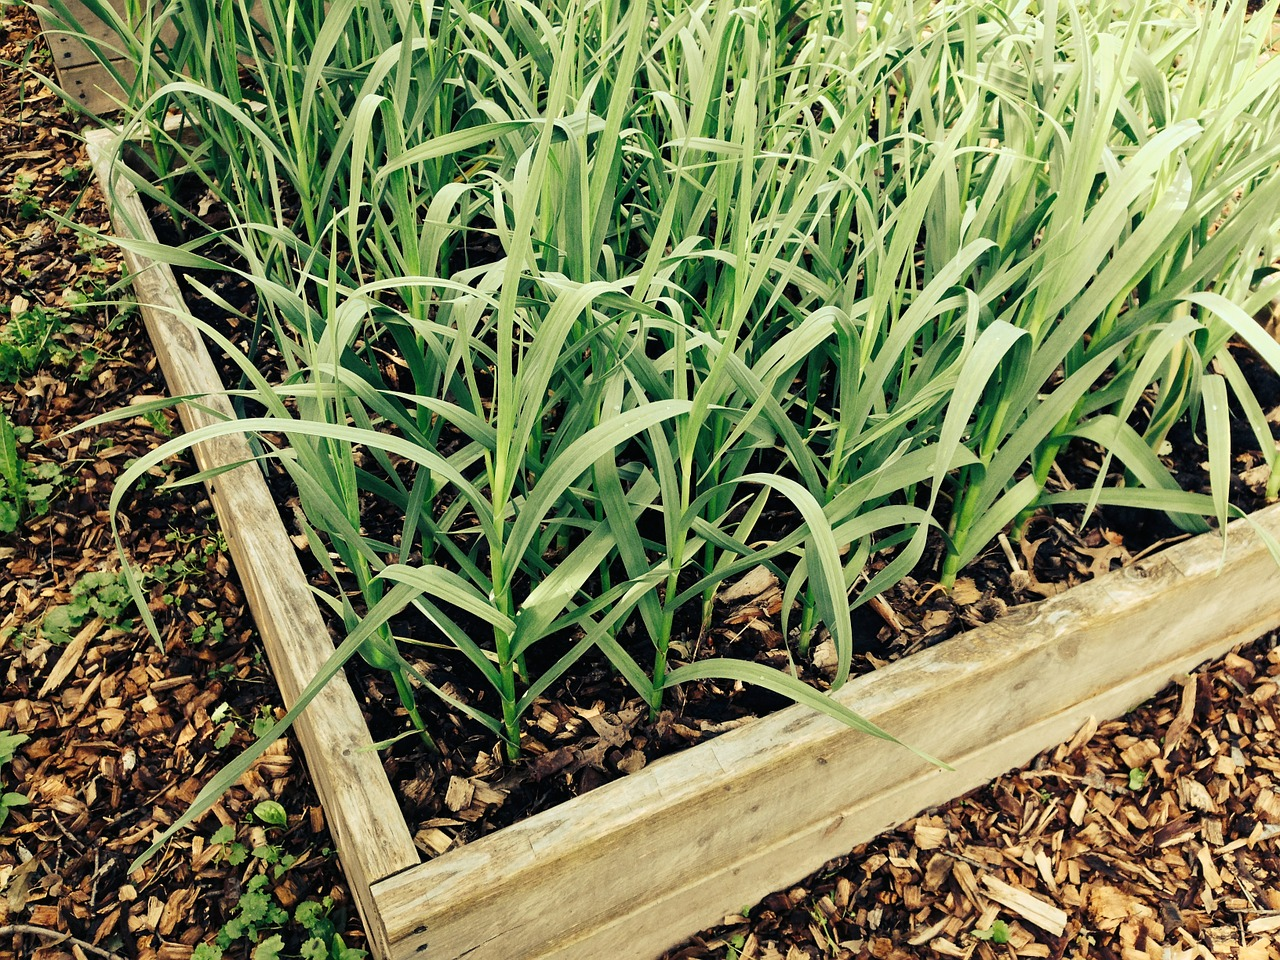
Wenn du für deinen Knoblauch nicht den richtigen Standort im Garten hast, kannst du den Flachwurzler auch problemlos in einem Topf oder Hochbeet anpflanzen. Letzteres hat den Vorteil, dass es durch die verrottenden Materialien und die daraus entstehende Wärme schon früher im Jahr bepflanzt werden kann. Außerdem kann das Wasser hier sehr gut abfließen.

Viel Spaß beim experimentieren mit deinen Knoblauch-Stecklingen! Im nächsten Artikel findest du kurz und knapp, wie man selbst Knoblauch vermehren kann. Bei Fragen und Anmerkungen schreibe uns gerne an [email protected].


Du willst das ganze Jahr über hilfreiche Gartentipps bekommen und deine eigenen Beete optimal planen? Dann registriere dich hier oder lade dir die Fryd-App für Android oder iOS herunter.


Fryd - Dein digitaler Beetplaner


Bild von Paul Neumann auf Pixabay

Author

Ann Sophie

Ann Sophie is studying agricultural sciences at the University of Hohenheim. There, she grows vegetables on her balcony. She also enjoys spending her free time in nature, preferably hiking with friends.

Learn more

Current topics in the community

Avatar
Matschipatschi 1 hours ago
I like
Respond

Liked 4 times

There are just 7 days between the pictures. 😱😍😍😍 The #tomatoes are stepping on the gas! And are just waiting for consistently warm temperatures. 😊

Avatar
Cece 2 hours ago
I like
Respond

Liked 4 times

The raised bed project in my little garden is progressing folks 💪🏻 pow pow pow 🎊 Just in time for sowing season! Briefly about the start of my project : We only have a sloping area in our little garden with a decent gradient. That's why I leveled the site beforehand. To do this, I laid brick after brick on edge along the garden shed into the ground and plastered the outer edge with concrete. Why this discreetly exaggerated method? We still had bricks and concrete left over from building the patio and because I wanted it to be extra fancy, I naturally chose the most fancy method 😂. And what else do you take a vacation for🙈? But let's be honest, it's more for the look than anything else🤭. I wanted to create a visually separate area in the garden that has a straight overall surface. After also protecting the outer wall of the garden shed from moisture, it was time to level the ground and fill the area with woodchippings. These wood chips are kind of trendy for raised beds right now, aren't they? (at least according to my Pinterest algorithm 😂). The 120 x 80 raised bed frames are standard plug-in frames from the DIY store (my second home 🥰). I sanded the frames briefly, sealed them with a protective glaze and put them together. Secured with chicken wire to protect against uninvited guests and covered with bubble wrap, I'll continue with the filling today 🎊! I'm really looking forward to this point. Finally, all the garden waste that has been piling up in every free corner of the garden for weeks can be put to good use and disappear behind wooden cladding 😅. Then it will be watered and the area tilled 😬 FINALLY!!! I'll keep you up to date 🌷♥️ enjoy the sun How would you have dealt with the slope? 🤗 Are your raised beds already in place or are there still newbies like me? Ciaoi 🌷

Show 1 answer
Avatar
Eifelpflanze 3 hours ago
I like
Respond

Liked 7 times

They are still small, but hopefully they will soon be big and nutritious 😊

Register for free

You can quickly and easily register for free in our mobile app and use many more features.

These include:

  • Access to our community
  • Free mixed culture bed planning
  • Database with over 3,000 varieties of vegetables

Have you heard of the Fryd app?

From growing to harvesting - plan your vegetable garden with Fryd

You have a question on this topic?

Post your question in the Fryd‑community and get quick help with any challenges in your garden.

Register for free

You can quickly and easily register for free in our mobile app and use many more features.

These include:

  • Access to our community
  • Free mixed culture bed planning
  • Database with over 3,000 varieties of vegetables

Effortless Fun in Every Plot!

Dive into garden planning with Fryd and transform every inch of your garden into a vibrant veggie oasis.