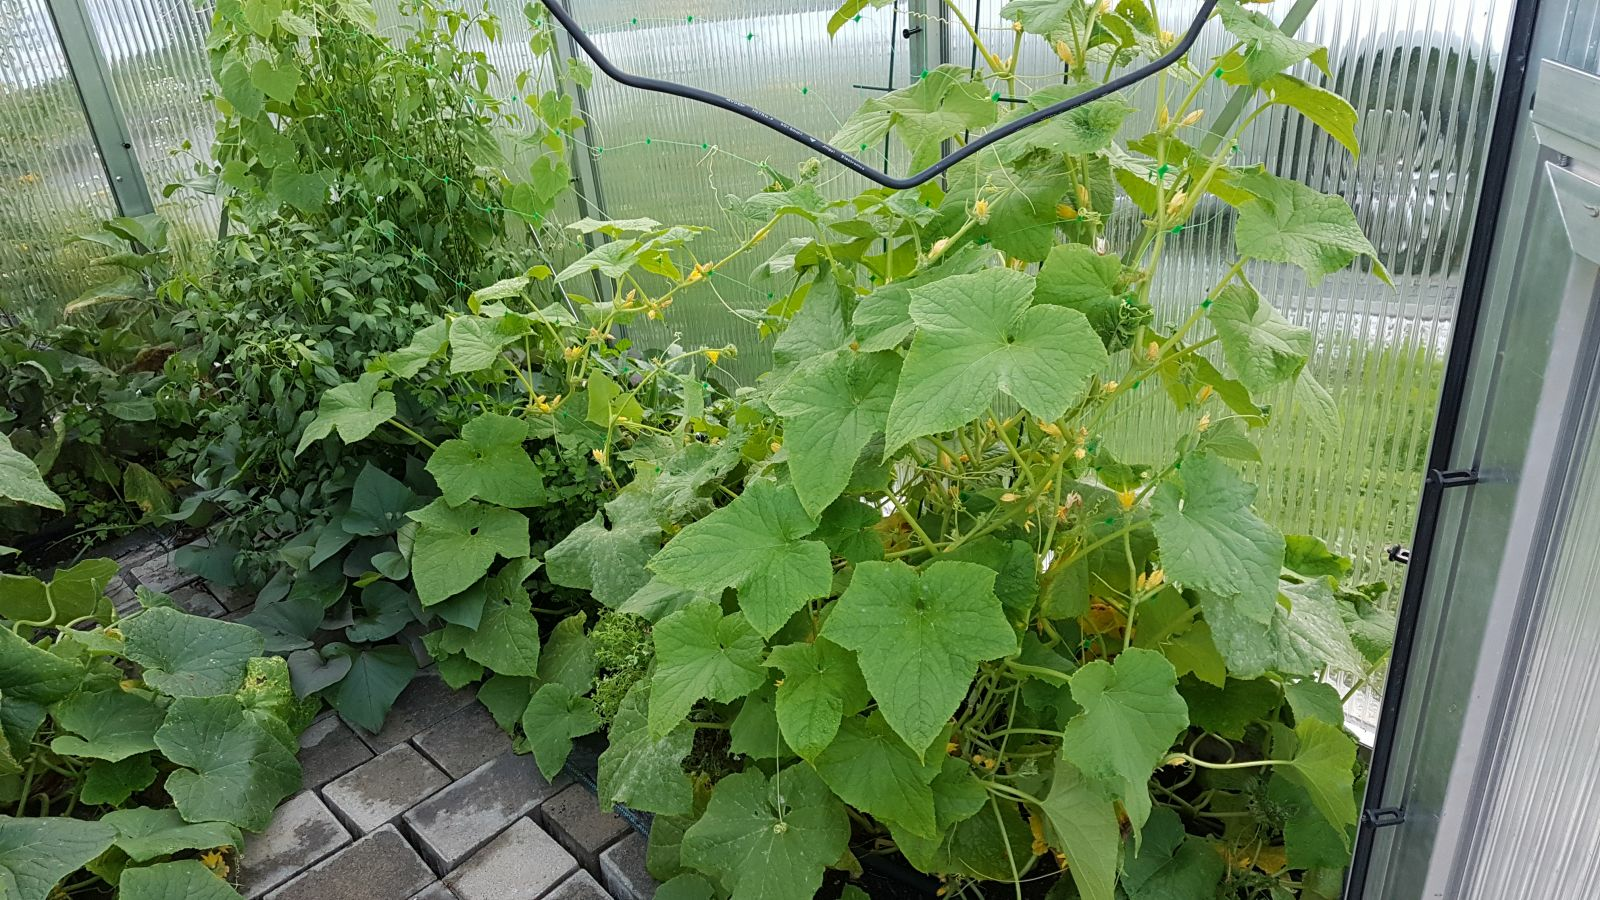
Vegetable Garden With Greenhouse: How to Use Greenhouse Effect
Nowadays you can see a small greenhouse in more and more gardens. They make use of the so-called greenhouse effect. But what can you do if you don't have the space (or money) for a proper greenhouse? In this article, I'll show you what the greenhouse effect is and how you can use it - on a large or small scale. I also go into basic cultivation work such as fertilization, irrigation and mixed cultivation in conjunction with the greenhouse effect.
This Article Contains:
- How Does a Greenhouse Work: The Greenhouse Effect
- The Best Greenhouses for Every Home Garden: A Comparison
- Greenhouse Accessories: From Irrigation Systems to Hygrometers
- Irrigation for the Greenhouse
- Fertilization and Soil Cultivation in the Greenhouse
- What Vegetables Can You Grow in a Greenhouse
- Pests in the Greenhouse: How to Control Slugs and Snails
Quick Overview
Greenhouse for Your Vegetable Garden: Use Greenhouse Effect
- Greenhouse effect - what is it?
- The greenhouse effect describes the fact that the sun's heat radiation is not completely absorbed by the earth, but that some of it is reflected. Not all of this part disappears into space, but part of it is radiated back to the earth by the atmosphere and increases the warming effect.
- Different types for the home garden:
- There are various ways to make use of the greenhouse effect: Glass houses, houses with multi-skin sheets, cold frames, foil tunnels, small foil houses or even growing hoods.
- Irrigation:
- Due to the higher temperature, irrigation is an important issue when gardening with the greenhouse effect. Methods that moisten the soil directly, such as bead hoses or drip irrigation, are particularly suitable
- Planting:
- During the main season, heat-loving plants such as tomatoes, peppers, eggplants and melons are particularly suitable for planting, while fast-growing plants such as lettuce, Asian lettuce and radishes are ideal in the early and late season and in (over)winter cultivation.
- Typical pests & suitable (biological pest control):
- Typical pests in the greenhouse are aphids, spider mites, fungal diseases (especially powdery mildew) and slugs. Biological control works mainly through cultivation measures and beneficial organisms.
How Does a Greenhouse Work: The Greenhouse Effect
The light from the sun is converted into heat radiation when it hits the earth. This is a good thing, otherwise we would freeze to death. Some of the heat radiation is stored by the earth and bodies of water, but some is also thrown back up again. There the heat radiation then hits the atmosphere. The gases it contains, above all the greenhouse gases CO2 (carbon dioxide) and methane (CH4), ensure that some of the heat radiation is reflected back to earth. The rest, which is not reflected back, disappears into space.
Gardening with the greenhouse effect makes use of this effect. The walls of the greenhouse act as an "atmosphere" and ensure that some of the heat radiation remains inside the greenhouse and is "bounced" back and forth. As a result, the greenhouse reaches a significantly higher temperature than the outside environment.
The Best Greenhouses for Every Home Garden: A Comparison
The classic greenhouse is a glass house, as we know it from nurseries. The glass house has many advantages: It is a visual highlight, you can see the plants and they get all the light they need. It is easy to clean, but it has no shading effect - which means that plants can burn, especially in summer. The insulating effect is also rather poor. In addition, glass panes are very heavy and can break easily. The insulating effect can be increased by using insulating glass, while a shading effect can be achieved by using Nörpel glass.
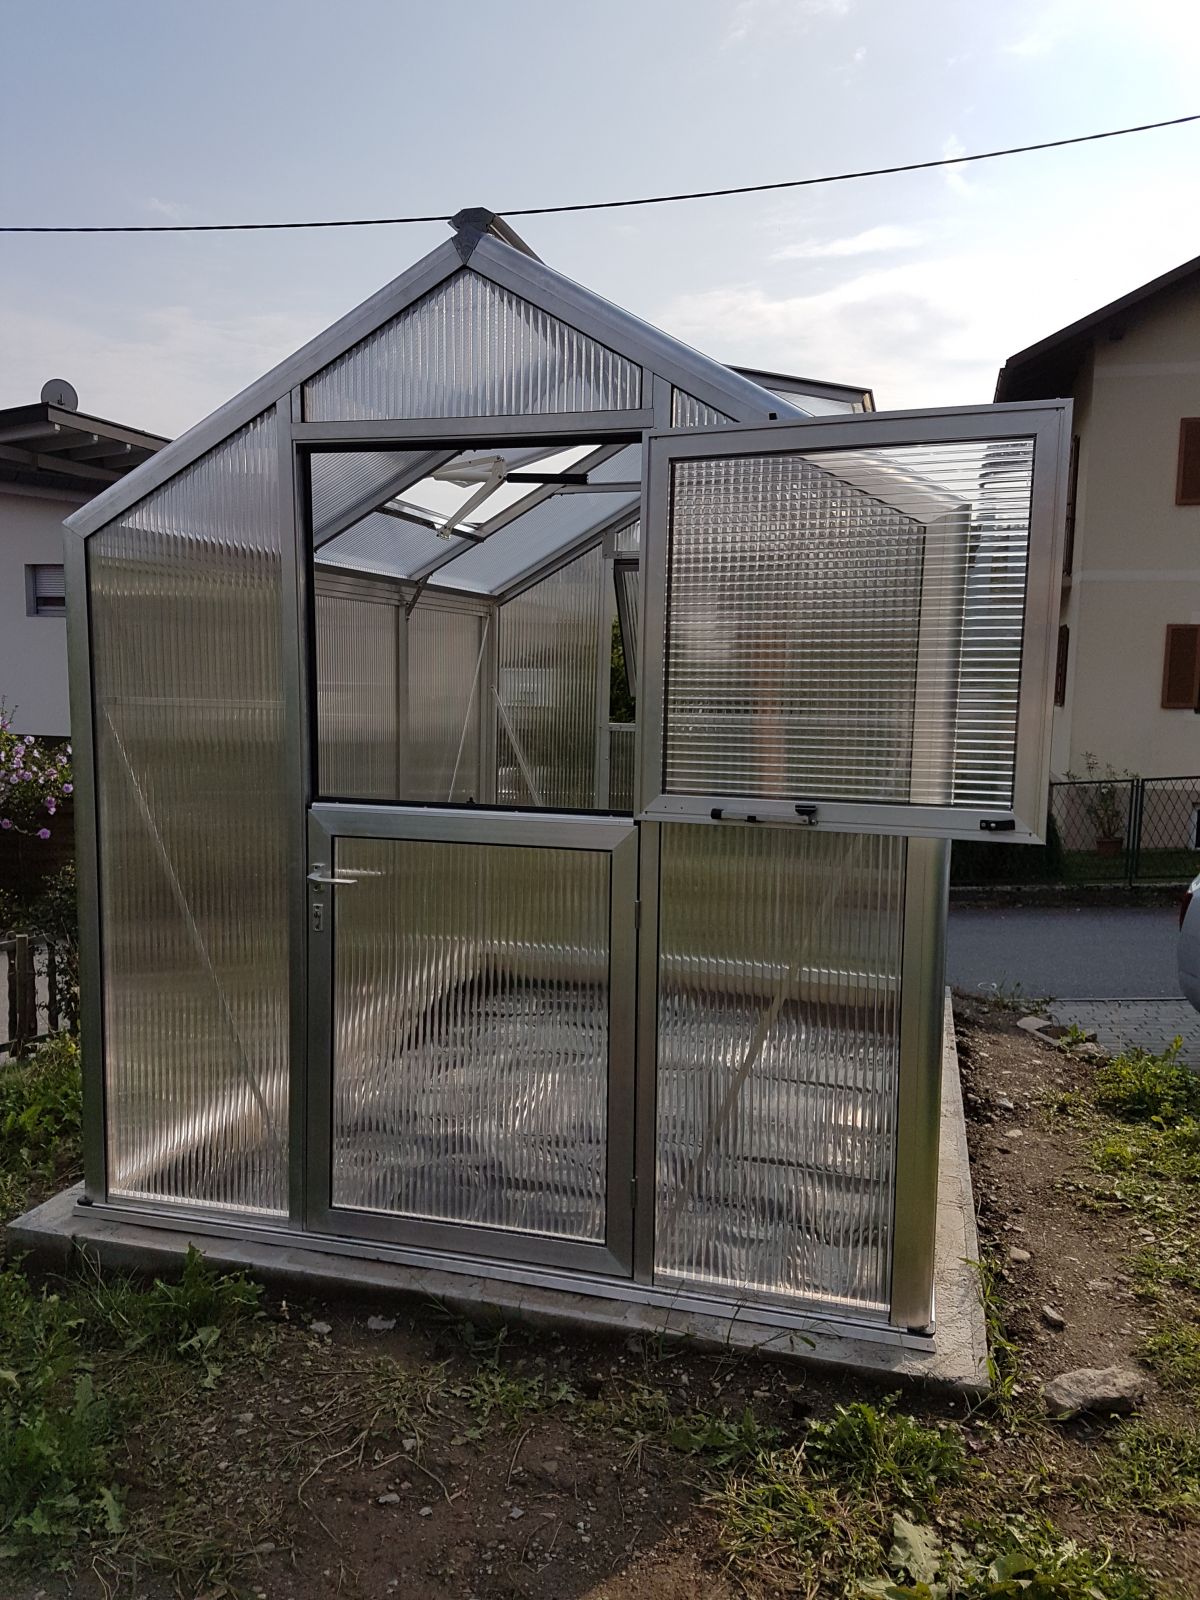
However, greenhouses with multi-skin sheets are becoming increasingly popular. The multi-skin sheets are made of plastic and are available on the market in various thicknesses from 4 to 16 mm/0.2 to 0.6 in. It is not only the thickness that is important, but also the number of bars. Double-skin sheets have one air cushion, triple-skin sheets have two. The more webs and the thicker the panels, the greater the insulating effect, meaning that the heat remains in the greenhouse for longer. In contrast, however, the shading effect is also greater and the plants receive less light than in a glass house. This also reduces the risk of burns.
In addition to these classic houses, there are also foil tunnels or houses. These are not nearly as stable, have a much lower insulating effect and provide much more shade than the houses already presented. However, they are also available in smaller versions, which makes them attractive for small home gardens or balconies. It is important that sufficient ventilation is also ensured with these variants.
A cold frame also uses the same principle of the greenhouse effect. This can either be permanently installed or be the mobile, inexpensive version. The mobile version has the advantage that it can be placed over the small plants and then removed when it is warmer in summer and the plants have grown large and strong.
Another option is the "open" house. These consist only of a roof or possibly one or two additional sides as weather protection, but cannot be completely closed and are primarily used as rain protection, e.g. for tomatoes. Nevertheless, a warmer microclimate is also created under the roof. Due to the open design, however, significantly more heat dissipates into the environment than is the case with a closed house.
The last option for utilizing the greenhouse effect is to use propagators or propagation trays with a hood (cover). This also creates a greenhouse effect on a small scale and makes it significantly warmer and more humid. This protects the plants from drying out, but also favors certain diseases.
| Advantages | Disadvantages | |
|---|---|---|
| Glass House | very attractive appearance | risk of breakage |
| strong greenhouse effect | low insulating effect | |
| very stable | risk of burns | |
| easy to clean | requires a solid foundation | |
| House With Multi-Skin Sheets | strong greenhouse effect | visually not very attractive |
| good shading effect | requires a firm foundation | |
| good insulating effect | ||
| very stable | ||
| Foil Tunnel / Foil House | good greenhouse effect | less solar radiation |
| strong shading effect | not a visual highlight | |
| light and easy to relocate | sensitive to wind | |
| Cold Frame | good greenhouse effect | limited susceptibility to wind |
| in mobile version: very variable use | visually not so attractive | |
| “Open” Houses | protection against rain / hail / etc. | very little greenhouse effect |
| light shading effect | ||
| Cultivation Variants | good greenhouse effect | can lead to heat build-up / excessive humidity |
| very flexible | ||
| suitable for windowsills |
Greenhouse Accessories: From Irrigation Systems to Hygrometers
When considering the purchase of a greenhouse, you should also think about the accessories at the same time. The most important thing is to ensure sufficient ventilation. At least a 2D draught should be guaranteed, preferably a 3D one. This means that there should be openings (doors, windows, etc.) on both gable ends and in the roof. On the roof, it is important that there are windows on both sides of the roof surface to create a chimney effect.
In addition to the windows, the purchase of automatic window openers is highly recommended. This saves you having to open and close the windows manually in summer depending on the weather. No electrical connection is required. Opening is done mechanically. The mechanism contains a material that expands with heat and thus opens the windows.
With a glass house in particular, you should also purchase a shading option, e.g. a shading net, to prevent the plants from burning.
Depending on the planned use of the greenhouse, there are other accessories that support cultivation in the greenhouse:
- insulating foil (for the winter)
- fan / heating
- lighting
- climbing aids (e.g. climbing net)
- irrigation systems
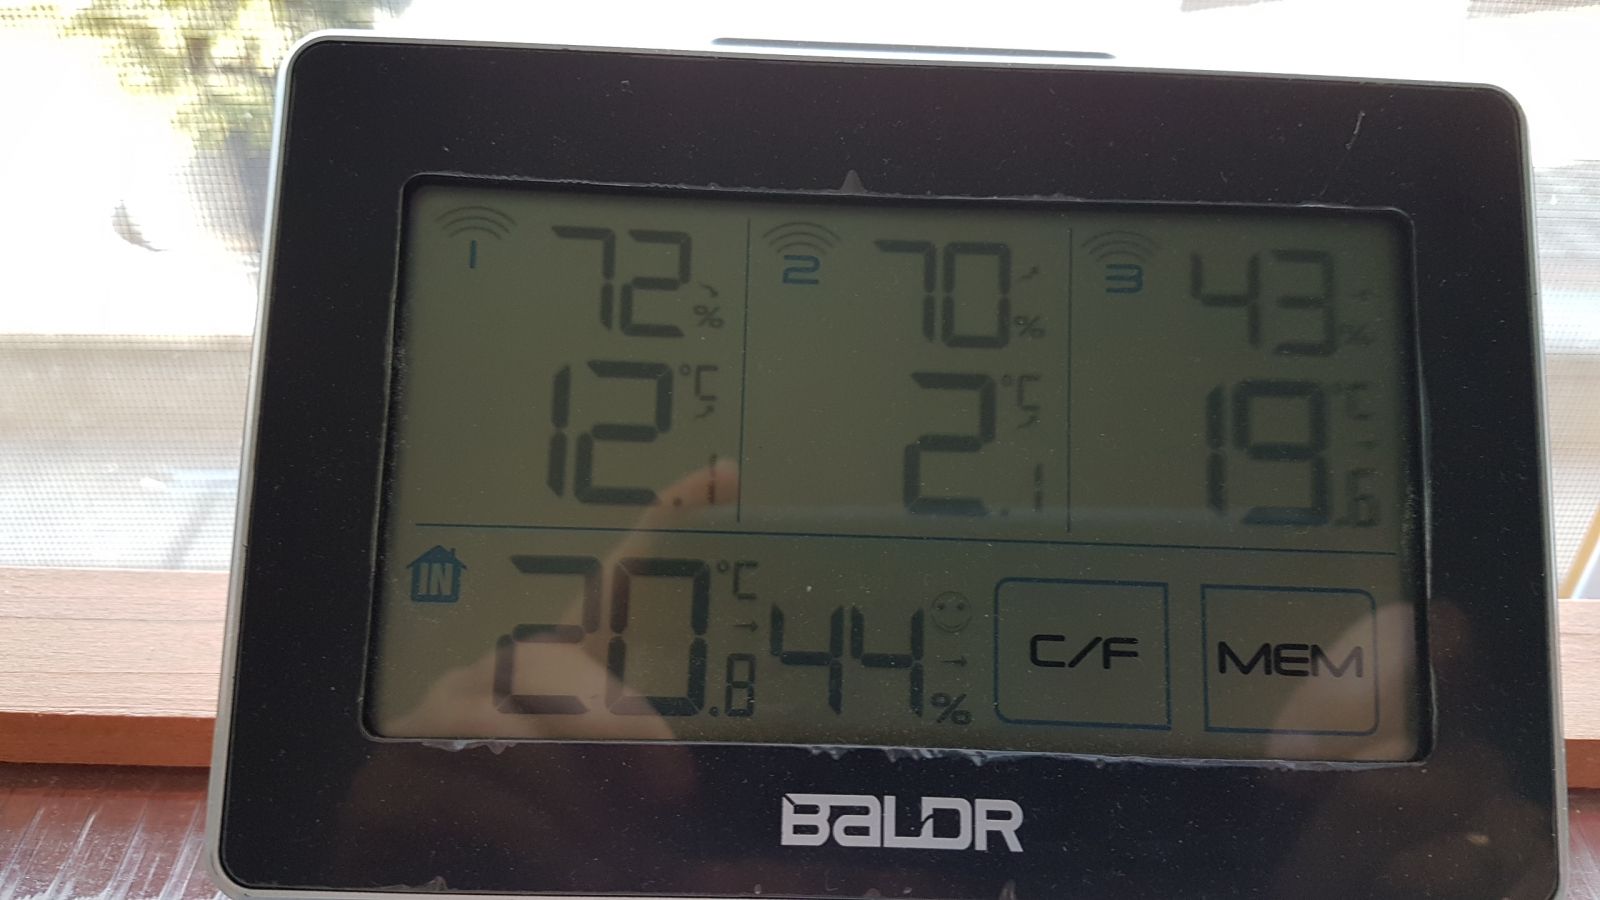
- a thermo or thermo-hygro meter is also highly recommended to keep an eye on temperature and humidity.
Tip for setting up the greenhouse: Plan enough time and support for setting up the greenhouse. It took 5 adults a whole day to assemble the 6 m2/7.2 yd2 greenhouse shown here, without taking into account that the windows still had to be sealed, the irrigation system installed, etc.

You Are Looking for a Garden Community?
This article is made from a dear member of the Fryd community. Here you can meet experienced gardeners and exchange ideas or ask for help and advice. If you want to connect with other garden lovers, this is the right place for you!
Join Community NowIrrigation for the Greenhouse
At higher temperatures, plants also need more water. There are basically two options: A method that supplies water directly to the soil/roots, or a method in which the entire plants are watered.
Irrigation Systems at a Glance:
| Soil Irrigation | Irrigation Systems | |
|---|---|---|
| Advantages | saves water; water gets to where it is needed; plants stay dry; no significant influence on air humidity | requires more water; cooling effect; particularly good in summer; increases humidity |
| Disadvantages | no cooling effect | plants get wet, resulting in the risk of fungal diseases |
| Examples | drip irrigation, bead hose, drip hose | garden hose; spray irrigation |
I myself chose a combination of both: For the actual watering, a beaded hose was installed in two lanes. In addition, spray nozzles are installed at two opposite corners at a height of approx. 20 cm/7.9 in, which provide increased humidity and a cooling effect. I have got away with this well in recent years. I have not noticed any significant worsening of fungal diseases, nor have I had to deal with spider mites. The advantage of the low nozzles is that only a small percentage of the plant actually gets wet. However, the evaporative cooling benefits the entire plant.
Fertilization and Soil Cultivation in the Greenhouse
A lot of biomass is produced in a small space in the greenhouse, so nutrients must be supplied in sufficient quantities. The fertilizer should be worked into the soil superficially with a rake to ensure optimum distribution. Suitable fertilizers include sheep's wool (raw wool or pellets), compost, horn shavings, etc.
I myself use sheep's wool (preferably as pellets because they fly away less), Biovin (a product made from grape seeds) and Biofert, a fertilizer made from the waste product mushroom mycelium. All three fertilizers are both soil conditioners and slow-release fertilizers and complement each other well. I use the specified amount of each of the three fertilizers, especially in the greenhouse. In theory, this means I overfertilize, but in practice I plant the plants in the greenhouse so densely that this amount is necessary. The greenhouse is also topped up with fresh compost every two years.
When working the soil, proceed with caution and avoid digging so that the soil life remains as undisturbed as possible. If the soil is very compacted, it should be carefully loosened with a digging fork. A general replacement of the soil is not absolutely necessary, especially if there is access to the topsoil. Only if soil-borne diseases are spreading in the greenhouse should you consider replacing the soil.
What Vegetables Can You Grow in a Greenhouse
Planting in the greenhouse can be roughly divided into 3 periods: The spring crops, the summer or main crops and the fall or overwintering crops.
For the summer or main crops, all crops must love warmth. Crops that prefer moderate or cooler temperatures will feel uncomfortable in an area with a greenhouse effect and will either immediately switch to generative propagation or die. The mixed culture can be planned in the same way as in the vegetable patch. For companion crops such as beans, heat-loving varieties should be used, e.g. the Tapir spaghetti bean.
Depending on the size of the greenhouse and the insulation effect, summer or main crops can be planted in the greenhouse as early as April. Depending on the weather conditions, there is no need to wait for the ice saints.
Fast-growing crops that tolerate large temperature fluctuations are recommended for spring cultivation. In the greenhouse, temperatures can drop below zero at night and easily reach 20 or 30 °C/68 or 86 °F during the day. These crops must be able to withstand this.
For the fall and winter crops, you can use the same crops that you would grow in the vegetable patch. The crop will develop a little longer and faster in the fall, but you won't have a snow problem in winter.
| Spring | Summer | Autumn/Winter | |
|---|---|---|---|
| Plants (Examples) | Asian salads, spinach, radishes, lettuces | Tomatoes, peppers / chili, eggplants, cucumbers, melons, sweet potatoes | Asian lettuce, spinach, radishes, carrots, radicchio "Grumolo verde" |
| Please Note | Sufficient watering - if it gets very warm during the day, the crops will quickly go into bloom | Water sufficiently, offer climbing aids, ventilate sufficiently | Sowing around September - harvesting possible throughout the winter: only harvest when the plants are completely thawed! Water sufficiently! Plants dry out more often than they freeze in winter |
The space required in the greenhouse is both larger and smaller. The heat-loving plants grow very well here and become very large. A climbing support is therefore essential for climbing plants. Due to the optimal growth, a single plant requires a lot of space. At the same time, however, you can place the plants very close together - and save space again. Ultimately, however, it's all about trial and error.
To decide how many plants of what to plant, you first need to think about how much harvest you want to get from each plant. As a small point of reference: I got about 30 large jars of gherkins from 5 gherkin plants and about 15 jars of pickled peppers from 2 pepperoni plants (mild spiral variety).
Pests in the Greenhouse: How to Control Slugs and Snails
Of course, pests can also be found in the greenhouse - unfortunately, the greenhouse is no protection against them. I have listed the most common pests and ways of controlling them in the table below.
| Characteristics | How to Combat Them | |
|---|---|---|
| Aphids | Sucking insects, initially on the underside of the leaves, punctiform lightening of the plants | Lacewing larvae, ladybugs (larvae), parasitic wasps |
| Mildew | White coating on the leaves, wipeable or non-wipeable depending on the exact type | Keep leaves dry. Sulphur is also nebulized in commercial horticulture |
| Red Spider / Spider Mite | Initially only punctiform brightening of the leaves, later fine webbing with very small, reddish animals. The animals always migrate upwards to the top of the plant | Predatory mites, lacewing larvae, increase humidity - spider mites only like it dry and disappear quickly if it gets too damp for them |
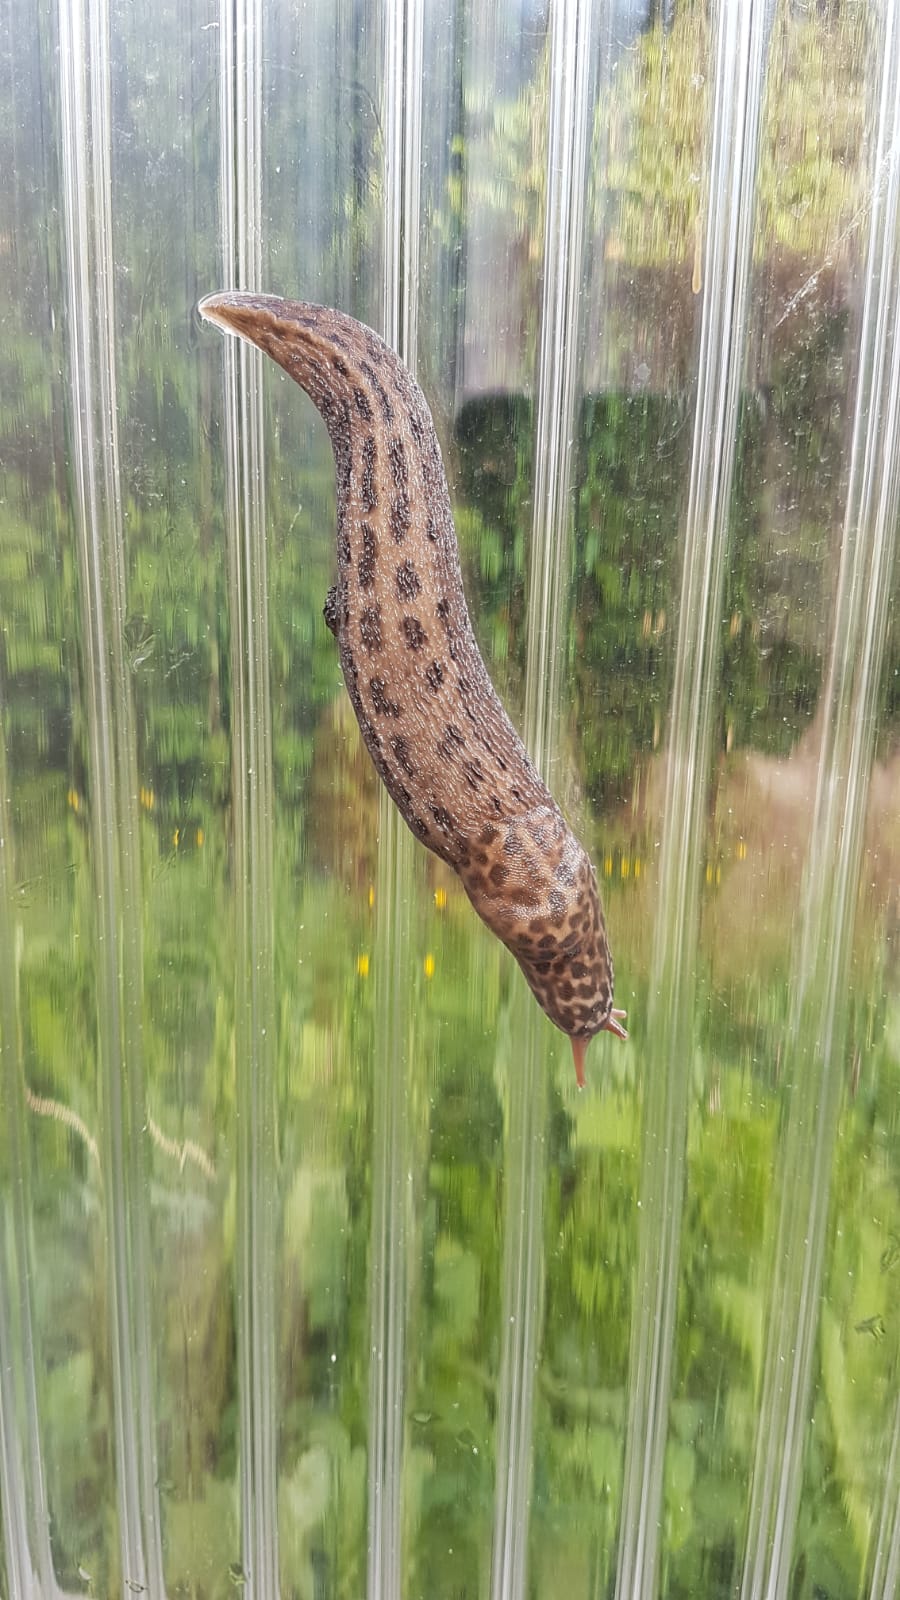
| Snails | Voracious molluscs; in the hot time of day they hide in the shade under leaves or even dig themselves in. Typical feeding sites on the plants | Watering nematodes (only works well in spring during the hatching season), building barriers (e.g. rock flour, cocoa shells, snail fences, copper tape), snail pellets (organic, with iron phosphate), collecting, colonizing natural enemies through optimal life bonds, e.g. hedgehogs, runner ducks or even snails and vineyard snails. The snail is a predatory slug that eats snails up to its own size. |
To summarize, I can say that pests do occur in the greenhouse from time to time, but the actual damage is very limited. Even without control, I haven't had any crop losses so far. I fight the aphids in particular because I don't like it when everything I harvest is covered in honeydew 😉.
By the way, be careful with ant colonies in the greenhouse and also in the vegetable garden: ants are not a problem for the plants directly, but they cultivate aphids, relocate them if the infestation becomes too dense, etc. It is difficult to control ant colonies in the garden, so it is better to do something about the aphids at an early stage. Once the ants have taken them under their wing, it is advisable to use parasitic wasps rather than lacewing or ladybug larvae. The larvae are actively attacked by the ants.
If you have any questions or comments, please write to us at [email protected]. Would you like to receive helpful gardening tips all year round and plan your own beds optimally? Then register here or download the Fryd app for Android or iOS.
Fryd - your digital bed planner

Beate
Beate is a trained gardener and studied biology. She manages a small home garden for her family with about 6m² greenhouse area and about 15m³ bed area. Also a herb garden is not missing of course.
Current Topics in the Community
Liked 3 times
What have you dragged in now! It doesn't have fur, it's not round, and it's full of sand!
Show 1 answer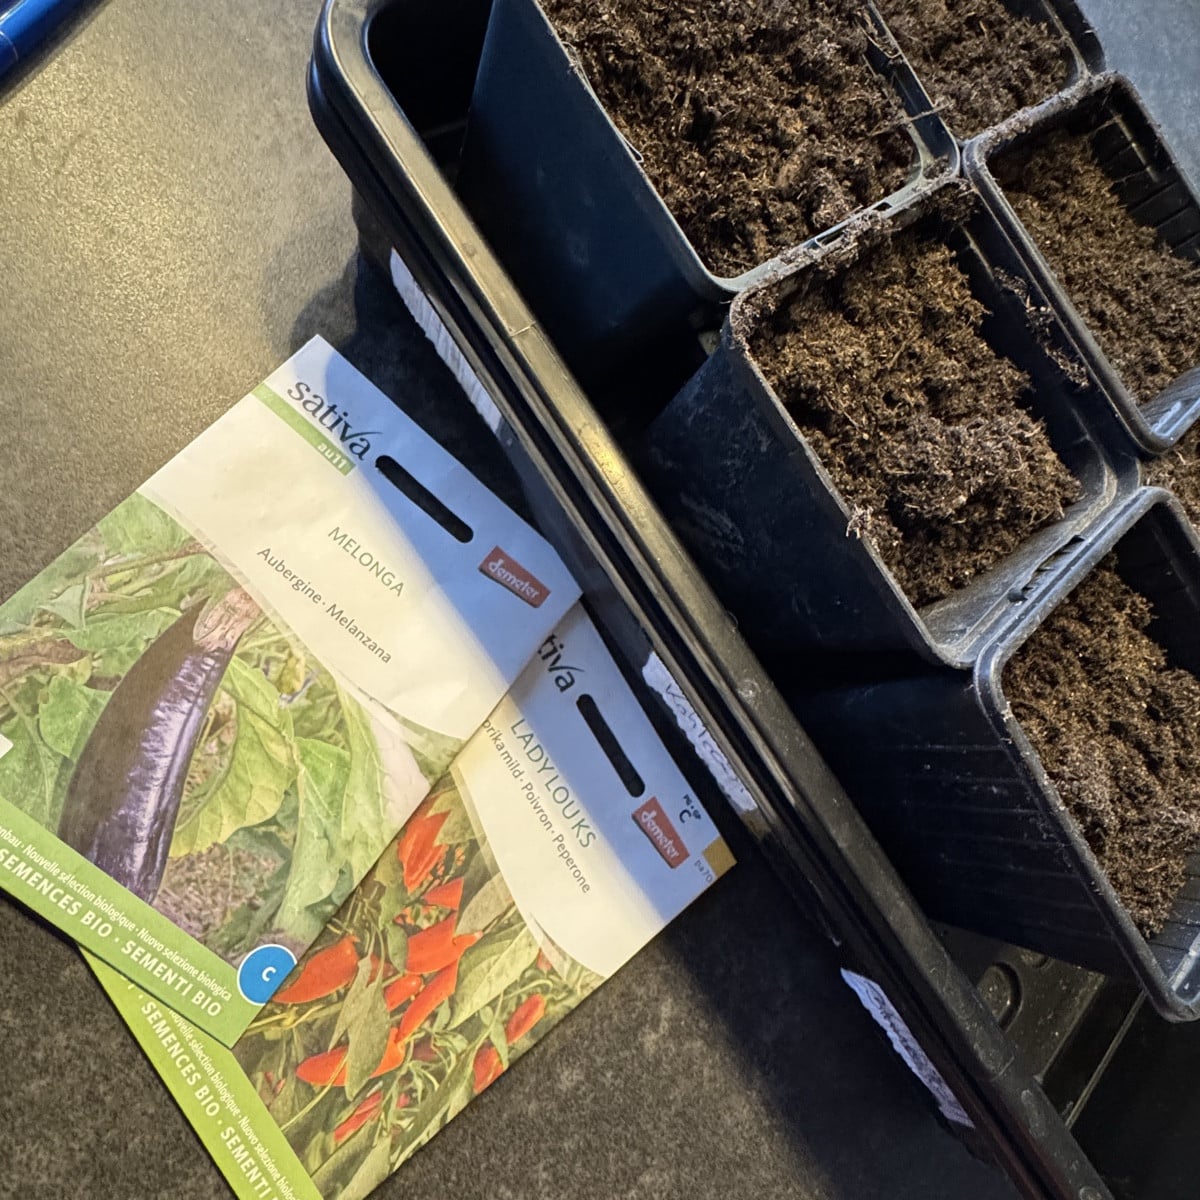
Liked 3 times
I finally managed to grow my first vegetables this year 🥰🌱 peppers and eggplants. If you have any tips, just write them down. I'm open to all tips🌱
Show 1 answer
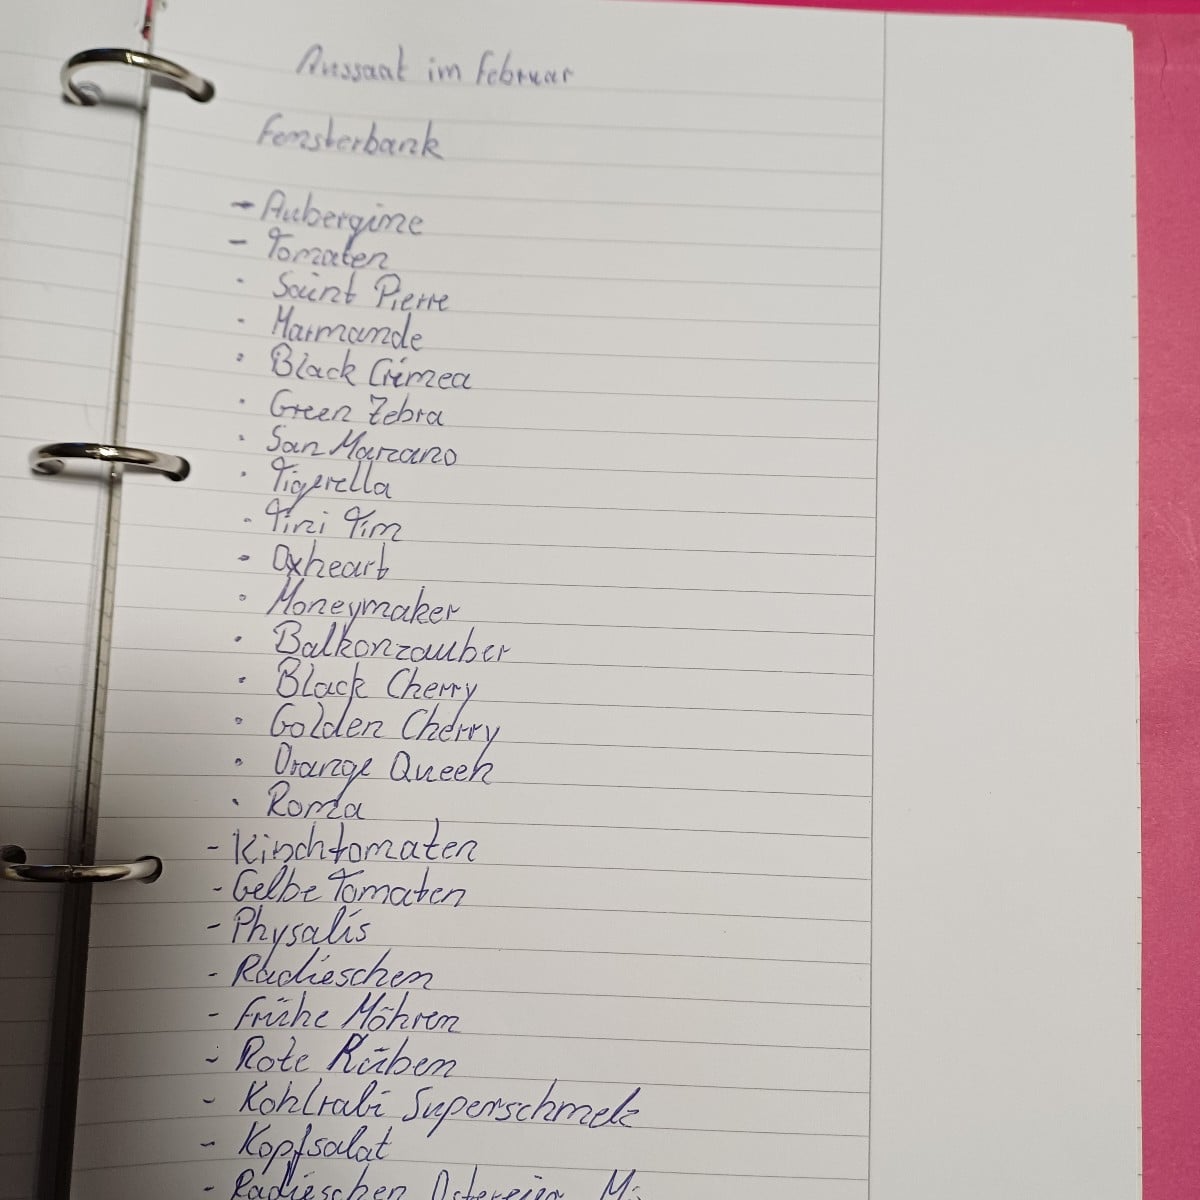
These are the seeds I plant in February.
Show 1 answerPopular Articles
Gardening in March: Preparation & Cultivation
Propagating Peppers/Chillies: How to Grow Them Successfully
Cultivation or Direct Sowing: When and Which Vegetables to Propagate?
Sowing and Propagating Tomatoes: This Is How It Works
Raised Beds: Your Planting Plan for a Year
Plant Lights for Growing and Overwintering Plants
Growing Cucumbers Seedlings in Pots: Tips for Propagation
Pricking Out Vegetable Plants: Tips and Instructions
Growing & Harvesting Rocket: Good & Bad Companion Plants
How to Grow Broccoli: Tips for Cultivation