
How to Make Comfrey Salve/Ointment: Recipe, Use & Effect
In this article, you will learn how to make comfrey ointment yourself. There are step-by-step instructions as well as tips on the effects and use of comfrey as a medicinal plant. We also explain how to harvest and dry comfrey roots.
This Article Contains:
Quick Overview
Comfrey: Effect & Use as a Medicinal Plant
- Comfrey has an analgesic, wound-healing and anti-inflammatory effect. Due to its toxic ingredients, comfrey is mainly used externally and made into ointments or tinctures.
- On the one hand, comfrey can help with skin problems such as dry skin or itching.
- On the other hand, an ointment also helps with strains, bruises, rheumatism, arthrosis or broken bones.
Making Comfrey Ointment: This Is How It Works
- Clean and grate the comfrey roots
- Make oil extract with coconut oil: simmer for 1 to 2 hours on a low heat and then sieve
- Melt the beeswax and mix with the oil extract
- Fill the ointment and leave to cool
Comfrey: Effects as a Medicinal Plant
Comfrey has been used as a medicinal plant since ancient times. It has an analgesic, wound-healing and anti-inflammatory effect and can be processed into ointments, gels or other comfrey extracts. The most common is comfrey ointment, which is made from the roots of the plant (rarely from the leaves). It is mainly used for sports injuries such as strains and bruises, but also for rheumatic pain. Comfrey ointment or comfrey compresses, which are made from cleaned, finely grated comfrey roots, have also proved effective for osteoarthritis, bursitis and bone fractures. For minor sprains, compresses with comfrey leaves can provide relief.
Our tip: If you want to grow your own comfrey for ointment, you can read here what you need to consider when Sowing, Caring for and Harvesting Comfrey.

Comfrey Ointment for the Skin
Due to its poisonous ingredients, comfrey should only be used externally and not on open wounds. Its effective ingredients are numerous: allantoin, saponins, phythosterols, various mucilages and tannins, rosmarinic acid, resins and silicic acid provide rapid relief from various ailments. The pyrrolizidine alkaloids, which can have a toxic effect on organs and tissues when used internally, are also typical of broadleaf plants.
The allantoin it contains promotes, among other things, the formation of new bone substance (callus) and thus the coalescence of bones. The scientific name Symphytum, as well as the German name "Wallwurz" (from Old German "wallen" = to grow together) refers to these properties. The most commonly used name comfrey is derived from the word "leg", which was formerly used for bones (bones). Comfrey can also help with skin problems such as dry skin, itching or minor wounds.

Any More Questions?
In the Fryd community, you’ll find friendly and helpful gardeners ready to share ideas, give advice, and celebrate wins (and failures) together. Gardening is just more fun when you’re not doing it alone.
Join the Community NowHarvesting Comfrey Root for Salves and Tinctures
To harvest comfrey roots, you should first choose the right time. The ideal time is spring or fall, when the plant has its highest concentration of active ingredients. Only select healthy, strong comfrey plants that show no signs of disease or pest infestation for harvesting. And you're ready to go!

This Is How the Harvest Works:
Use a garden fork or spade to carefully dig around the plant to expose the roots and loosen the soil. Be particularly careful not to damage any roots. The plant with the exposed roots is then carefully lifted out of the ground and the excess soil is shaken off.
Now cut off the roots close to the plant stem. If you want to replant the plant, you should leave enough root material so that it can regenerate. Remove small side roots and set aside the main roots. Then wash the roots thoroughly under running water to remove dirt and soil and remove all impurities.
How to Dry Comfrey Root
If you want to dry the roots, you can spread them out on a clean cloth and dry them in a well-ventilated, shady place. This process can take several days to weeks, depending on the size and moisture content of the roots. Once the comfrey roots have been harvested, cleaned and possibly dried, they can be used to make remedies such as ointments, tinctures or compresses. Drying the root is particularly important if the roots are very moist. Then there is a risk that they will start to mold in the oil. So if you have enough time, we recommend drying the comfrey roots.

Ever Feel Lost in the Garden? Connect With Others!
In the Fryd community, you’ll find friendly and helpful gardeners ready to share ideas, give advice, and celebrate wins (and failures) together. Gardening is just more fun when you’re not doing it alone.
Join the Community NowMaking Comfrey Ointment: A Recipe
Comfrey ointment is very easy to make yourself and helps with sprains, bruises, muscle tension, joint pain and bruising.
What You Need:
- fresh or dried comfrey root (approx. 200 g/7 fl. oz.)
- coconut oil (approx. 200 g/7 fl. oz.)
- beeswax or vegetable wax (approx. 20 g/0.7 fl. oz.)
- fine-mesh sieve or gauze cloth
- saucepan
- whisk
- containers for the finished ointment

Recipe and Instructions:
1. Prepare Comfrey Roots
- First roughly remove the soil from the comfrey roots and then wash them carefully as described above.
- Then chop it very finely or grate the root.
2. Produce Oil Extract
- Place the chopped comfrey roots in a pan and add coconut oil.
- Allow the mixture to simmer on a low heat for 1 to 2 hours so that the active ingredients from the roots are absorbed into the oil. To prevent the active ingredients from breaking down, the mixture must not burn or be too hot.
- Then strain the mixture through the cheesecloth or sieve to obtain the pure oil.
3. Make Comfrey Ointment
- Melt the beeswax or other vegetable wax in the pan.
- Then add the oil extract and let the mixture simmer again on a low heat so that everything is well combined.
4. Fill the Ointment and Leave to Cool
- Done. Now pour the warm comfrey ointment into a clean jar and wait until it has cooled before putting the lid on. The ointment should then be firm and ready to use.
- It is best to store the ointment in a cool and dark place so that you can use it for a long time.
If you have any questions or comments, please write to us at [email protected]. Would you like to receive helpful gardening tips all year round and plan your own beds optimally? Then register here or download the Fryd app for Android or iOS.
Fryd - your digital bed planner

Marie
Marie is an agronomist. She is particularly interested in the sustainable and organic cultivation of vegetables and other plants. In her own garden, she gained experience and likes to try things out to learn from nature. She is particularly interested in the values and principles of permaculture, in order to contribute not only to the well-being of nature, but also to the well-being of people and future generations.
Learn MoreCurrent Topics in the Community
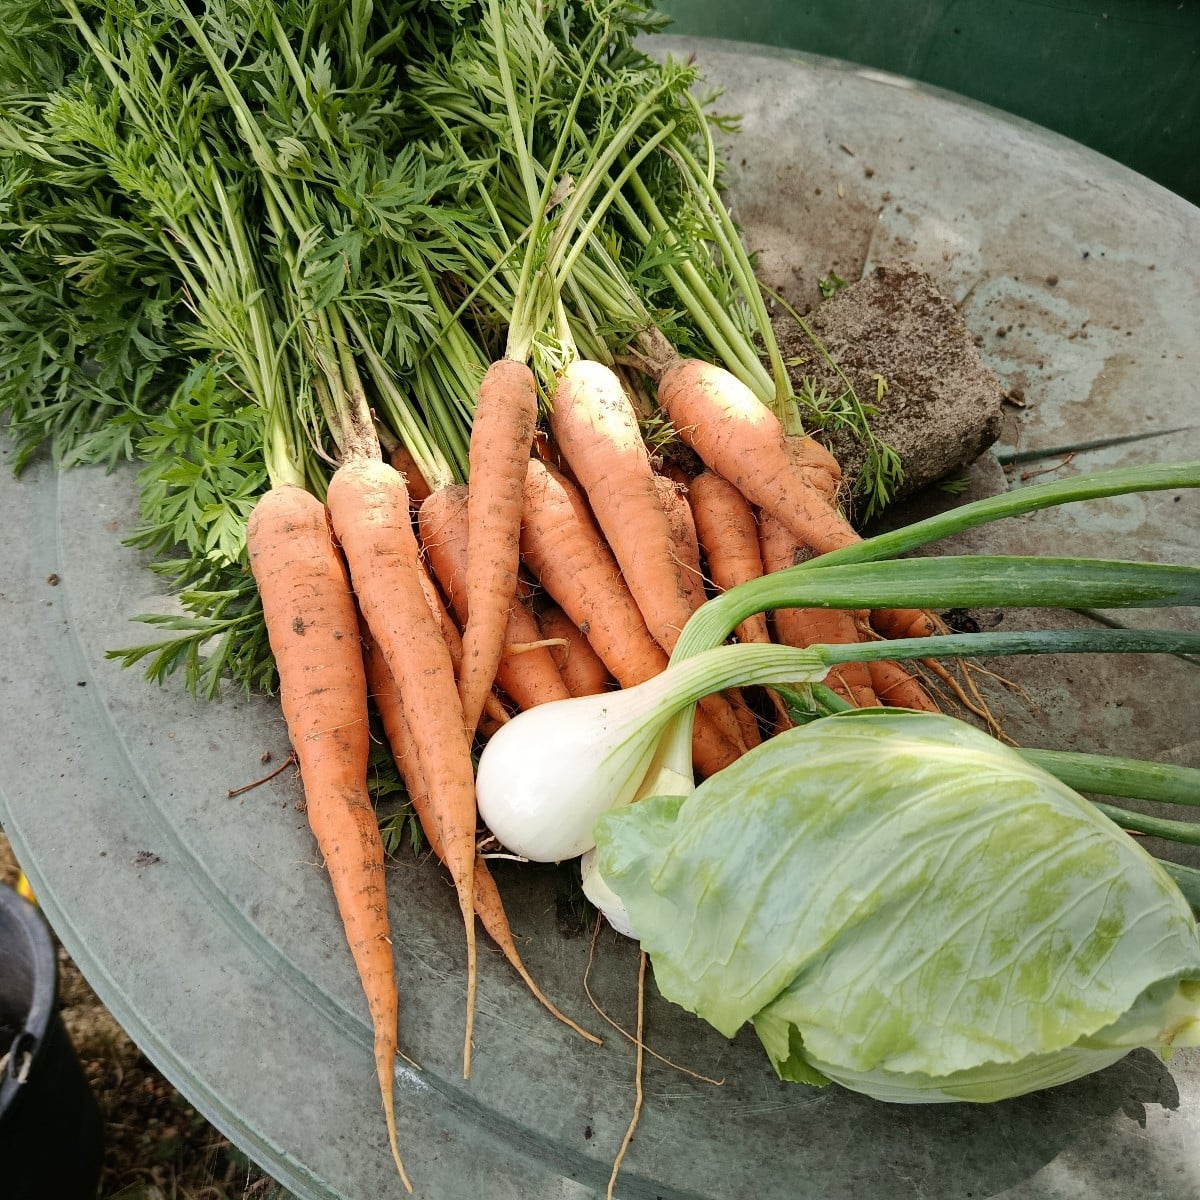
Today I harvested my first batch of carrots, along with a clumped onion and a small pointed cabbage. I finally planted my flower sprouts, kale, and Brussels sprouts today. The plants were already a little overdue. I secured everything with netting. The cucumbers are blooming, but they’re getting a bit of powdery mildew at the base. I always cut that off. My onions are growing huge this year. And I harvested some mahonia berries. Does anyone have a good recipe?
Liked 4 times
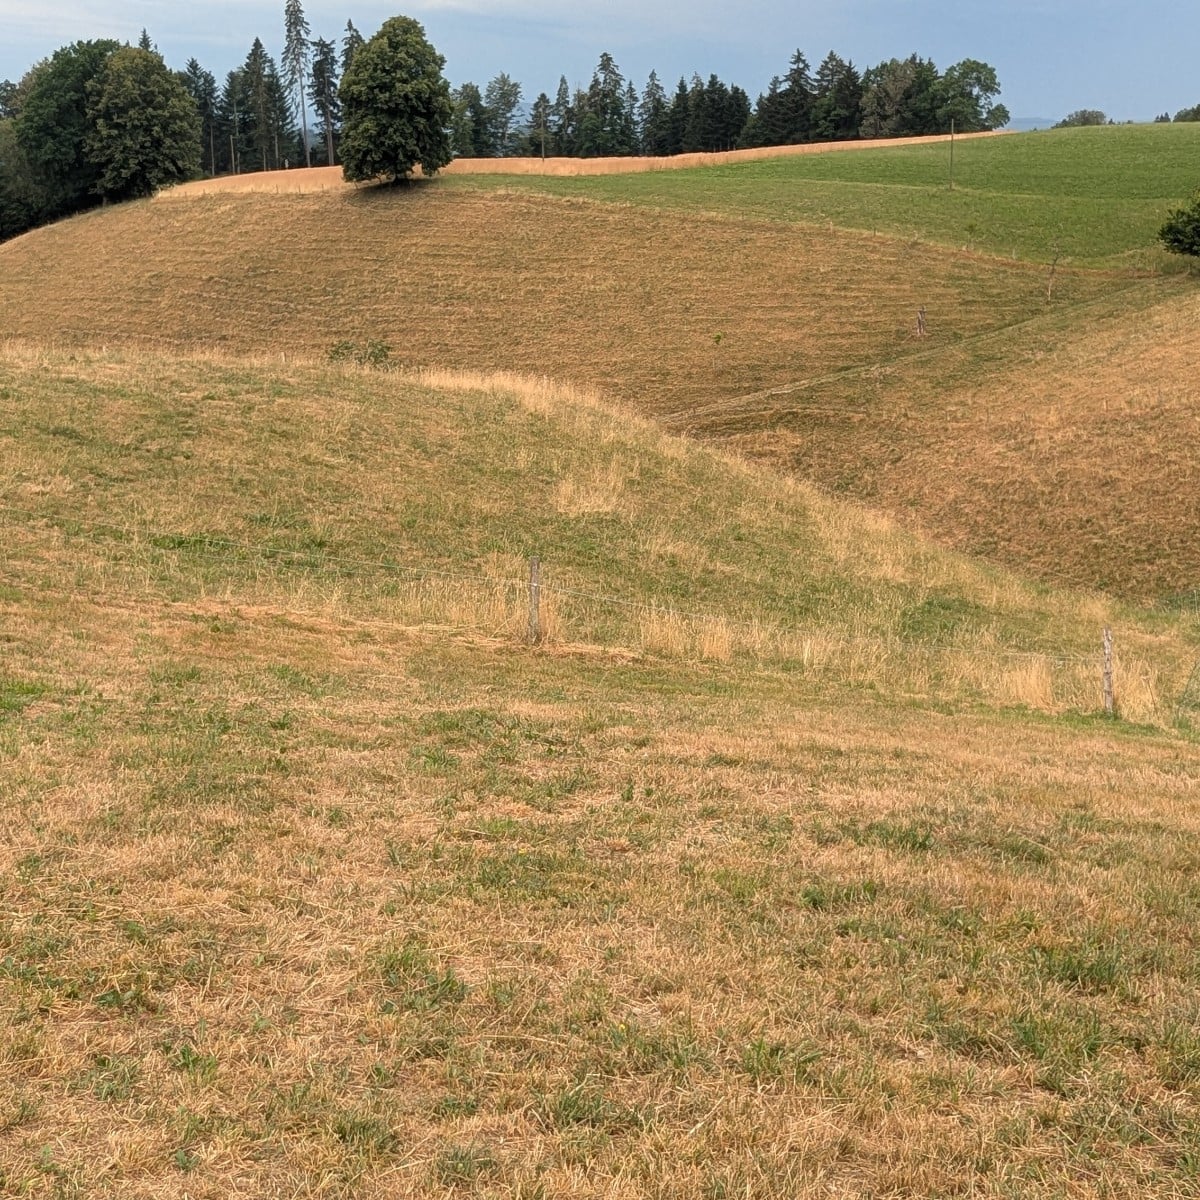
The #Emmental is actually a landscape like Tolkien's Shire. Right now, it's more like a semi-desert...
Show 1 answer
What can I do to keep the rain and the water from the upper balcony from always washing away half the soil from my planters?
Show 3 answersPopular Articles

Gardening in March: Preparation & Cultivation

Propagating Peppers/Chillies: How to Grow Them Successfully

Cultivation or Direct Sowing: When and Which Vegetables to Propagate?

Sowing and Propagating Tomatoes: This Is How It Works

Raised Beds: Your Planting Plan for a Year

Plant Lights for Growing and Overwintering Plants

Growing Cucumbers Seedlings in Pots: Tips for Propagation

Pricking Out Vegetable Plants: Tips and Instructions

Growing & Harvesting Rocket: Good & Bad Companion Plants

How to Grow Broccoli: Tips for Cultivation
FAQ
Which oil do I need for a comfrey ointment?
It is best to use coconut oil for the oil extract. Mix this extract with beeswax or a vegetable oil to obtain an ointment.
How does comfrey ointment work?
Comfrey has an analgesic, wound-healing and anti-inflammatory effect. However, ointments and tinctures should only be used externally for skin, muscle or bone problems, as comfrey contains toxic substances.
When is the best time to harvest comfrey root?
The best time for harvesting is either in spring or fall, as this is when the plant has the highest content of active ingredients. This gives you a particularly effective ointment!
Do you have to dry comfrey roots for an ointment?
Drying comfrey roots is an advantage and extends the shelf life of your ointment. Otherwise there is a risk that the remains of the root in the ointment will start to mold.