
Bokashi Bucket: Making Fertilizer From Kitchen Waste
The Bokashi bucket is an alternative to conventional garden compost. With the help of effective microorganisms, you can produce your own organic solid and liquid fertilizer within a short space of time. In this article, you can find out how to turn the valuable nutrients from your kitchen waste into organic fertilizer and what you need to bear in mind when using it.

This Article Contains:
- Bokashi Ferment: Organic Fertilizer for Your Own Garden
- What Is Bokashi?
- Advantages of Bokashi Ferment
- DIY: Build Your Own Bokashi Bucket
- Make Your Own Bokashi Ferment
- Instructions: Bokashi Fertilizer
- When Is the Ferment Ready?
- Does Your Bokashi Ferment Smell Foul?
- What Is the Shelf Life of the Bokashi Ferment?
- Use in the Garden: Organic Fertilizer
- Instructions (PDF): Make Your Own Bokashi Bucket & Ferment
- Frequently Asked Questions About the Bokashi Bucket
Quick Overview
Make Your Own Bokashi Fertilizer:
Material: Effective microorganisms or Bokashi ferment, kitchen waste, Bokashi bucket, spray bottle, primary rock flour, tamper, bags filled with sand or water
- Collect kitchen waste, cut into small pieces and spray with undiluted EM
- Add a layer of kitchen waste at least 10 cm/3.9 in thick to the Bokashi bucket every three days
- Spray the contents with undiluted EM so that the waste is evenly moist
- Optionally, primary rock flour can be added
- Compact the mass with a tamper
- Place bags filled with sand on top of the mass to recompact it during fermentation
Repeat steps 1-6 until the bucket is full. Then seal the bucket airtight and store it in a room with an even temperature.
Bokashi Ferment: Organic Fertilizer for Your Own Garden
In organic farming, fertilizing is not just about supplementing and enriching missing nutrients for plant growth. Organic fertilization means caring for the soil, supplying it with energy and organic nutrients and keeping it healthy so that nutrient conversion by the many organisms in the soil takes place on its own. The goal is a living soil that is home to numerous microorganisms, insects and vertebrates and is able to build up humus. These organisms need energy for this process so that they can convert organic material into fertile garden soil. The nutrients are made available to plants during the decomposition process and stored in the humus if the soil structure is good. This activity declines when there is a lack of energy, which is why every gardener should provide sufficient energy. One effective method is to work in bokashi. This is created by fermenting kitchen waste in a bokashi bucket. Bokashi can be used in the garden as an organic fertilizer, which enriches the soil with effective microorganisms and organic material and thus supports biological processes. This keeps the soil healthy in the long term. You can find more information about organic fertilization in our article "Ecological and organic fertilization".
What Is Bokashi?

Bokashi is the Japanese way of composting. Translated, it means: "fermented, organic waste". The organic material is not composted but fermented. The waste is decomposed by effective microorganisms in the absence of air. Lactic acid bacteria (Lactobacillales) play the main role here, as they love sugar and metabolize it into lactic acid and carbon dioxide. This creates the typical sour smell of the finished ferment and preserves the kitchen waste. During fermentation, valuable vitamins, enzymes, amino acids and antioxidants are produced. The minerals from the kitchen waste are enriched in the bokashi juice and this can be used as a liquid fertilizer. The decomposed organic matter can be worked into the bed. After two to four weeks, the ferment is ready for use in the garden. To make bokashi, you need a bokashi bucket. These are special compost buckets that can be sealed airtight. There is usually a sieve inside, which separates the liquid fertilizer from the solid compost. If you want to get started straight away, you can buy this bucket. Otherwise, you can easily build it yourself. You can find out how to do this further down in the article.

Ever Feel Lost in the Garden? Connect With Others!
In the Fryd community, you’ll find friendly and helpful gardeners ready to share ideas, give advice, and celebrate wins (and failures) together. Gardening is just more fun when you’re not doing it alone.
Join the Community NowAdvantages of Bokashi Ferment
- Kitchen waste or food that would have ended up in the garbage can is turned into valuable fertilizer directly in your kitchen and returned to the cycle
- Simple and pleasant method of storing kitchen waste without odor or mould and even making it usable
- Less space required compared to garden compost, you can easily place the bucket in the kitchen
- Fermentation instead of composting: no energy loss as fermentation does not involve high temperatures. Instead, vitamins, enzymes, amino acids and antioxidants are produced
- High-quality organic fertilizer from your own production (provided you only use waste from organically produced vegetables)
- Natural plant protection: Effective microorganisms strengthen the plants' immune system and improve germination, fruit formation and ripening
- Humus content increases: More biomass is converted through the input of energy-rich, decomposed organic matter. This creates a crumb structure of clay-humus complexes that can bind nutrients to their surface. These nutrients are thus protected from leaching and are available to plants until they need them
- Promotes soil life: This improves the structure and therefore the water retention capacity
DIY: Build Your Own Bokashi Bucket
Here you can find out how to build your own Bokashi bucket and produce the ferment.

Material
- 2 x buckets (at least 10 L/21 pt), the buckets should be identical so that they fit perfectly into each other
- Tools: pen, cutter and drill/screwdriver
- Sealing material, e.g. insulating tape
- drain tap
- about one hour of your time
Instructions:
- Drill small holes with a diameter of 2 to 3 mm/0.07 to 0.1 mm every 2 cm/0.8 in in the inner bucket using a drill or screwdriver. The fermented liquid can drain out here later.
- Mark the position for the drain tap on the outer bucket. This is placed in the gap between the two bucket bottoms and should be as far down as possible. This is where you will remove the liquid later.
- Use the cutter to carefully cut a hole that is just big enough for the tap. Under no circumstances should it be larger, otherwise the tap will leak
- Attach the drain tap. They usually have their own seal. Otherwise, you will need sealant from the DIY store to make the tap completely leak-proof
- Place the buckets inside each other and seal the gap where the two buckets lie on top of each other with sufficient sealing tape. Remember: it should be as airtight as possible
And your homemade bokashi bucket is ready. It's pretty simple and an inexpensive alternative for those on a budget.
Make Your Own Bokashi Ferment
What You Need:
- Effective microorganisms (EM): You can buy EM as a liquid mixed culture of various bacteria such as lactic acid bacteria (Lactobacillales) and yeast fungi or Bokashi ferment in solid form
- Kitchen waste
- Bokashi bucket
- Spray bottle for the EM
- optional: primary rock flour
- masher (this can also be a potato masher or a ladle)
- Bags filled with sand or water
What Can Go in the Bokashi Bucket?

Any organic waste can be recycled in the Bokashi bucket. Waste such as raw or cooked vegetables, fruit scraps, bread, lawn cuttings, tea and coffee grounds, flowers, leaves and unwanted weeds from the garden can be used for this purpose. Exceptions are heavily moldy food scraps and materials that are difficult to decompose such as eggshells and wood. Animal products can also be used, but are not recommended as they attract animals during fermentation and later in the garden bed. Sprayed vegetables can also be added. The many microbes neutralize some of the harmful substances. If you want to be on the safe side, you can add zeolite-containing agents. These are able to bind harmful substances and thus protect the plant from reabsorption.
Any bokashi bucket filled with organic material will ferment. Don't make it too complicated. The most important thing for successful fermentation is the C/N ratio, which is usually balanced for kitchen waste. As long as there is not excessively difficult to decompose material in the bucket (i.e. a lot of carbon), the microorganisms will continue to work happily.
Can Bokashi Be Produced Without Microorganisms?
Unfortunately, it doesn 't work completely without effective microorganisms. There are some alternatives on the internet, such as lactic acid bacteria from yoghurt or yeast bacteria. However, the result will be of little use and will probably go moldy.
Instructions: Bokashi Fertilizer
- Collect kitchen waste: cut it into small pieces and collect it in a bowl. You can spray the waste with effective microorganisms to prevent rotting. Tip: The smaller the kitchen waste is cut, the faster the fermentation process will go
- Add the kitchen waste to the bokashi bucket every two to three days (one layer should be at least 10 cm/3.9 in thick)
- Spray the entire contents with undiluted EM. It is important that the waste is evenly moist.
- If your plants are already suffering from a lack of nutrients, you can add some primary rock flour. It contains important minerals such as magnesium, potassium and iron. Rock flour also influences the pH value of the soil. The calcium has an alkaline effect on the soil and neutralizes acidic soils, which is beneficial for many types of fruit and vegetables.
- Compact the layers with a tamper. There should be as little to no oxygen as possible in the layers. This creates a low-oxygen environment and fermentation works best.
- To recompact the mass during the process, you can place a sandbag or a bag filled with water or gravel on top of the mass
Repeat steps 1 to 6 until the bokashi bucket is full.
After That It Goes on Like This:
Seal the bucket airtight and store it in an evenly tempered room with temperatures between 25 and 30 ° C/77 and 86 ° F. A slightly cooler room will also work, but the microorganisms will not work quite as quickly and fermentation may take a little longer.

Last but Not Least: Clean the Bucket
After one cycle, the bucket should be emptied completely and the individual parts cleaned with hot water and vinegar essence. If the bucket is not rinsed completely clean, mold may form later. The tap in particular must be cleaned thoroughly. To do this, fill the bucket with hot water and let it run out of the bottom of the tap. Repeat this until the water runs clear from the tap. If you do not refill your bucket immediately, the ferment can also be stored in the bucket.
When Is the Ferment Ready?
After two to three weeks, the ferment is ready, which you can recognize by the sour to sweet-sour smell. To be on the safe side, measure the pH value with a simple pH measuring stick. This should be slightly below four. If you see white threads or flakes, this is a good sign. This means that fungi have already formed, which is a sign of successful fermentation. If this is not the case, leave the mixture to ferment for a few more days and check the pH value again. If you can still see a few larger pieces in the ferment, this is not a problem. The whole thing decomposes very quickly when worked into the soil. It is difficult to say exactly what a finished Bokashi bucket should look like, as the appearance depends heavily on the contents.
Does Your Bokashi Ferment Smell Foul?
Unfortunately, this is not a good sign. If your ferment smells foul, it can unfortunately no longer be used in the garden. Dispose of the contents in the compost and just try again. The reason for the putrefaction was probably too much oxygen in the bucket and in the mass during fermentation. Next time, try to make sure that the bucket is airtight and that the kitchen waste is well compacted.
What Is the Shelf Life of the Bokashi Ferment?
If you don't need all of your Bokashi fertilizer, it can be stored again in the absence of air. The temperature no longer plays an important role and it can be left at normal room temperature without any problems. The place should only be shady and the quality should be checked regularly by smell. Otherwise, Bokashi can be stored for several months.
Use in the Garden: Organic Fertilizer
Fresh bokashi has a pH value of around four and is therefore very acidic. Many seeds and seedlings do not like this, so the bokashi fertilizer should be applied to the soil and worked in two to three weeks before sowing or planting. To do this, mix the solid part of the Bokashi ferment with soil (ratio 3:1). Work the fertilizer into the soil, especially in the areas where you want to plant your seeds or young plants later, then water well and you're done. If you already have plants in your bed or want to fertilize perennial plants, you can carefully work in the Bokashi soil mixture. Don't dig too deep to protect the roots of the plants. It is best to keep a distance of around 30 cm/11.8 in from the root ball and work the substrate in a circle around the plant. It is important that the fine roots do not come into direct contact with the bokashi.
The Bokashi sap, which collects in the lower part of the bucket, can be applied to the plants every few days right from the start, diluted with the irrigation water. Due to the low pH value, the juice must be diluted. Depending on the plants' requirements, a mixing ratio of 1:20 or 1:100 has proven to be effective. You can also use the juice to prepare your new ferment, as it also contains many effective microorganisms.
Special tip: If you have too much juice left over, it is also great as an ecological pipe cleaner, without a lot of chemicals!
Incorporate Bokashi Into Compost
If there is an excess of solid bokashi, the rest can also be worked into the garden compost. Add a 15 to 20 cm/5.9 to 7.9 in thick layer of soil on top of the bokashi substrate. This allows the acidic pH value to neutralize and new humus to form. The Bokashi substrate supports composting.
I hope I have aroused your curiosity and that you will try out the Bokashi bucket at home! We wish you every success! If you have any questions or comments, please write to us at [email protected].
Want to get helpful gardening tips all year round and plan your own beds in the best possible way? Then register here or download the Fryd app for Android or iOS.
Fryd - Your digital bed planner
Cover picture by Jennyjohansson on Pixabay.

Marie
Marie is an agronomist. She is particularly interested in the sustainable and organic cultivation of vegetables and other plants. In her own garden, she gained experience and likes to try things out to learn from nature. She is particularly interested in the values and principles of permaculture, in order to contribute not only to the well-being of nature, but also to the well-being of people and future generations.
Learn MoreCurrent Topics in the Community

...My Summer Kitchen, Part 13 ➡️ Puff pastry pockets filled with three kinds of vegetables and urid bean hummus ⬅️ ...we recently had to save two packages of organic puff pastry...☺️ ...there was still some of the second ravioli filling left over, consisting of tree spinach #wildbuckwheat*, #ox-tongue lettuce* (second flush), and button mushrooms—and today we added a nice portion of blanched #Daubenton cabbage*! Everything was finely chopped and mixed with some cottage cheese, urid bean hummus, garlic, jalapeño*, cayenne pepper*, cumin, and homemade vegetable broth*. Place one sheet of puff pastry on a baking sheet, spread the filling on top (leaving a 2 cm border!), and top with slices of Gouda. Brush the edges with egg yolk, place the second sheet of pastry on top, and press the edges together with a fork. Use a spatula to score segments, brush with egg yolk, and sprinkle with black cumin. Pop it in the oven at 190°C convection for about 20–25 minutes. Enjoy while still warm...😋 * From my garden!
Liked 9 times
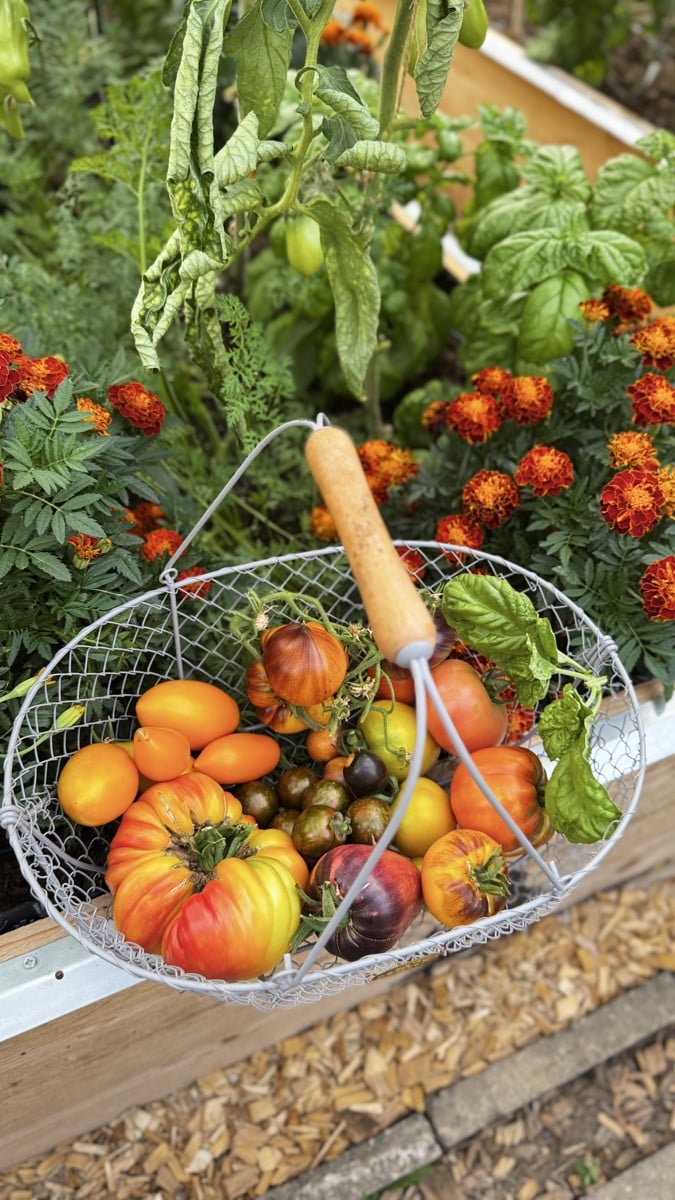
Months of hard work, sweat, and patience—and now El Huerto is proving that every minute was worth it. Oh yes! 🌿🍅
Liked 10 times
Clever attempts to escape through the only hole in the hail.
Show 1 answerPopular Articles

Gardening in March: Preparation & Cultivation

Propagating Peppers/Chillies: How to Grow Them Successfully

Cultivation or Direct Sowing: When and Which Vegetables to Propagate?

Sowing and Propagating Tomatoes: This Is How It Works

Raised Beds: Your Planting Plan for a Year

Plant Lights for Growing and Overwintering Plants

Growing Cucumbers Seedlings in Pots: Tips for Propagation

Pricking Out Vegetable Plants: Tips and Instructions

Growing & Harvesting Rocket: Good & Bad Companion Plants

How to Grow Broccoli: Tips for Cultivation
FAQ
What is Bokashi?
Bokashi is a Japanese composting method in which kitchen waste is converted into organic fertilizer through fermentation with effective microorganisms.
How does a Bokashi bucket work?
A bokashi bucket enables the fermentation of kitchen waste in an airtight container, using effective microorganisms to speed up the process and produce nutrient-rich fertilizer.
What are the advantages of Bokashi?
Bokashi transforms kitchen waste into valuable fertilizer, prevents food waste, improves soil quality and supports plant growth.
Can I make my own Bokashi bucket?
Yes, with two identical buckets, a drain tap and a few tools, you can make your own bokashi bucket. You can find detailed instructions in the article.
What can go in the Bokashi bucket?
Almost all organic kitchen waste, including fruit and vegetable scraps, coffee grounds and tea bags, can be fermented. Heavily moldy leftovers and materials that are difficult to decompose, such as eggshells, should be avoided.