
How to Make Seed Tape: Instructions & Tips
Sowing vegetable plants can be quite time-consuming with a large amount of seed. For easier sowing, you can use seed tapes. These make sowing seeds easier for you, as you can easily place seeds in the soil and have the correct spacing directly specified.
This Article Contains:
- Seed Tape as a Sowing Aid
- Seed Tape for Sowing Vegetable Plants: What You Need
- Making Your Own Seed Tape From Toilet Paper: Here’s How
- Seed Tape for Carrots
- Sowing Radishes With Seed Tape
- Seed Tape for Lettuce
- Seed Tape for Flowers and Herbs
- Seed Disk Instead of Seed Tape?
- Laying out and Planting Seed Tape
- PDF: instructions for seed tapes
- Frequently Asked Questions: Make Your Own Seed Tape
Quick Overview
Make Your Own Seed Tapes: Instructions
- This is how it works:
- Cut toilet paper or kitchen roll into strips of any length, approx. 2 cm/0.8 in wide and lay out flat
- Mix 1 - 2 tablespoons of flour with a little water until you have a thick mixture
- Measure out the distances for the seeds on the paper and mark them with a pencil
- Place a small blob of flour paste and a seed on each of these spaces
- Allow to dry well so that the seeds do not germinate prematurely
Laying out Seed Tape: What You Should Bear in Mind
- Prepare a smooth, evenly deep channel before planting
- Place the seed tape in it, press down and water
- Place the soil on top, press down a little and water carefully
- Keep moist for the next 2 weeks so that the seeds can germinate well
Seed Tape as a Sowing Aid
A seed tape for vegetables, flowers or herbs helps you to simplify your sowing in the bed. You can simply lay out the seed tape so you don't have to sow the seeds individually. It also allows your seeds to grow at very even intervals . This means they don't compete for space and you can save yourself the trouble of Pricking Out and separating them later. This is not only easy on your back when sowing, but also on your wallet as you use less seed.
You can buy such seed tapes in shops for some varieties. However, if you want to use your own seeds or a specific variety, you can easily make your own seed tape. Seed tape is particularly useful for fine seeds such as carrots. Making seed tapes is not only quick and easy, it is also a lot of fun and can be done together with children. Making a seed tape is also a good way to make the most of the time until spring and do something for the garden.
Seed Tape for Sowing Vegetable Plants: What You Need
You can make your own seed tape with just a few things. You probably already have everything you need at home:
- seeds (e.g. flowers, herbs, carrots, radishes or lettuce)
- toilet paper, kitchen roll or blank strips of newspaper
- pencil
- ruler or measuring tape
- scissors
- paintbrush or shashlik skewer
- flour paste (you can find out how to make your own flour paste in the next section)

Make Your Own Flour Paste
You can easily make your own flour paste by mixing flour with water until you have a thick paste. Depending on how many seed tapes you want to make, you will need more or less paste. However, 1 - 2 tablespoons of flour are enough for a few seed tapes. You really only need a small dab on the seed tape, as the seeds are probably very small. Mix the flour together with water in a bowl - you should keep adding water until the mixture is still thick but there are no more lumps.
Making Your Own Seed Tape From Toilet Paper: Here’s How
Once you have gathered your materials for your seed tape and your flour paste is ready, you can start crafting. Cut approx. 2 cm/0.8 in wide strips of your desired length from the toilet paper (if you like, you can also divide them into individual layers depending on the thickness of the paper). Then lay the strips out on a flat surface. Then measure the distances for the respective type(s) with a ruler or measuring tape and mark them with a pencil. Then use the end of a paintbrush or a shashlik skewer to apply a small dab of flour paste to the ribbon. Once you have spread a little paste in all the places, place one seed on the ribbon for each paste spot.
You should then allow the seed tape to dry well and also store it in a dry place so that the seeds do not start to germinate (e.g. on the heater). Once the seed tape is dry, you can roll it up. This way it doesn't take up much space and is easier to transport. Label your seed tape. Then you can easily recognize which plants the seed tape contains later when sowing.

Tip: You can also place an extra strip of toilet paper over the first one. This should additionally fix the seeds in place. Moist water alone should also keep the seeds in place.
Seed Tape for Carrots
A seed tape is particularly suitable for fine carrot seeds. This saves you the hassle of separating them later, as well as extra seeds. Your carrots will have enough space and won't get in each other's way. The distance between carrot varieties is usually between 5 - 8 cm. It is best to follow the instructions on your seed packet. You can also sow radishes between your carrot seeds as marker seeds and combine both vegetables directly in a seed band. This way, you can make the most of your space in the bed with a well-planned Crop Rotation.

Plant Knowledge at a Glance
Want to get to know your plants without digging through thick books? In the Fryd Lexicon, you’ll quickly find all the essentials about different plant types and varieties — from sowing, planting, and harvest times to companion planting, location tips, and care advice.
Explore the Lexicon NowSowing Radishes With Seed Tape
Sowing radishes with a seed tape is also well worthwhile. If you sow them in the bed at the same time as the carrot seed tapes, you will have saved yourself a lot of time that day. If you leave enough space between the radish seeds, you should be able to harvest very nice, uniform crops later on. The distance between radish seeds is usually between 4 - 7 cm/1.6 - 2.7 in. Pay attention to the information on the seed packets here too.

Seed Tape for Lettuce
Lettuce seeds are also rather fine and benefit from being sown using seed tapes. The distance between lettuce seeds varies between 10 - 30 cm/11.8 in, depending on the variety. If you have prepared seed tapes for your lettuce varieties before spring, you can easily resow your lettuce every few weeks and harvest throughout the season. Lettuce can also be grown in advance to make the plants more resistant to snails. You can find out more about propagation in our article Growing Vegetable Plants.
Seed Tape for Flowers and Herbs
Flowers and herbs are also often sown using seed tapes. However, as herbs are often grown in pots, it is better to use seed discs. In the next section, you will learn how to make your own seed discs.
Flower mixtures for insects and beneficial insects are very suitable for seed strips. Flower Strips with flowers that gradually start to bloom throughout the season are easy to grow in the garden.

Seed Disk Instead of Seed Tape?
Seed discs are more suitable for sowing in pots than seed tapes, as they are ideal for a round pot. To do this, cut a circle out of some kitchen roll or toilet paper that is slightly smaller than the diameter of the pot. Then place your seeds on the paper using flour paste. This works in the same way as with seed tape. When sowing with a seed disk in pots, your seeds will not be washed away by watering and will stay in place.
Laying out and Planting Seed Tape
Once you have made your seed tapes and the temperatures are a little warmer, it's time to lay out and plant your seed tapes. (You can find out when you can start which vegetable plants and sow them outdoors in our Vegetable Planting Calendar article). To do this, you should prepare a smooth, evenly deep seed channel in which you can place your seed tapes. You should therefore prepare your bed approx. 1 - 2 weeks in advance so that sowing is successful. Once the seed tape is in its groove, you should press it down a little, water it well and then cover it with a little soil - depending on whether your seeds are light germinators or dark germinators. Then press down lightly again and water gently so that the soil is not washed away. If you add a very thin layer (max. 0.5 cm/0.2 in) of compost to the soil, your seeds will be able to grow well after germination. It is best to water the soil every day for the first 14 days after sowing. Your seeds will then germinate more reliably and there will be fewer gaps in the bed.
If you have any questions or comments, please write to us at [email protected]. Would you like to receive helpful gardening tips all year round and plan your own beds optimally? Then register here or download the Fryd app for Android or iOS.
Fryd - your digital bed planner

Marielena
Marielena studies agricultural and environmental sciences. She gardens at home and at an allotment and likes to try out new things.
Learn MoreCurrent Topics in the Community
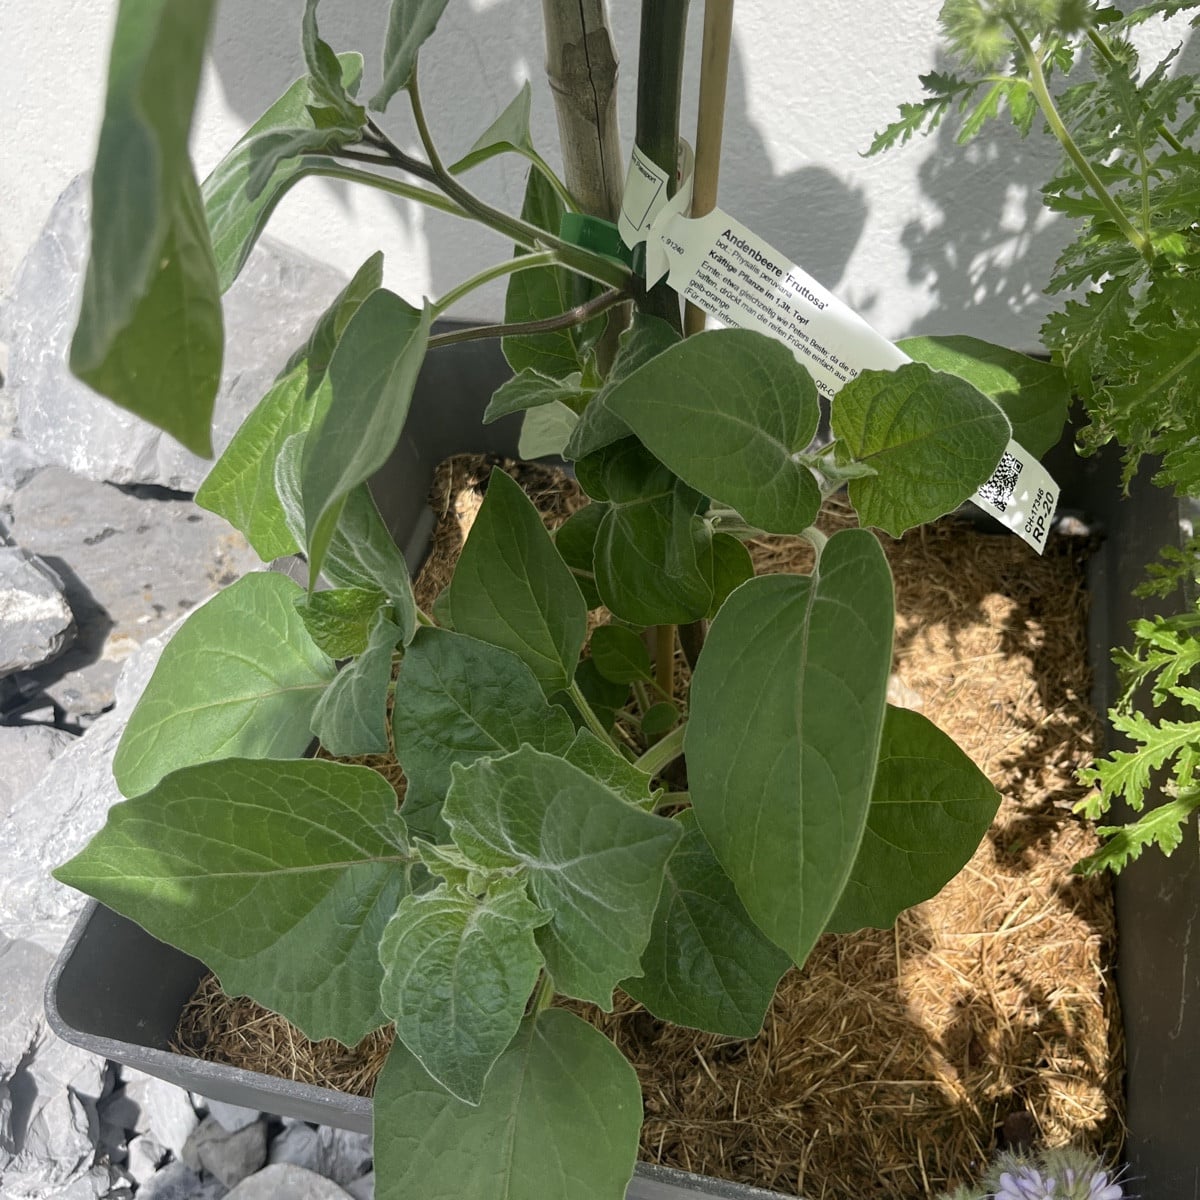
This is my first time growing physalis. It’s growing vigorously and already has some buds and new flowers at the top. But it’s also sprouting vigorously at the bottom. Should I prune it back or let it grow?
Show 1 answer
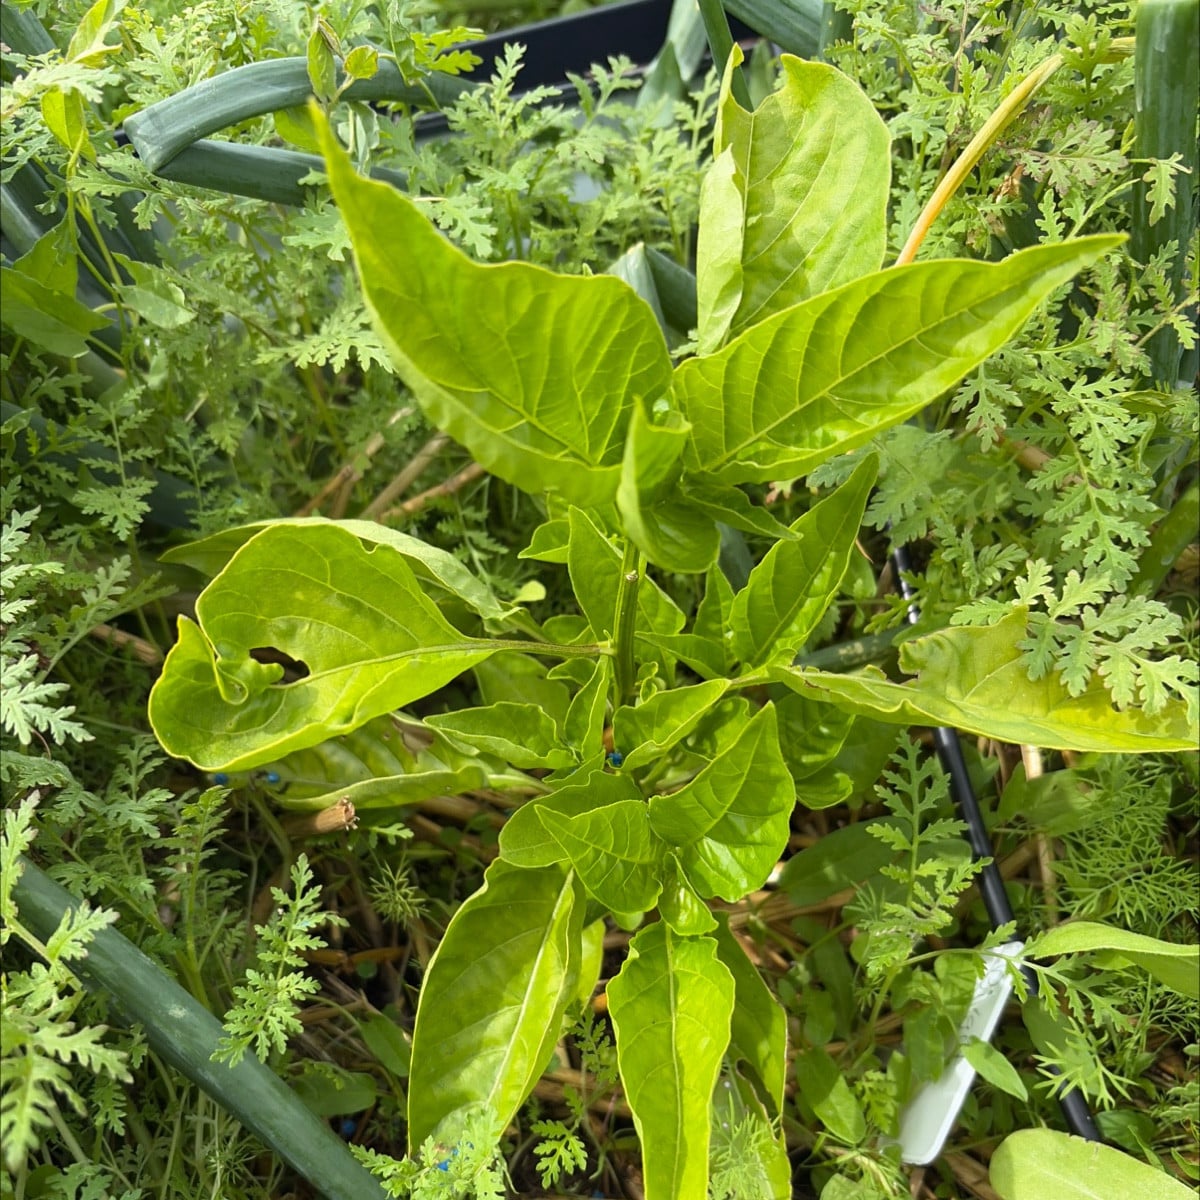
Various chili peppers Started growing on 02/18/2026 Transplanted outdoors on 02/25/2026 Growing in an 1800-liter raised bed Varieties from left to right Birgit Lou, Red Apocalypse, Yellow Scotch Bonnet, Sweet Banana, Sweet Cherry Bomb, Biquinho Vermehlo, Hungarian Yellow Wax Sweet, Aci Biber Minor damage here and there due to snails The last picture shows the Ghost Chili separately in a 70-liter pot
Liked 5 times
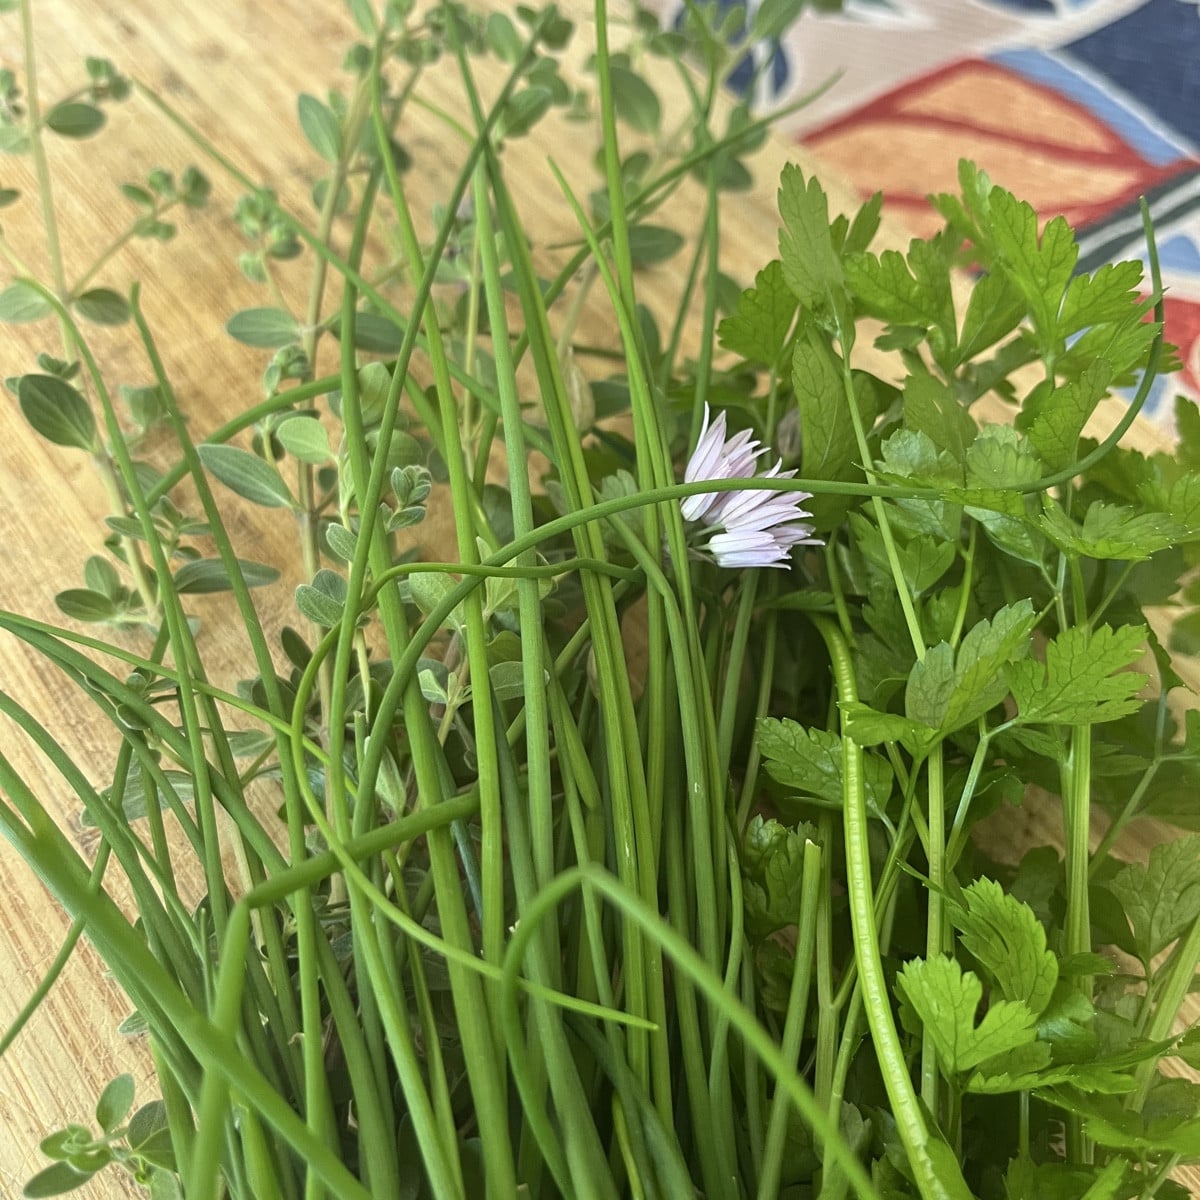
Some herbs for lunch 😌
Popular Articles

Gardening in March: Preparation & Cultivation

Propagating Peppers/Chillies: How to Grow Them Successfully

Cultivation or Direct Sowing: When and Which Vegetables to Propagate?

Sowing and Propagating Tomatoes: This Is How It Works

Raised Beds: Your Planting Plan for a Year

Plant Lights for Growing and Overwintering Plants

Growing Cucumbers Seedlings in Pots: Tips for Propagation

Pricking Out Vegetable Plants: Tips and Instructions

Growing & Harvesting Rocket: Good & Bad Companion Plants

How to Grow Broccoli: Tips for Cultivation
FAQ
What is a seed tape?
A seed tape is a long, decomposable strip of paper or other material on which vegetable or flower seeds are already placed at the correct distances. This means you can simply lay the seed tape out in the bed and don't have to struggle with fine seeds.
What types of seed tapes are there?
Seed tapes are mostly available for vegetables that tend to produce small seeds. For example, carrots, radishes, lettuce, flowers and flower mixtures. Seed tapes are available in different lengths, usually between one and several meters long. You can buy them or easily make your own.
How are seed tapes produced?
You can easily make your own seed tapes using toilet paper, seeds (e.g. from carrots or radishes) and flour paste. Cut the toilet paper into strips and lay them out flat. Using the end of a paintbrush, apply small blobs of flour paste and seeds to the tape at the planting distances of your variety. The seed tape should now dry well so that the seeds do not start to germinate too early.
How do you plant a seed tape?
Place the seed tape in a smooth and evenly deep seed furrow, press it down a little and water it. Pour some soil over it and press it down briefly. Now water again carefully, as your seeds should not dry out over the next 14 days. Germination is only reliable with sufficient moisture.
What is a seed disk?
A seed disk is nothing more than a seed tape. Instead of a long ribbon, however, the seeds are distributed on a round disk. Seed discs are designed for pots and are often used for sowing herbs such as parsley. They can be made from kitchen paper using the same principle as seed tapes.