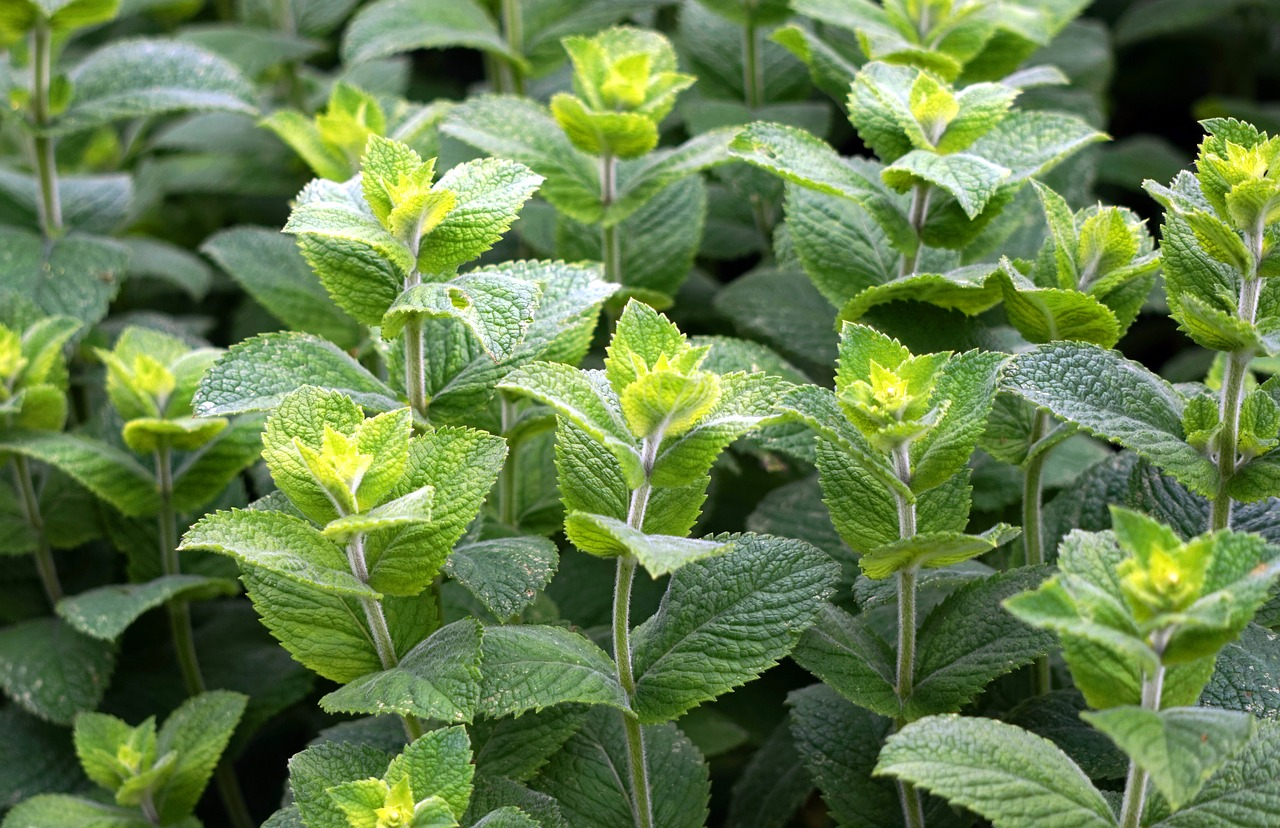
Planting, Sowing & Harvesting Mint: How It Works
Mint has been used as a medicinal and aromatic plant for many thousands of years. Today, it is particularly popular in hot and cold drinks. Whether in a pot, tub or bed - mint can be cultivated in many locations. You can find out how to grow mint and tips on planting, propagating, caring for and harvesting mint in this article.
This Article Contains:
- Planting Mint: An Overview
- Types and Varieties of Mint: Peppermint & Co.
- The Right Location & Soil
- Planting Mint: How to Do It
- Sowing & Propagating Mint Correctly
- Mint: Good and Bad Companion Plants
- Mixed Cultivation With Mint
- Cutting, Fertilizing & Caring for Mint
- Propagating Mint With Cuttings: How It Works
- Harvesting Mint
- Drying and Processing Mint
- Mint: Diseases & Pests
- Frequently Asked Questions About Planting Mint
Quick Overview
Sowing & Planting Mint
- Sowing depth: 0.5 cm/0.2 in, as light germinator
- Sowing: from March to May
- Planting: between April and June
- Planting distance: 25 x 25 cm/9.8 x 9.8 in
- Location: sunny to semi-shady location with sandy, but humus-rich soil (medium-feeders!)
Companion Plants for Mint
- Good companion plants of mint are strawberries, potatoes, cabbage, coriander, mallow lemon balm, marigolds, lettuce and tomatoes.
- Bad companions are basil, savory, chamomile, lovage, carrots, parsley, thyme, Jerusalem artichoke and root parsley.
- Plant mint with a root barrier in the vegetable patch, otherwise it could overgrow its companions.
Harvesting Mint
- Mint is best harvested in the morning when the essential oil content is at its highest.
- Harvest before flowering, as the aroma of the leaves can diminish after flowering.
- So that you can harvest mint several times, harvest individual shoots or shoot tips and leave some leaves on the plant.
Planting Mint: An Overview
Like Thyme, Sage and Basil, all mints belong to the Lamiaceae family and form their own genus (Mentha). Mint grows perennially and can be harvested until it flowers. It flowers in summer from July to September. The small flowers are white, pink or purple, depending on the variety. After flowering, the mint leaves lose their aroma, which is why you should harvest before flowering. In winter, the plant often retreats into the ground and the above-ground parts die back. Don't worry, because your mint will sprout again in spring, provided the variety is hardy.
We humans have been using the herb as a spice and medicinal plant for thousands of years, as mint tea is often used to treat digestive problems or colds. The name probably comes from Greek mythology. The nymph Minte is said to have had an affair with Hades, the god of the underworld. When Hades' wife Persephone found out, she is said to have turned the nymph into a mint plant out of anger. Other sources say that Hades transformed his lover in order to protect her from his wife's revenge.
Types and Varieties of Mint: Peppermint & Co.
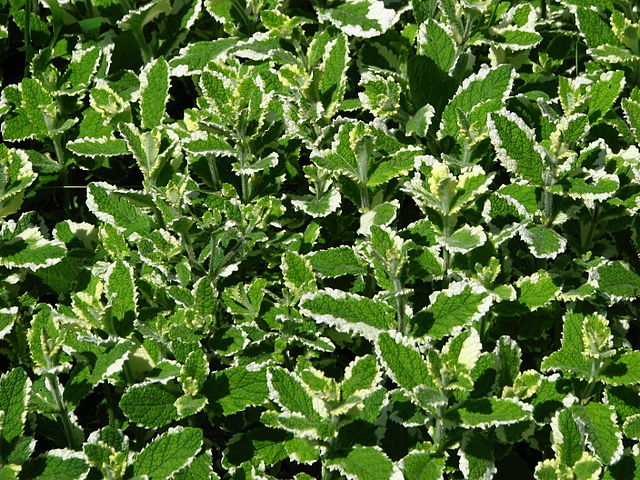
There are around 20 - 30 species in total, most of which are native to the temperate zones of the northern hemisphere. Originally, mint comes from the Mediterranean region and the Near East. In Europe, there are several native mint species, such as water mint (Mentha aquatica), field mint (Mentha vulgaris), pole mint (Mentha pulegium) and spearmint (Mentha spicata). Almost all native species can be used for teas, only the pole mint is poisonous and should therefore not be consumed. The best known of the mints is probably peppermint (Mentha x piperita). Its high menthol content gives it a particularly spicy, peppery and pungent taste. There are also several other mint varieties that offer special taste experiences. These include apple mint, nana mint, orange mint, pineapple mint, chocolate mint and many more. Find out more in our article on Mint Types and Varieties.
The Right Location & Soil
Wild mint species can be found in damp locations in particular. This is why mints feel most at home in moist locations. They often cope well with shady conditions, but also like sunny spots. A nutrient-rich but well-drained soil is ideal, as mint is a medium feeder. The soil does not need to be deep, as mint tends to develop a shallow and wide root system. Otherwise, it is a fairly undemanding plant and grows like a weed in most gardens.
Planting Mint: How to Do It
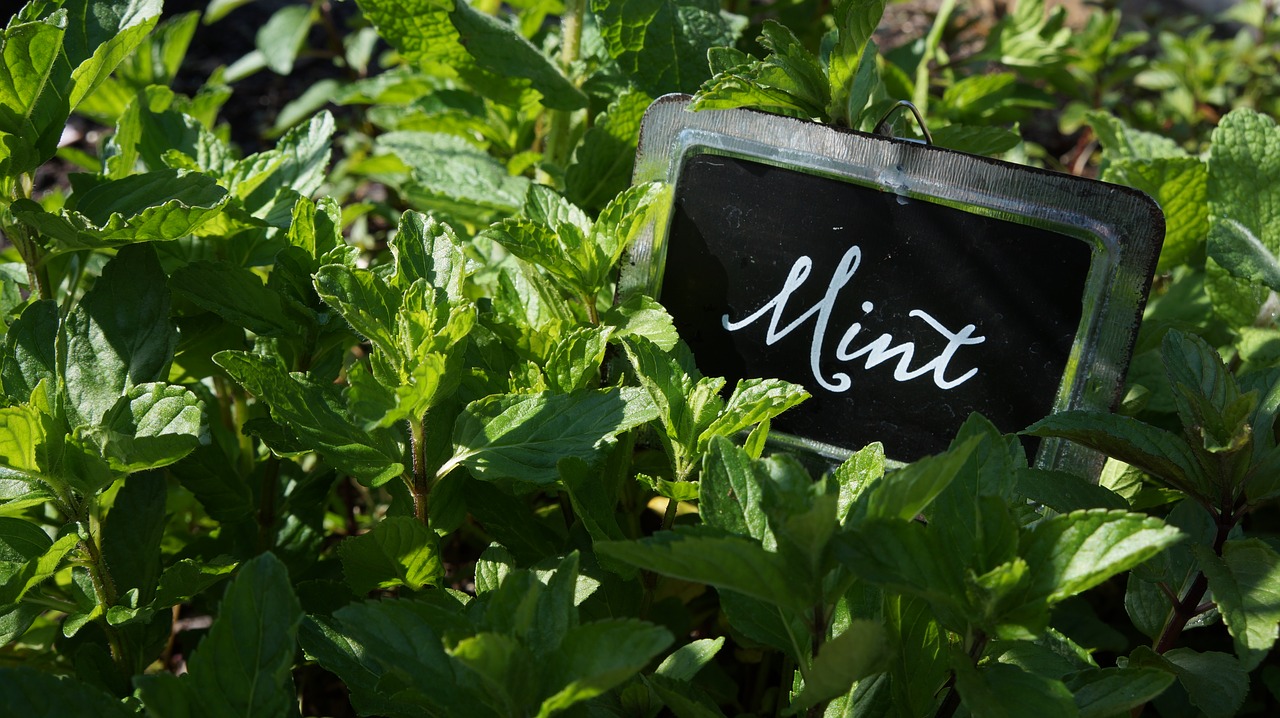
The best time to plant mint is from April to June. This applies to pots and containers, but also to beds. It is now warm enough and usually not too dry or too hot for the plant to grow well. Normally, the plants or cuttings are planted directly, as most mints do not produce seeds at all (see "Propagation"). However, specialized growers are able to produce germinable seeds. To ensure that your mint plant has enough space to grow, you should keep a planting distance of 25 x 25 cm/9.8 x 9.8 in. Of course, you can also grow mint in a tub or pot!
Sowing & Propagating Mint Correctly
The best time to sow mint is in March. Mint is a light germinator, which is why you should only cover the seeds lightly with soil. To increase the germination capacity of the seeds, you should proceed as follows:
- Mix the seeds with some bird sand
- optional: sterilize substrate (coconut fibres or potting compost) for 30 minutes at 150 - 180 °C/302 - 356 °F in the oven
- Moisten the substrate sufficiently (with a spray bottle or watering spray)
- Pour the seed-bird's sand mixture onto the substrate and press down, do not cover (light germinator)
- Moisten again with a spray bottle
- a glass or plastic cover over the seed container keeps the moisture in better
- Place in a warm (over 20 °C/68 °F) and bright place (f.e. on the windowsill)
- Water regularly
- the seeds should germinate after 14 to 16 days
Pricking and Planting Out Mint
Once the seedlings are 5 cm/2 in high, you can prick them out into small pots. This time you can mix potting compost with a little potting soil to give the young plants more nutrients. Depending on the outside temperature, the mint seedlings can be planted out in pots or beds between April and May.
Mint: Good and Bad Companion Plants
| Good Companion Plants | Bad Companion Plants |
|---|---|
| Collard greens (kale, palm kale) | Carrots |
| Cauliflower | Basil |
| Broccoli | Savory |
| Chinese cabbage | Camomille |
| Strawberries | Lovage |
| Potatoes | Parsley |
| Kohlrabi | Thyme |
| White cabbage & savoy cabbage | Parsley root |
| Coriander | Jerusalem artichoke |
| Mallow | |
| Lemon balm | |
| Pak Choy | |
| Calendula | |
| Brussels sprouts | |
| Salad | |
| Tomatoes |
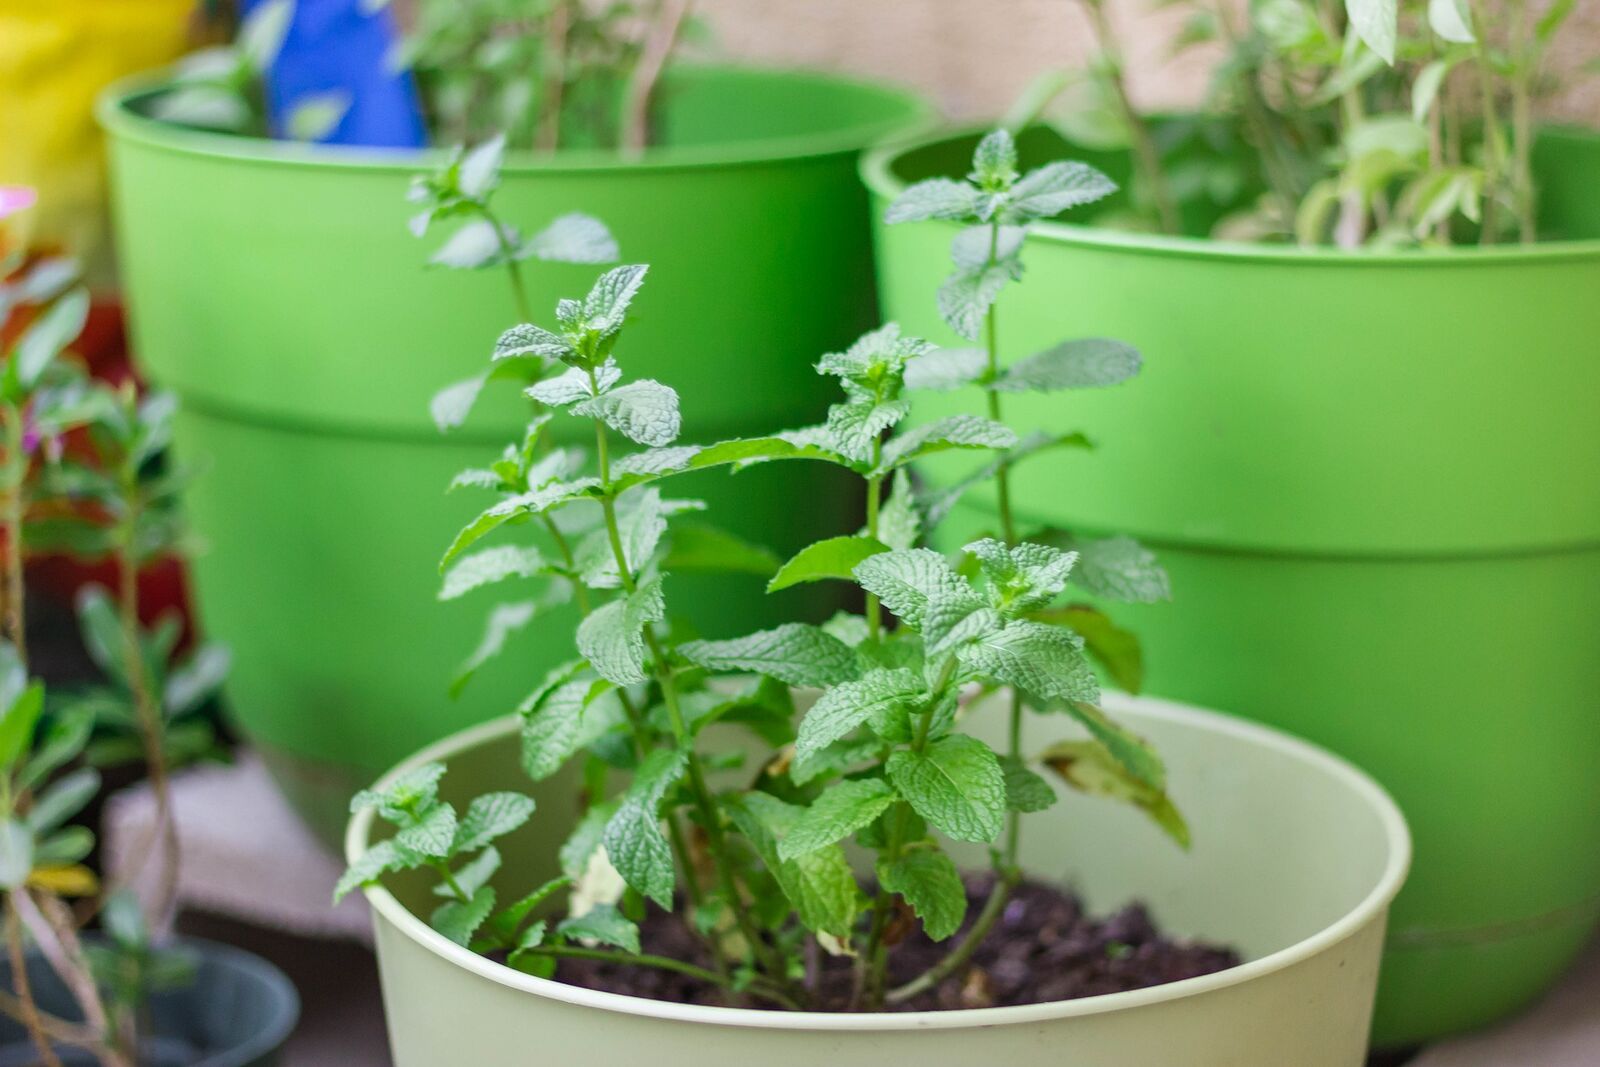
Mixed Cultivation With Mint
Although mint is said to repel cabbage white butterflies and Colorado potato beetles, it is generally not advisable to plant this proliferating herb in vegetable beds. Mint is prolific and tends to crowd out its neighbors. Only plant mint in your vegetable or herb bed with a root or rhizome barrier to limit its growth! Find examples and ideas for your mint planting plan here:
Cutting, Fertilizing & Caring for Mint
- Pruning: In fall (October) or spring (until March), you should cut back the mint perennials close to the ground. It is best to use secateurs for this. If you cut the mint back for the winter, it will contain fewer essential oils and secondary plant substances. They now taste less intense. This is why most herb gardeners no longer use these leaves for tea.
- Fertilization: To provide the mint with nutrients, you can mix some compost, rock flour and wood ash into the soil around the mint. Watering with comfrey manure has also proven to strengthen the plants. A layer of mulch provides additional nutrients and protects the soil from drying out.
- Watering: Mints like it moist! That's why you should water them sufficiently. The root ball dries out quickly, especially in pots and tubs. The water requirement is significantly higher here, which is why you should even water in the morning and evening on particularly hot days. However, make sure that there is no waterlogging. This could cause the roots to rot and die.
Propagating Mint With Cuttings: How It Works
Some mint species and varieties, such as peppermint, cannot produce seeds at all because they are so-called hybrids. This means that most varieties are crosses, which are naturally sterile. For this reason, mints are usually propagated by cuttings. This is quite simple, as most mints are vigorous and form vegetative runners. When dividing, some stolons can be separated from the rest of the plant together with the associated root and reburied in another location. The plant is best lifted out of the ground with a digging fork. Cuttings can be made from cut shoot tips, which are then "stuck" into nutrient-poor sowing and herb soil. The shoot tips should be approx. 5 cm/2 in long. Apart from the flowering period, you can make cuttings throughout the season.
Harvesting Mint
The leaves contain the highest content of essential oils and other plant substances shortly before flowering. This is when the dried leaves have the most intense flavor and are particularly suitable for tea. The best time to harvest is therefore in June or July, depending on the species or variety. Ideally, you should harvest on a cloudy morning. This way, the summer sun won't burn the freshly cut shoot tips too much. Harvest the shoots up to half their length with sharp secateurs. This allows the plant to regenerate better and, under good conditions, you can even harvest several times a year.
Tip: Don't cut back the whole shrub, as this allows individual shoots to produce flowers. These serve as an important source of food for bees and other beneficial insects.
Drying and Processing Mint
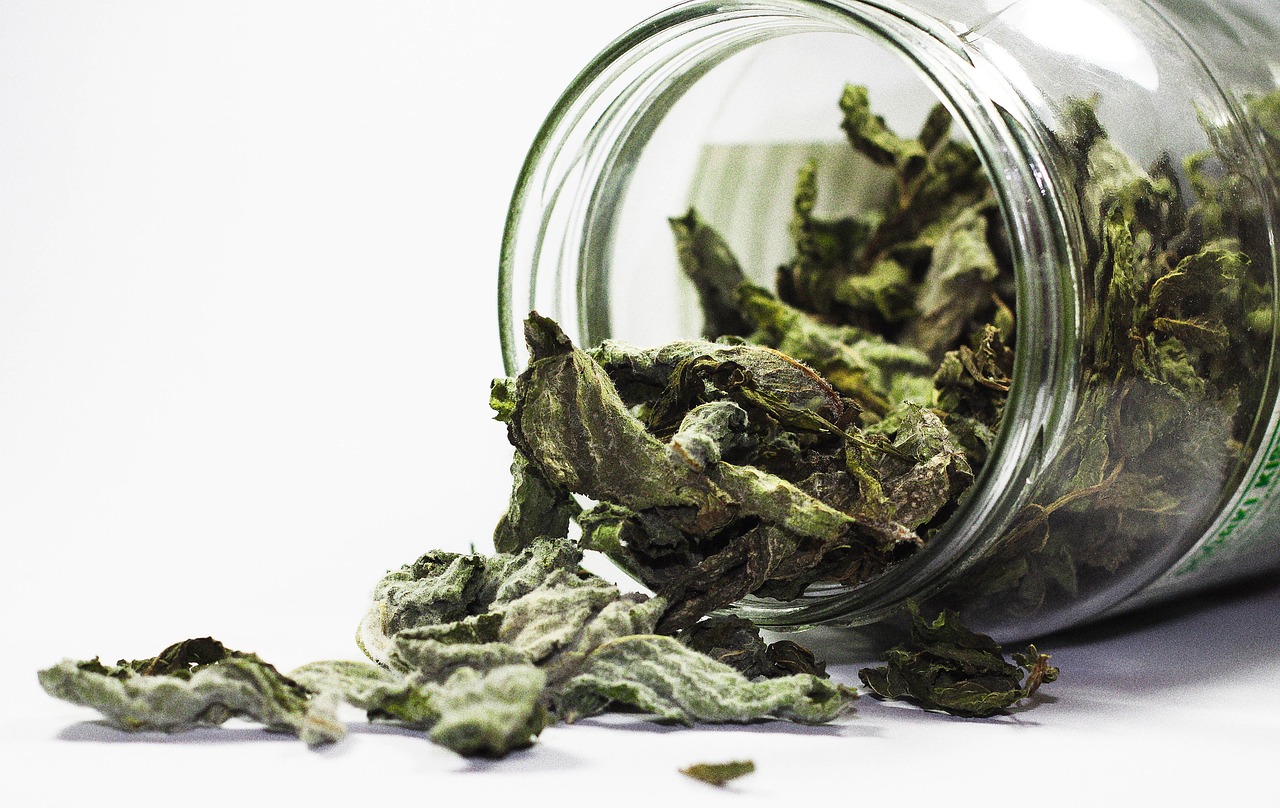
It is best to use mint leaves for tea. The stems contain considerably less essential oils and therefore taste less spicy. The earlier you dry the leaves after harvesting, the more ingredients they retain. But be careful: never put the leaves in the oven. Temperatures above 40 °C/104 °F destroy the essential oils. It is therefore best to pluck the leaves from the stems immediately after harvesting and place them on a kitchen towel or cardboard. The leaves will dry in a few days in a dry, warm and dark place. You can then put them in a dark screw-top jar and store them for the winter. It is best to use the leaves within a year so that they taste nice and intense. The leaves can also be frozen. You can then use them later for cocktails and cold drinks.
Tip: If you put the leaves directly into an ice cube mold with a little water, you can make refreshing ice cubes!
Mint: Diseases & Pests
Mint is generally robust, but can occasionally be attacked by certain diseases or aphids. You can find out which diseases can be found on mint below.
Powdery Mildew on Mint
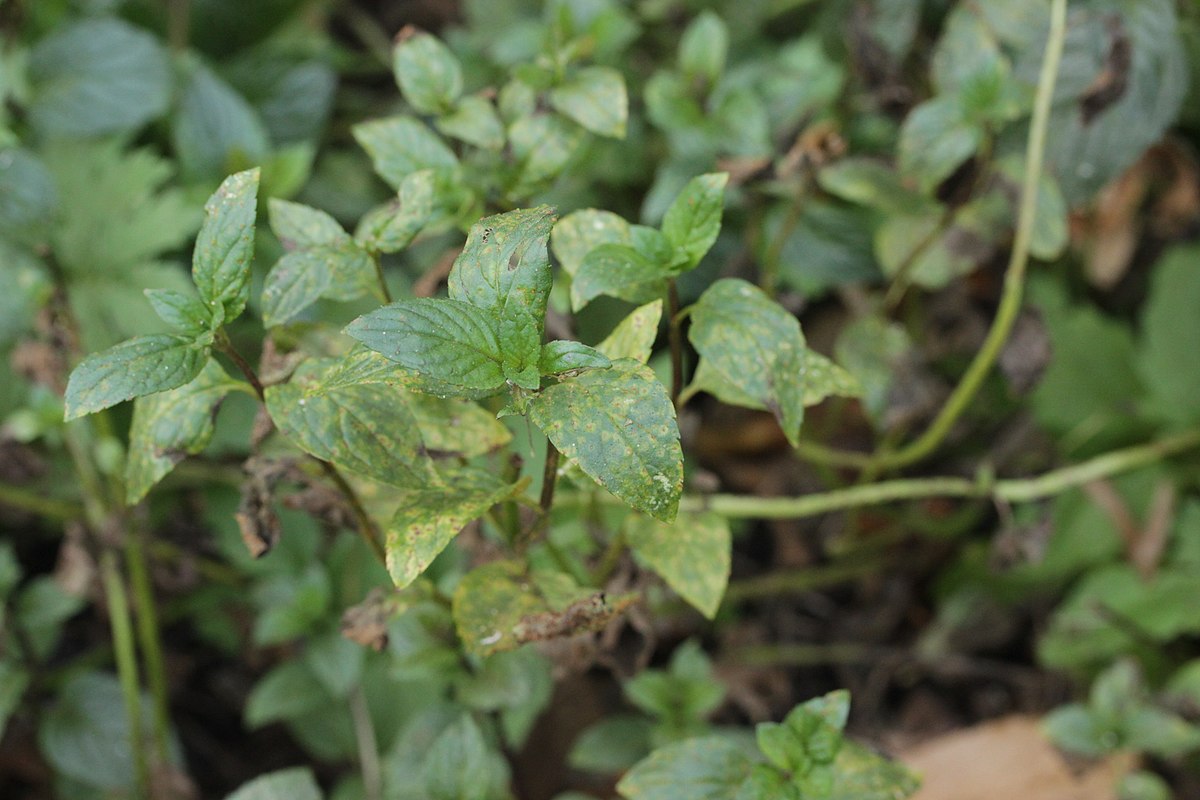
If the tops of the mint leaves have a mealy white coating, this is usually caused by powdery mildew. Downy mildew can be recognized by yellow-brown spots on the upper side of the leaves and a grey coating on the underside. You can take similar action against both fungi: Cut the plant back to ground level. Then spray the plant with either a milk and water solution (9:1) or a garlic decoction (leave to infuse in hot water for 1 hour).
(Pepper) Mint Rust (Puccinia Menthae)
The fungal disease mainly occurs in warm and humid weather. Mint rust causes the leaves to develop brown spots and even entire shoots can wither. If you recognize the first symptoms, it is best to cut off all shoots near the ground and remove infected plant parts in the residual waste. Then water with homemade horsetail manure to strengthen the new shoots.
Root Rot
If the stems near the ground become soft and bend over, this is often due to rot. It indicates that your plant is too moist. Make sure that your mint is not standing in water for a long time, otherwise the roots will no longer get any air and will die.
The best solution against diseases is to prevent them from occurring in the first place. Pay attention to the following preventative measures:
- Transplant plants to a new location every 4 - 5 years
- Leave sufficient space between the shoots to ensure good aeration (thin out regularly)
- Fertilize with plant dips to strengthen the mint
- Water close to the ground, if possible do not hit the leaves
Want to get helpful gardening tips all year round and plan your own beds in the best possible way? Then register here or download the Fryd app for Android or iOS.
Fryd - your digital bed planner
Cover picture: matthiasboeckel on pixabay.

Isabell
Isabell studies agricultural sciences and loves to be surprised by nature and its complexity again and again. Herbs - whether gathered wild or in the garden - are her passion.
Learn MoreCurrent Topics in the Community
Liked 1 times
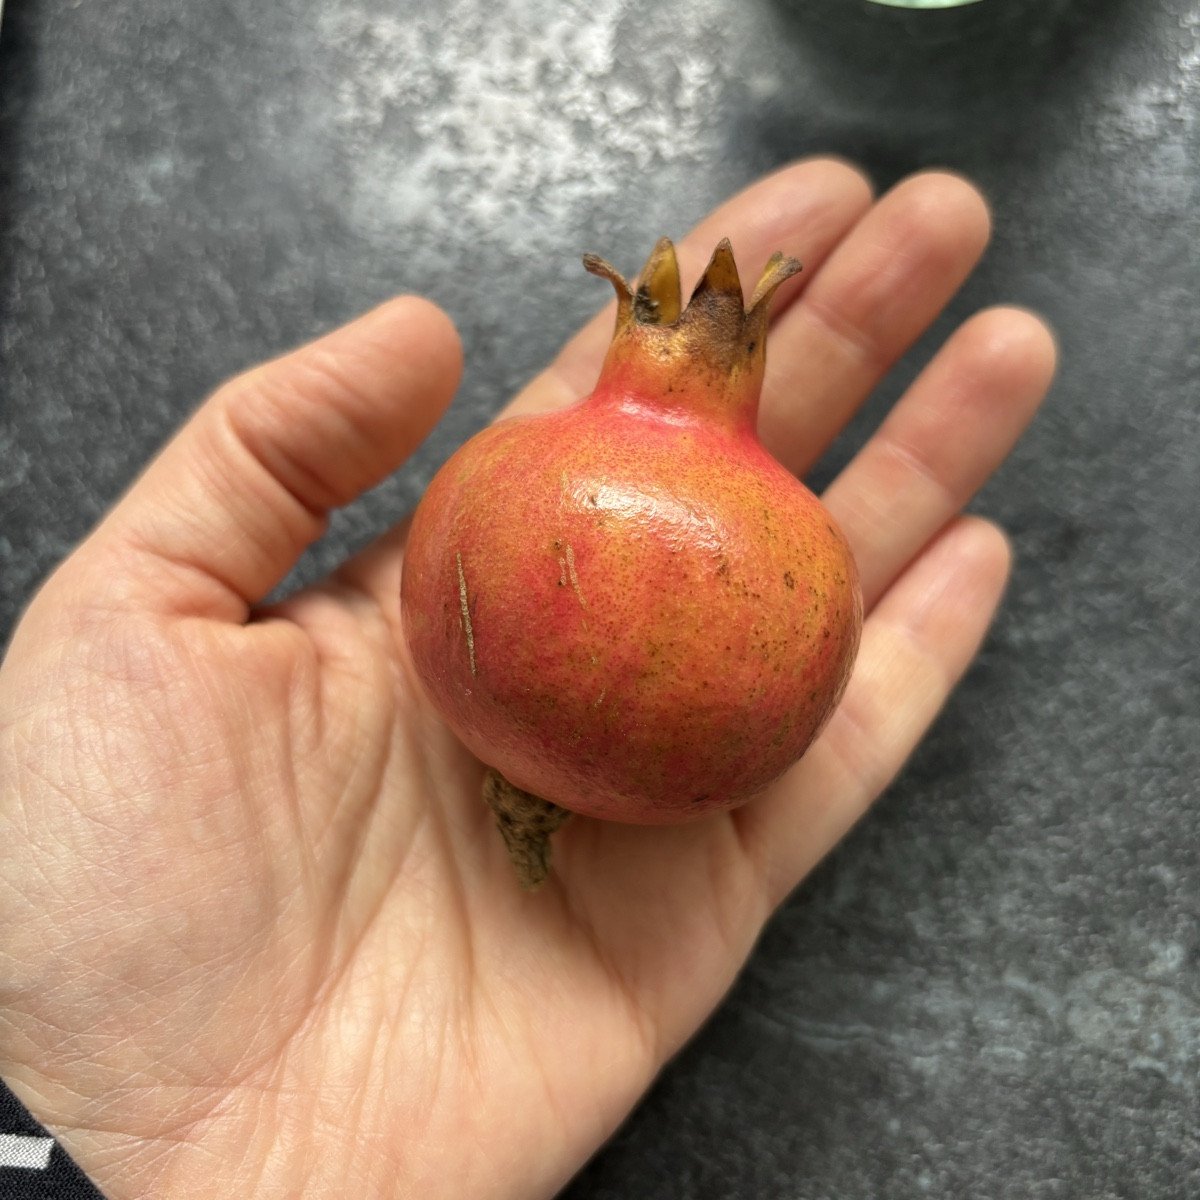
The first pomegranate this year ✨😃 Unfortunately, as I feared, it wasn't very sweet as we've hardly had any sun in the last few weeks. Nevertheless, my children enjoyed it and are looking forward to the next pomegranates!
Salüüüü☺️ I have a question I don't have time to take care of my bed at the moment because I had a lot going on and was still on vacation. I wanted to ask what you can still plant now. For example, are garlic or onions still possible or is it already a bit late?
Show 3 answers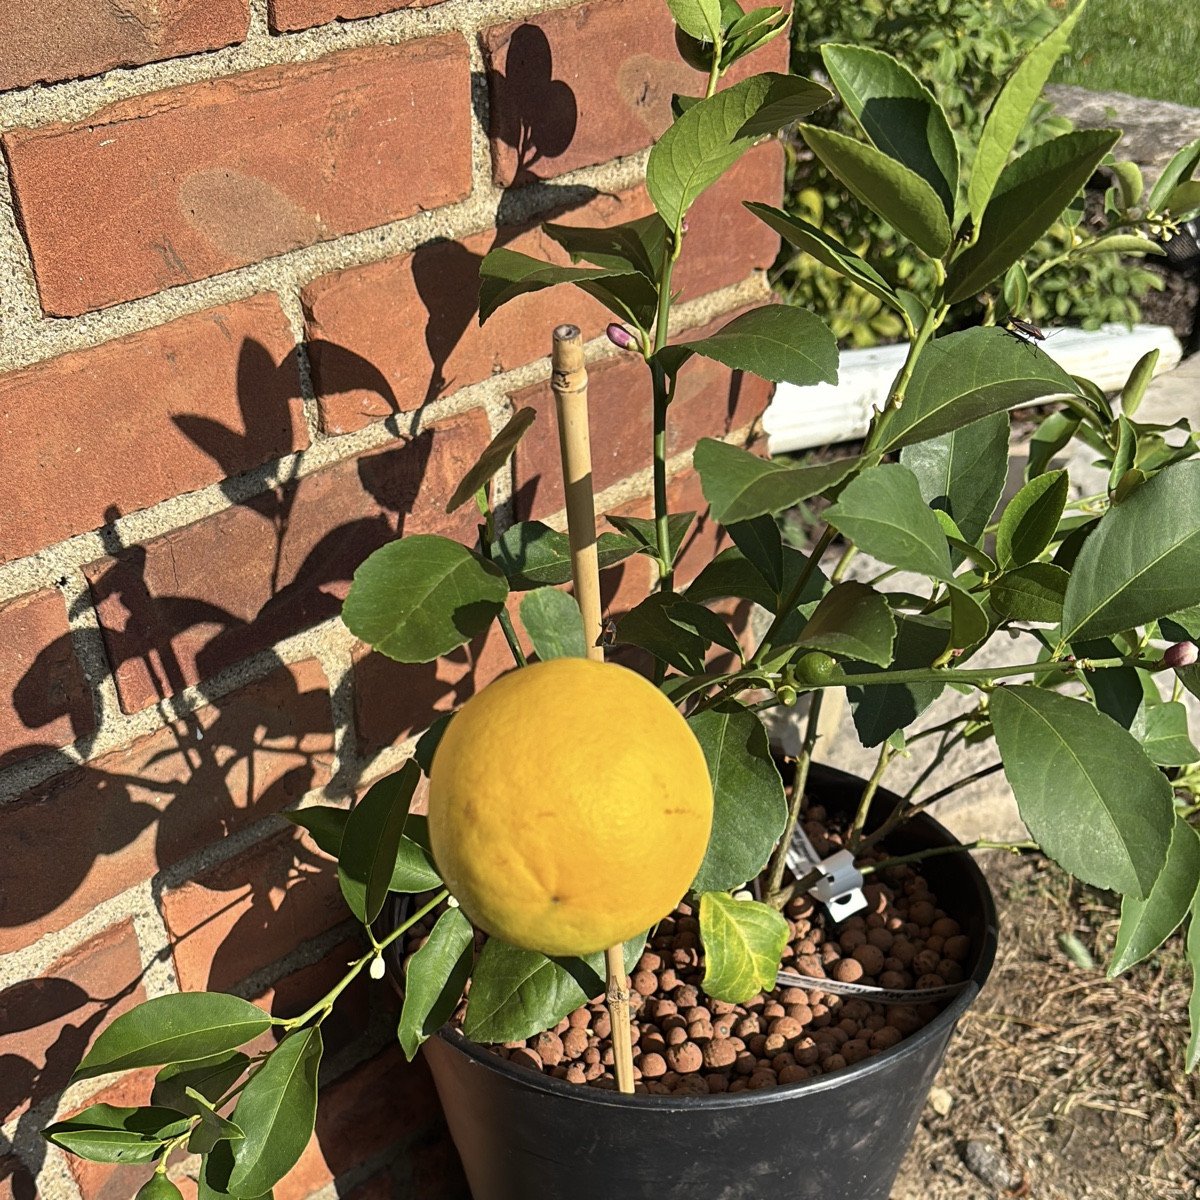
Liked 12 times
It finally worked and I have a really nice lemon on the tree 🥰🍋 Now it's time to keep my fingers crossed that it ripens completely before winter arrives here...🤞🏻
Show 7 answersPopular Articles
Winterizing Beds and the Garden: How to Do It
How to Make Comfrey Salve/Ointment: Recipe, Use & Effect
How to Make Horsetail Tea for Plants: Benefits, Uses & Recipe
Harvest Time: When to Harvest Vegetables?
Lime Fertilizer: Tips for Properly Liming Garden Soil
Growing & Harvesting Rocket: Good & Bad Companion Plants
Harvesting and Storing Onions, Spring Onions & Shallots
How to Get Rid of Voles in the Garden: How It Works
Pruning and Propagating Gooseberries: A Guide
Companion Plants for Swiss Chard: What (Not) to Plant With Swiss Chard?
FAQ
Is mint a strong, medium or light feeder?
Mint has a moderate nutrient requirement and is therefore considered to be a medium consumer. This is in contrast to many other herbs, which are mostly light feeders. The soil should therefore be humus-rich but well-drained.
Mint particularly likes moist locations with slightly sandy, well-drained soil. The location can be semi-shady to sunny. Otherwise, mint is quite undemanding and grows well in most places.
You can plant mint outdoors between April and June. Keep a planting distance of 25 x 25 cm/9.8 x 9.8 in.
When can I start sowing mint outdoors?
From March, you can sow mint seeds outdoors or on the windowsill. You can do pre-cultivation if you want to give the plants a head start. However, this is not absolutely necessary with rampant mint.