
Creating Compost Correctly: A Guide
It's hard to imagine your own vegetable garden without compost. It gratefully accepts the waste in the garden and converts it into nutritious humus. In this way, it makes the stored nutrients available again for your vegetable plants, creating a nutrient cycle. In this article, you will find instructions on how to make your own compost, as well as valuable background information on the subject.
This Article Contains:
- Create Compost: This Is Important
- Compost Correctly: The Harmonious Compost Heap
- Creating Compost: A Guide
- Step 1: Select Location
- Step 2: Fill the Compost
- The Right C/N Ratio
- Step 3: Layer Compost Correctly
- Using Compost in the Garden: Mature and Semi-mature Compost
- Frequently Asked Questions About Creating Compost
Quick Overview
How to Compost Correctly:
- Humidity
- Good ventilation
- Mild warmth, preferably in light partial shade
- Wind protection
- A lively substrate
Creating a Compost Heap: A Guide
- Choose a location: Choose an easily accessible and sheltered, semi-shaded spot that is protected from strong winds.
- Prepare the substrate: The compost should be placed on living soil. If the soil is clayey or sandy, the substrate should be adjusted accordingly.
- Collect materials: Collect various organic waste, whereby bulky material such as shrub cuttings should be stored separately.
- Layer compost: Start with a coarse layer for good air circulation, followed by a layer of mixed waste, some nitrogen fertilizer and a thin layer of soil.
- Maintain compost: Repeat the layering, keeping the compost moist and protecting it from drying out or getting wet.
Create Compost: This Is Important
Compost is the belly of the garden: your garden compost converts organic waste into humus. These substances in turn provide your soil with new nourishment. Compost is a place of decomposition, but it is not a graveyard. All living things are perishable and will sooner or later be fed back into the cycle of materials. The organic residues that accumulate in your garden are utilized by microorganisms and thus made available as nutrients for the next generation of plants. In the process, solid structures dissolve, break down into tiny components and reassemble into complex compounds. Green leaves and colorful flowers become brown humus, which can give new, blooming life.

Compost Correctly: The Harmonious Compost Heap
Countless organisms are involved in a healthy rotting process: Aerobic (acid-loving) bacteria, fungi, springtails, earthworms and many more.
Composting vs. Rotting
The good compost helpers need special conditions to thrive in the compost heap:
Healthy compost needs warmth, air and moisture. If one of these components is missing, dense, greasy layers develop. Sooner or later, these compacted layers begin to rot. Anaerobic (oxygen-avoiding) microorganisms can multiply in them and form substances that attract flies, rats or other unwanted visitors. The compost runs the risk of becoming a breeding ground for pathogens. This decaying matter is not only toxic for us humans. If you spread it on your beds, you can expect diseases, pest infestations or the death of your vegetable plants. So always keep a close eye on your compost. You can recognize rotten compost by its putrid smell, greasy consistency and fly infestation. In addition, the rotting process is very slow in this case.
In order for your compost to develop harmoniously, it must be managed sensibly. If the waste is thrown into a heap without careful consideration, it will develop according to its own wild laws. Unpleasant decomposition phenomena occur and the compost is no longer usable.
Test the Condition of the Compost: This Is What Your Compost Should Look Like
You can carry out the following tests to see whether your compost is suitable:
Moisture
Simply grab a handful of soil from the compost and press it together. The compost should be about as moist as a squeezed sponge. If the compost runs out between your fingers when you squeeze it, it is too wet. There is a risk of rotting here. If the soil crumbles, it is too dry.
Bacon Layers
Similar to the stick test in baking, a stick can be poked deep into the compost. If it shows greasy, black residue when pulled out, this is not a good sign. There is a need for action here: There is a putrid layer inside that needs to be uncovered and aired out! The pile should be moved as quickly as possible. Only the outer material is moved down and the inner material is moved up.

Want More Tips?
To exchange ideas with other gardeners and benefit from their experiences, you can visit our Fryd community. Here you can get valuable tips on how to create a compost pile!
Join the Community
Creating Compost: A Guide
Below we explain step by step how you can create your own compost heap in the garden and what you need to bear in mind.
Step 1: Select Location
The compost should be easily accessible at all times, i.e. not in the most secluded corner of the garden. The ideal location is one that is bordered by paths and where you can move around freely. The size depends on the space available; if space is limited, you can use silos, compost garbage cans, sacks or a worm compost. Alternatively, you can use a Bokashi Bucket to make your own compost and organic fertilizer directly in the kitchen.
For orientation: A "classic" compost heap is approx. 1.5 - 2 m/1.6 - 2.2 yd wide, max. 1.5 m/1.6 yd high, the length is variable. To make turning easier, 2-3 heaps are laid out directly next to each other. The different degrees of maturity of the compost can thus be used in a variety of ways in the garden.
Choose a Sheltered Place
Compost is the heart of a vegetable garden, so the foundations should be laid correctly. There are a few things to consider when choosing a location: Your compost feels most at home in mild, moist warmth and light partial shade. Both scorching sun and cold shade are rather unsuitable locations. To prevent your compost from drying out and cooling down so easily, it should also be protected from harsh winds. A spot protected by hedges and shrubs (e.g. elder or hazelnut) is ideal. In a sunny spot, the compost should also be protected from drying out in hot weather.
A Lively Substrate Is Important
Once created, the compost should always remain in the same place, so choose its location carefully. Ideally, it should be on living soil so that soil dwellers such as earthworms can move in and out at any time.
Important: Dig a 10 - 20 cm/3.9 - 7.9 in deep pit before layering.
- In clayey soils, the pit should be filled with coarse-grained material such as sand. This allows the moisture to seep away better and prevents unwanted waterlogging.
- In sandy soils, the pit is filled with humus loam or humus so that the moisture does not seep away too quickly and the soil life remains active.

Step 2: Fill the Compost
The more colorful and varied the collected material, the richer the resulting compost will be. To facilitate the correct layering, you can first collect the waste in a separate place (e.g. in silos, mesh boxes) and reuse it when there is enough. It is important not to mix the different materials, for example bulky shrub cuttings are stored separately from organic waste. Moist components are laid out to dry, dry parts are slightly moistened.
What Can Go in the Compost?
- Organic waste from the garden: leaves, plant residues, shrub cuttings, grass cuttings. Leaves and grass cuttings should always be mixed with other materials and not applied too thickly, otherwise they tend to compact.
- Used soil from boxes & tubs
- In small quantities: Cardboard, organic waste bags, kitchen paper, handkerchiefs. Paper should be moistened so that it rots better.
- Kitchen waste: Vegetable, fruit scraps, eggshells, coffee grounds, tea bags (remove metal clips). Mix the kitchen waste with coarse material to prevent rotting.
- Tip: Earthworms love onion skins and coffee grounds
Do NOT Put This in the Compost:
- Color-printed magazines & brochures - These may contain heavy metal residues!
- Glass, wire, stones, sheet metal, aluminum foil, plastic residues
- Sick or pest-infested parts of plants
- Animal waste such as cheese, sausage, meat or bones - these attract mice and rats!
- Diapers, cat litter
- Vacuum cleaner bags
- Wood ash (often contaminated with heavy metals)
- Citrus fruits, banana peels (often sprayed)
Shred Your Organic Waste!
The smaller the individual pieces are, the faster and more thoroughly the rotting process can take place:
Coarse chunks and vegetable waste can be easily chopped up with a spade. Branches and shrub cuttings should be cut into pieces about 10 cm/3.9 in long with secateurs. A shredder can help with thicker branches and large quantities of woody material. After shredding, the various substances should be thoroughly mixed again. Juicy, green garden waste and dry, woody material, for example, complement each other well and together form a loose mixture that can easily decompose.

The Right C/N Ratio
In order for the microorganisms in compost to work diligently, they need certain living conditions. Apart from oxygen and water, they also need vital nutrients for their metabolism. Sufficient nitrogen is particularly important here, as it is used to build up the body's own protein. In order for microorganisms to produce endogenous protein, they are dependent on energy in the form of carbon. Approximately 30 carbon particles are needed to utilize one nitrogen particle; this is referred to as a C/N ratio of 30:1.
If there is a lack of nitrogen, the speed at which the microorganisms work changes and although they have sufficient "fuel" available, they have no "building blocks" that they can utilize and assemble. As a result, the mature compost ends up lacking important nutrients and cannot provide your vegetable plants with sufficient nutrients. It is therefore important to keep adding nitrogen-rich substances to the compost. Green waste contains relatively high levels of nitrogen and is always welcome in compost. However, you should be careful with materials such as leaves, straw and sawdust: they have a high C/N ratio, i.e. they contain relatively little nitrogen compared to carbon. To get the life in the compost going, additional organic fertilizer with a high nitrogen content can be scattered into the compost (e.g. horn shavings, horn meal, manure from rabbits, horses, pigs, etc. or liquid variants such as nettle manure).

Step 3: Layer Compost Correctly
The compost heap can now be laid out on living ground:
- Bottom layer: Coarse, loosely layered material (tree and hedge cuttings, stems from shrubs, etc.). The bottom layer should always consist of coarse material to allow air to circulate and excess water to drain from the pile.
- This is followed by an approx. 20 cm/ 7.9 in thick layer of mixed waste, which is spread out loosely. A couple of handfuls of nitrogen-rich fertilizer can be sprinkled into this (see above). The additional nitrogen stimulates the soil animals and ensures that the compost ends up nice and nutrient-rich.
- In between, a touch of carbonated lime or calcareous rock flour can be worked in.
- This is followed by a thin layer of soil or compost from last year. This thin layer serves as a so-called compost starter. The microorganisms in the soil or mature compost can colonize the new environment and quickly become very active due to the nutritious components - soil life takes over the new compost heap, so to speak. If you are starting from scratch with your compost, a commercial compost starter can help you get going.
- If the compost is dry and the weather is sunny, the compost can be watered with warm, stale water. Of course, this is not necessary on a damp fall day.
- Now start layering again from the beginning: mixed waste, fertilizer, lime, soil. Shredded pieces of wood and twigs can always be mixed in with all the layers, they decompose slowly and keep the compost nice and airy.
- The compost is then covered with a warm, airy layer of soil, leaves, straw or grass clippings to protect it from the cold and drying out. It is important that the material can breathe and thus form a porous skin.
- During long periods of rain, the compost should be covered to prevent it from becoming too wet and rotting.

Using Compost in the Garden: Mature and Semi-mature Compost
The best time to spread your compost is in the fall, while the soil is still warm and alive, and in the spring, as soon as the soil warms up and the microorganisms become active again. Compost should not be added to cold or even frozen soil. It can also be used in summer for new plantings, but it is particularly important to cover it with mulch so that the activity in the compost is maintained and does not dry out.
Compost can not only be used when ripe. Semi-ripe mulch compost is also very valuable in the garden, it is particularly lively and can therefore stimulate soil life in your beds:
Use Semi-mature Compost
Mulch compost is a valuable intermediate product consisting of not fully rotted, somewhat coarser material. The activity and nutrient reserves are particularly high in this semi-mature state, which is why it is often used to stimulate soil life in garden beds. The "harvest" is possible after about 2-3 months. This only applies if the materials were piled up during the warm season. In winter, the compost is dormant and should not be turned. Mulch compost should never come into direct contact with roots! The material is still working and needs plenty of oxygen. In a filled planting hole, there can easily be a lack of air, resulting in rotting processes that damage the roots. Mulch compost is therefore only spread on the surface of the beds and lightly raked in so that it only has contact with the soil. The vitality in the compost is thus transferred to the immediate surroundings, similar to sourdough when baking bread.
Spreading Mature Compost in the Garden
Mature compost is ready after 9-12 months, depending on the weather. The compost is ripe when all the waste has turned into brown, crumbly soil. Another indicator of this is the withdrawal of the earthworms. The mature compost is now sieved, the coarse pieces can be set aside and added to the compost again later. Mature compost is a mild, balanced form of permanent humus. It can be used for seedbeds, cold frames, seed furrows and planting holes. Mature compost is also only raked in superficially, it should not be dug under! To protect against heat, cold and heavy downpours, spread a light blanket of organic mulch to preserve the precious life inside.
Old compost that rests for more than a year slowly changes into a mineralized state. This means that the organic materials are increasingly broken down into their inorganic components. The compost no longer improves, but gradually loses its vitality and nutrients. It should now be used up as quickly as possible.

Compost closes the nutrient cycle in the garden and should therefore not be missing in the hobby garden. We hope that this article will help you to create your own compost and that you will soon be able to compost successfully.
If you have any questions or comments, please write to us at [email protected].
Would you like to receive helpful gardening tips all year round and plan your own beds optimally? Then register here or download the Fryd app for Android or iOS.
Fryd - Your digital bed planner

Annabell
Annabell is studying agricultural biology at the University of Hohenheim. She also enjoys gardening in her private life, spends a lot of time in nature and loves to be creative.
Learn MoreCurrent Topics in the Community

With this #weather, the fruit trees are slowly starting to bloom. It’s just wonderful to look at. And of course, the #flowerbeds need to be spruced up as well 😊
Hi everyone! I wanted to show you some photos of my seedlings, but I can't access the photos on my phone anymore. Is anyone else having this problem? When I go into the settings, I can select "Always allow full access," but as soon as I close the settings, it keeps reverting back to "Ask every time," and the app doesn't show me any way to access my files... I already uninstalled and reinstalled the app, but that just made everything even worse...
Liked 3 times
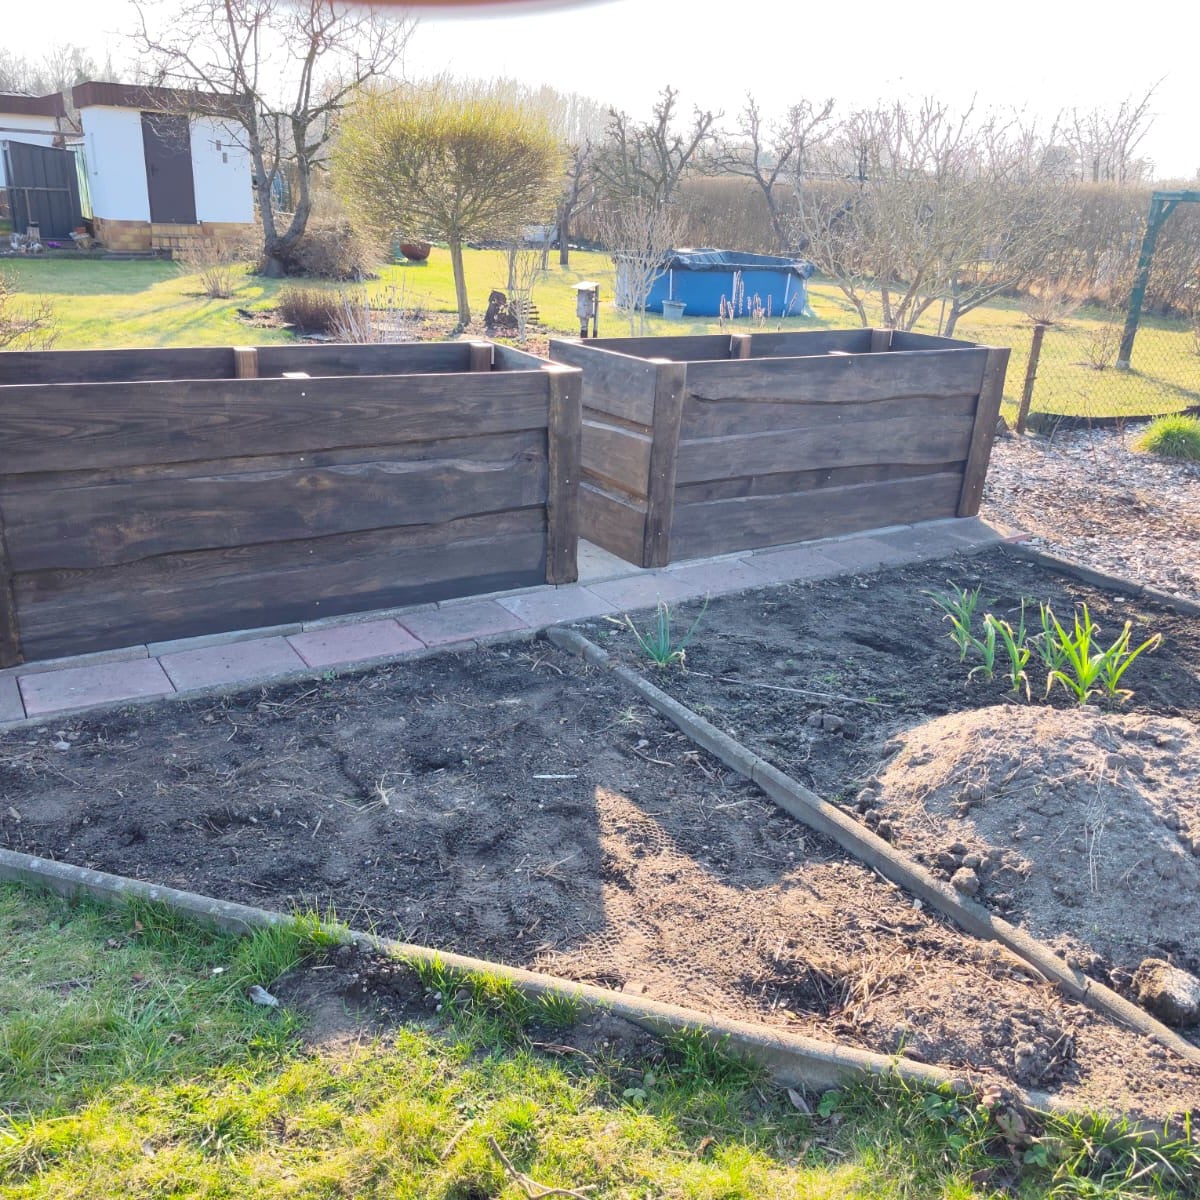
So. Thanks @Alex&Sempi Here are our new raised beds. We still need to add the roof and windbreak. Then my new magnolia is finally starting to open its buds (to everyone who doesn’t think magnolias make sense in the garden—I don’t care. I just think they’re really, really beautiful. I have plenty of other spots that attract the bees) And since I’m on the subject, I’ve now decided that as soon as I can continue later, I’ll turn one corner into something like this, among other things. As seen in picture 4. Love to everyone 🌺
Show 2 answersPopular Articles

Gardening in March: Preparation & Cultivation

Propagating Peppers/Chillies: How to Grow Them Successfully

Cultivation or Direct Sowing: When and Which Vegetables to Propagate?

Sowing and Propagating Tomatoes: This Is How It Works

Raised Beds: Your Planting Plan for a Year

Plant Lights for Growing and Overwintering Plants

Growing Cucumbers Seedlings in Pots: Tips for Propagation

Pricking Out Vegetable Plants: Tips and Instructions

Growing & Harvesting Rocket: Good & Bad Companion Plants

How to Grow Broccoli: Tips for Cultivation
FAQ
Semi-mature compost is partially decomposed organic material that has not yet been fully converted into humus and therefore has a shorter rotting time.
Organic waste such as leaves, plant residues, shrub cuttings, grass cuttings, used soil, kitchen waste such as vegetable scraps, coffee grounds and tea bags may be put in the compost.
What must NOT go in the compost?
Printed paper, glass, stones, diseased plant parts, animal waste, citrus fruit and banana peel should not be put in the compost as they attract pests or have been treated.
How does the C/N ratio influence the composting process?
A balanced carbon-nitrogen ratio is important for efficient decomposition, with carbon serving as an energy source and nitrogen for the growth of microorganisms.