
Soil Blocker: Simplify Your Cultivation
There is currently a lot of hype surrounding the so-called soil blocker, also known as a soil baler. The "soil blocking" trend is growing, especially in America. We show you the advantages of growing with a soil blocker and provide you with simple instructions for creating your own soil blocks.
This Article Contains:
Quick Overview
Soil Baler: Instructions
- Fill the soil pot press with moist potting compost and press down well, remove excess soil with a knife
- Press the pots of soil into a box or other base (close the lid if available)
- Place the seeds in the well and press down/cover
- If there is a lid: ventilate several times a day
- initially moisten the pots well with a spray bottle (1-3 times a day)
- when the plants have already rooted deeper into the pot, water from below
- after approx. 2 weeks, strong-growing seedlings can be fed with a little liquid fertilizer
Soil Blockers: What to Use It For?
The soil ball or soil blockers is a press that you can use to create small soil balls/soil pots for cultivation. This saves you growing pots or growing pallets and therefore plastic waste. You may already be familiar with these cubes from seedlings bought from the market. Many gardeners swear by this simple and practical method. And with a little practice, creating the soil pots is no more time-consuming than using growing pots! On the contrary - the soil blocker offers a number of advantages!

Advantages of the Soil Blocker
Time, Space and Cost Savings With Pots in the Ground
If you fill normal plastic pots or growing pallets, it may seem less time-consuming than using a soil blocker to produce lots of soil balls. However, you will save time later on because you can simply plant the soil balls and don't have to remove your plants from the pots first. What's more, you only have to buy the soil blocker once, whereas most plastic pots and growing plates break quickly. The procurement of new containers alone takes a lot of time and effort. A good potting press will last you a long time with the right care. The only other thing you will need to buy is a base plate or box on which you can place your soil balls. As the pressed pots of soil can be placed directly next to each other, you save an enormous amount of space compared to pots. And who doesn't know that there is ALWAYS a lack of space when growing plants?
Less Plastic and Waste With Potless Cultivation
If you use a soil blocker, plastic pots will soon be superfluous. This means you use less plastic and generate less waste. You also avoid microplastics from the growing pots getting into your soil and your vegetable plants. You can read more Tips for Sustainable Growing here in the article.
No Transmission of Diseases Between the Young Plants
If you use plastic pots or growing pallets, you should wash them out regularly after use and at best disinfect them so that no diseases are transferred between the seedlings. The soil blocker makes growing containers superfluous. Diseases cannot be transmitted so easily here. The only thing that needs to be cleaned is your saucer container and the soil press itself!
Soil Balers: Gentle Cultivation for Your Seedlings
Your plants will thank you for the soil blocker, as their roots can spread out much better and don't bump into the outside of the plastic walls. This prevents roots from growing around themselves due to a lack of space and "strangling" themselves in the process. In addition, you can always keep an eye on how well the roots of your seedlings are developing and when they should be planted out! Your seedlings are also protected when they are planted out, as you don't have to remove their roots from the growing pots first, but can simply place the root balls in the soil.
It is Fun - For Children Too!
The final advantage of the potting press is the fun of filling the press with moist potting soil with your hands. This is not only fun for older gardeners, but also for younger ones. Find out more about this topic in our article on Gardening With Children.
Our tip: Buy a soil compactor
If you fancy making your own earth pots, we have something for you: In our store you will find a high-quality, handmade soil blocker made in a small family business.
Soil Baler: The Right Potting Soil
To fill the chambers of the soil blocker, you first need sufficiently moist Potting Compost. Some people buy extra professional growing substrate from the nursery, but this is not absolutely necessary. If you would prefer to use professional substrate, simply ask your nursery what kind of growing medium they use and whether you can buy it. It is important that the potting compost is fine and rich in humus so that it holds together well. If your potting compost is a little older or quite dry, moisten it in a large bucket with a spray bottle. To see if it is moist enough, take a handful of soil and press it together firmly with the palm of your hand. If it holds well, you can use it for your soil blocker.
Our Tip: Add Sound for Better Cohesion
Some experienced gardeners also mix bentonite into their potting compost so that the root balls stick together better. This is a clay mineral that ensures that the soil particles can stick together better. You can also add one cup of betonite to 10 - 20 liters/21 - 42 pts of soil.

Don’t Waste Precious Space in Your Vegetable Garden!
With our bed planner, it’s easy to design a beautiful and productive companion planting layout. You’ll see which plants grow well together — and which don’t — along with tips for crop rotation and succession planting!
Plan Your Bed NowInstructions: How to Use Soil Blockers
Step 1: Filling the Soil Compactor

Fill the potting press by pressing it firmly into the potting soil. Then press it down once more on the floor or table and remove the rest with a shovel or knife.
Step 2: Pressing the soil pots

Then press the cuboid pots of soil into a box that will serve as a base. Ordinary hard plastic boxes, which are also available in (Swedish) furniture stores, are suitable for this. A 60 x 80 x 18 cm/23.6 x 31.5 x 7 in box can hold approx. 90 to 100 soil balls with a diameter of 5 cm/2 in. If the boxes have a lid, this is all the better, as it keeps the moisture in the pots of soil. However, you should ventilate several times a day until germination to prevent mold from forming!
Step 3: Sowing

Place the seeds in the small hollow and press down/cover with soil.
Step 4: Water the Seeds

Otherwise, use a spray bottle to moisten your soil balls 1-3 times a day, depending on the humidity and cover situation.

If the roots of the seedlings have grown deeper into the root ball, you can also water the blocks from below. This allows them to soak up water.
Step 4: Fertilize Heavy Feeders

Approx. 2 weeks after germination, you can feed your heavy feeding plants with a little liquid fertilizer (preferably organic fertilizer). However, only give half the specified amount.
I hope I have been able to help you with your questions about the soil pot press/soil baler and make you want to give it a try! If you have any questions or comments, please write to us at [email protected].
Would you like to receive helpful gardening tips all year round and plan your own beds optimally? Then register here or download the Fryd app for Android or iOS.
Fryd - your digital bed planner

Isabell
Isabell studies agricultural sciences and loves to be surprised by nature and its complexity again and again. Herbs - whether gathered wild or in the garden - are her passion.
Learn MoreCurrent Topics in the Community
Liked 3 times
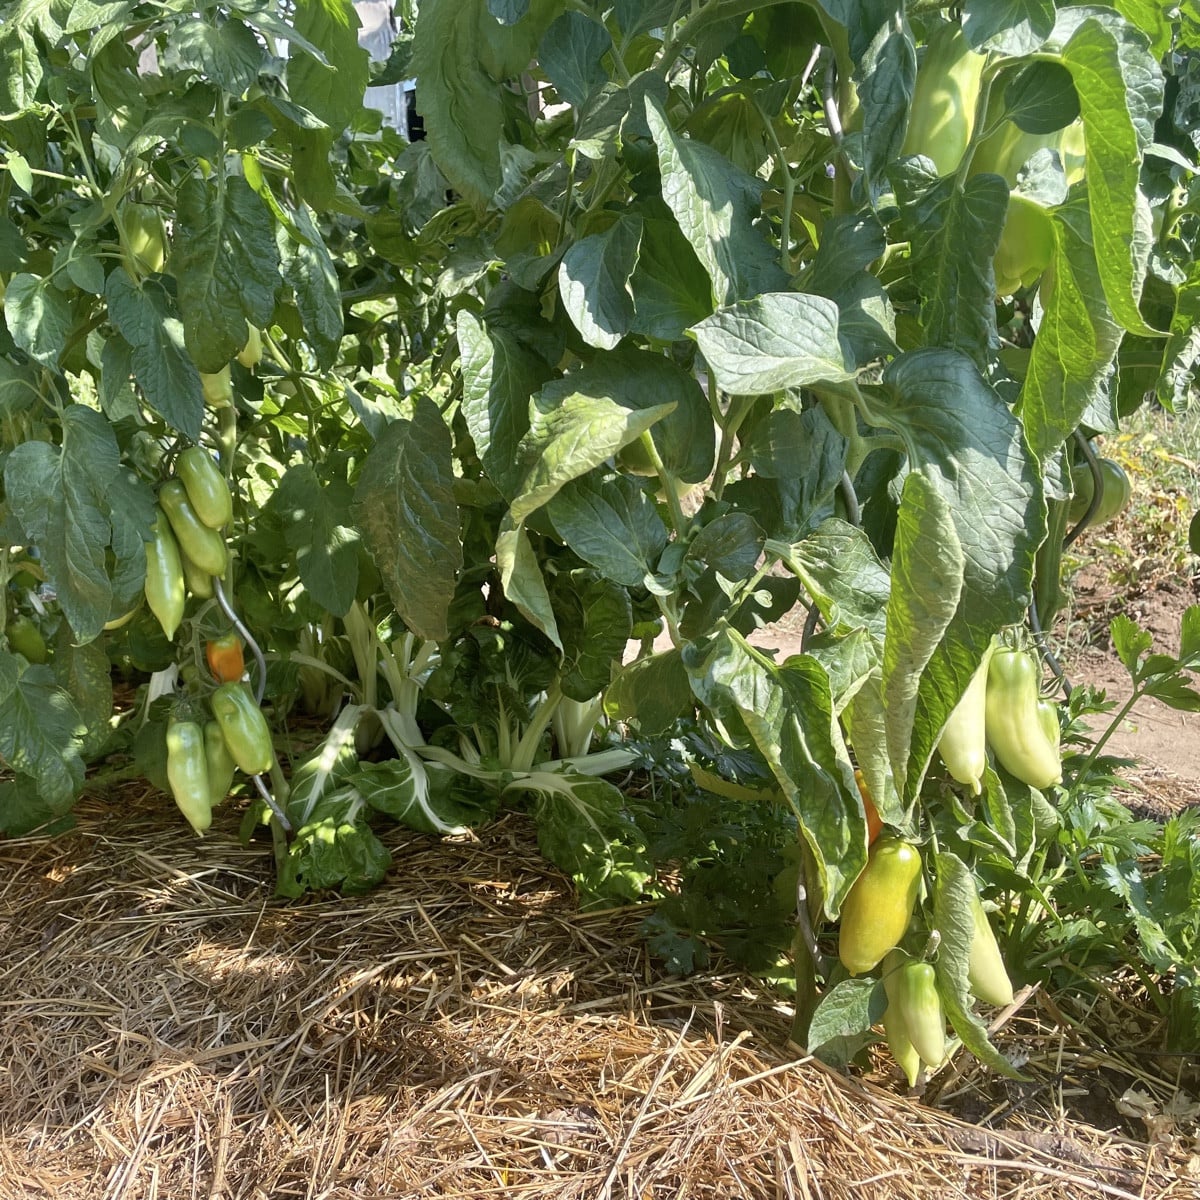
I've had to wait a long time for my tomatoes to bear fruit this year, and now this: the San Marzano tomatoes are getting huge, but none of them are red yet. I'll have to wait another week! 🥲
Liked 6 times
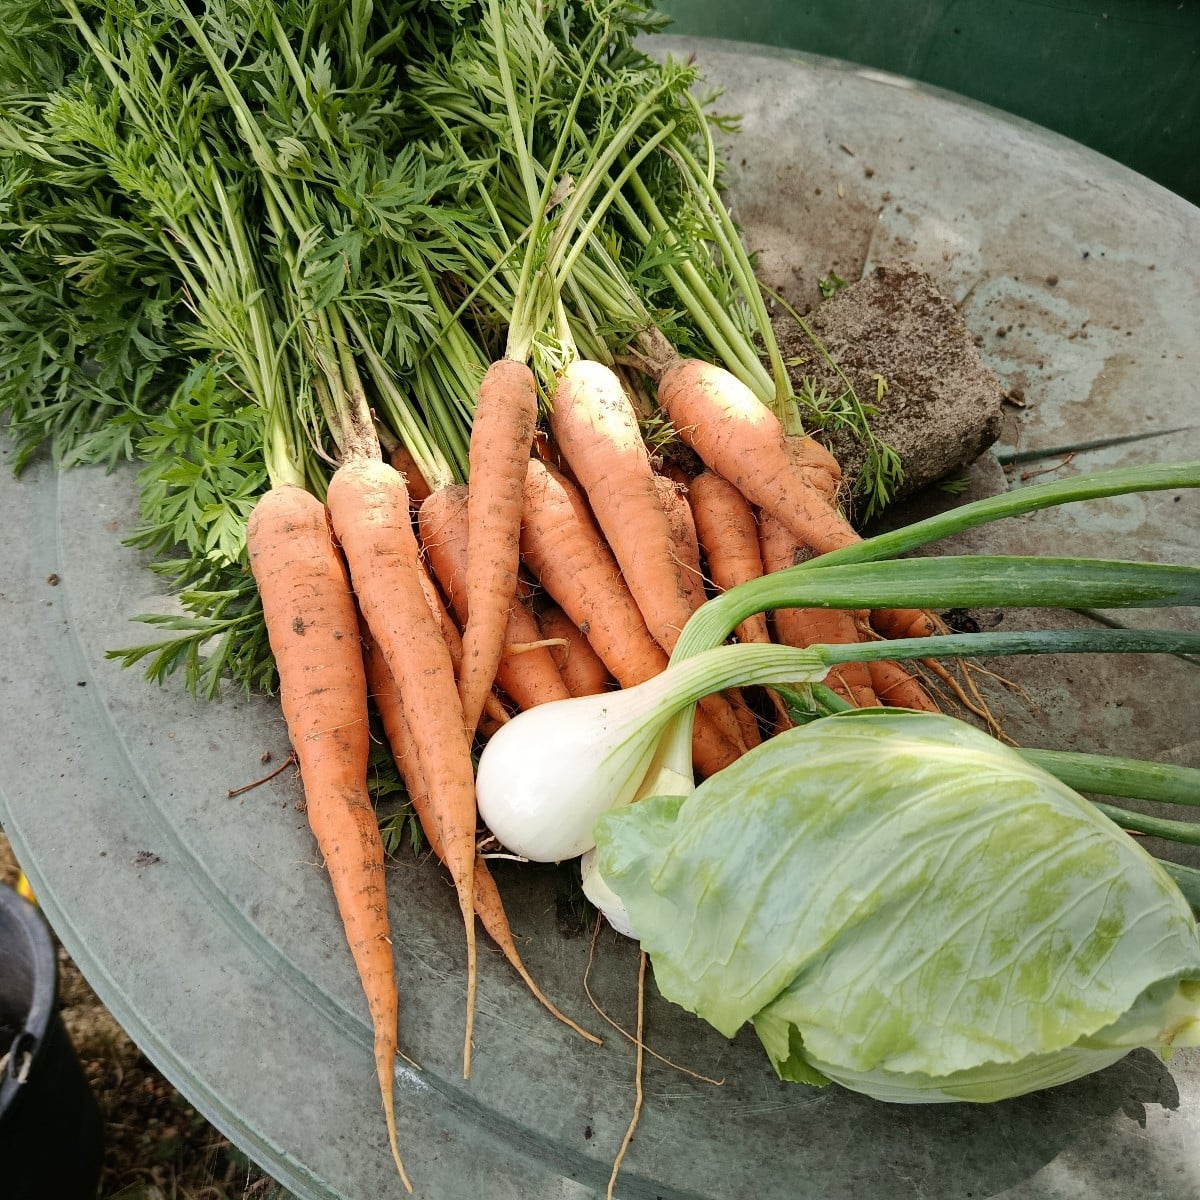
Today I harvested my first batch of carrots, along with a clumped onion and a small pointed cabbage. I finally planted my flower sprouts, kale, and Brussels sprouts today. The plants were already a little overdue. I secured everything with netting. The cucumbers are blooming, but they’re getting a bit of powdery mildew at the base. I always cut that off. My onions are growing huge this year. And I harvested some mahonia berries. Does anyone have a good recipe?
Show 1 answer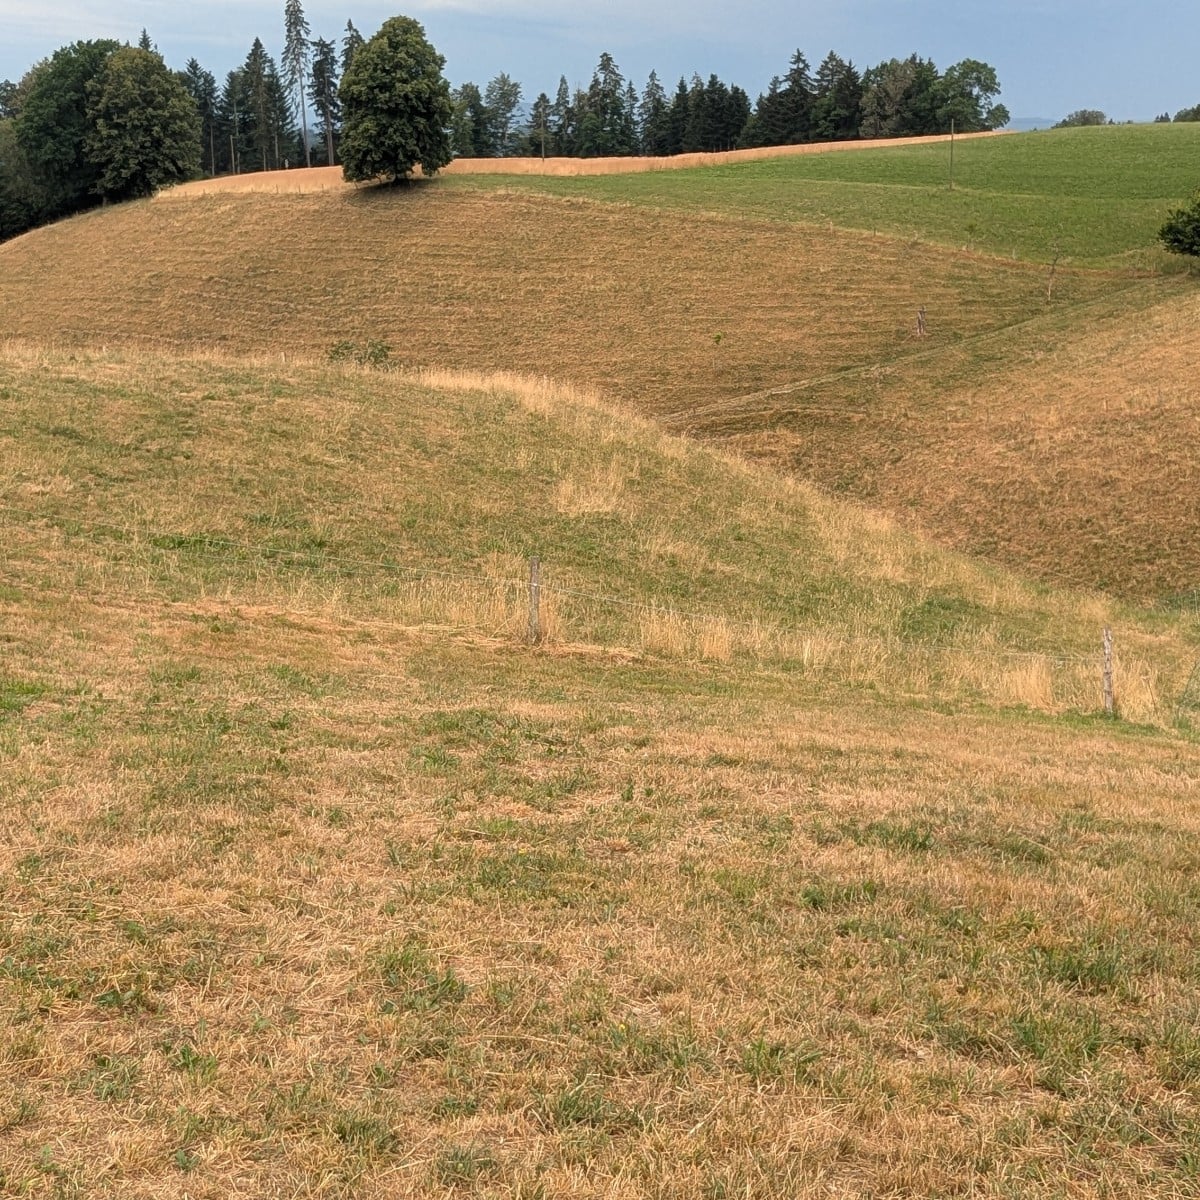
Liked 10 times
The #Emmental is actually a landscape like Tolkien's Shire. Right now, it's more like a semi-desert...
Show 3 answersPopular Articles

Gardening in March: Preparation & Cultivation

Propagating Peppers/Chillies: How to Grow Them Successfully

Cultivation or Direct Sowing: When and Which Vegetables to Propagate?

Sowing and Propagating Tomatoes: This Is How It Works

Raised Beds: Your Planting Plan for a Year

Plant Lights for Growing and Overwintering Plants

Growing Cucumbers Seedlings in Pots: Tips for Propagation

Pricking Out Vegetable Plants: Tips and Instructions

Growing & Harvesting Rocket: Good & Bad Companion Plants

How to Grow Broccoli: Tips for Cultivation
FAQ
What is a soil compactor?
The soil pot press is a tool that can be used to form soil balls for plant cultivation, making the use of plastic pots unnecessary and reducing plastic waste.
What are the advantages of the soil compactor?
It saves time, space and costs, as the pressed soil balls can be planted directly, eliminating the repotting process. In addition, no plastic waste is produced.
How do you use a soil compactor?
Fill the press with moist potting compost, press it down firmly and remove excess soil to form the soil balls.
What should you consider when choosing the soil?
The soil should be fine and rich in humus to ensure a good binding and nutrient supply for the seedlings.