
Make Your Own Potting Compost & Sowing Soil
Potting soil is very easy to make yourself. Not only is it sustainable, but it can also save you money! In this article, we'll show you what you need to consider when making potting soil and the best way to do it.
This Article Contains:
Quick Overview
What Is Potting Compost?
- Special soil for growing: rich in humus, therefore fine crumbly and high water retention capacity
- Sterilized soil: without germs, bacteria and other diseases
Making Your Own Potting Compost: Recipe & Instructions
Recipe for Sowing Soil
- 1 part compost
- 1 part sand
- 1 part garden soil
- Add rock flour/algae lime if required
Instructions: Cultivation Soil/Seeding Soil/Herb Soil
- Mix 1/3 each of sieved garden soil, sieved, matured compost and sand
- Sterilize in the oven at 120 °C for 45 minutes
- Then leave to cool, can be used immediately
What Is Potting Compost?
There are many reasons why special potting soil is used. Firstly, sowing soil is quite rich in humus, which is why it has a fine crumbly structure. This makes it easier for the sensitive seedlings to reach the surface without injuring themselves or being held back by heavy lumps of clay. The roots can also spread better and grow through the seed pot. This is important because a strong root system is crucial for absorbing water and nutrients later on. The humus-rich sowing soil can also store a lot of water, which means that the young plants are supplied with water more evenly and do not dry out as quickly. At the same time, the loose structure of the seed soil allows sufficient oxygen to reach the roots, which the root cells need to breathe.

Why should I make my own potting compost?
Purchased potting compost, potting soil or vegetable soil often contains peat. It is rich in nutrients and ensures loose soil with a high water storage capacity. Peat comes from bogs, which have to be drained for decomposition. This allows oxygen to reach the carbon compounds stored in the peat soil. The result: masses of CO2 are released. Normally, peatlands are good CO2 sinks, because the low-oxygen environment in the soil means that plants and the carbon bound in them are stored in the soil.
Use Organic Potting Soil Without Peat!
Peat extraction produces many climate-damaging greenhouse gases. In Germany alone, peat extraction accounts for around 7 % of greenhouse gas emissions (bund-niedersachsen.de). In addition, peat extraction destroys important habitats for adapted, rare animal and plant species. If you make your own potting soil, you can decide which components you use! You can also control the consistency of your sowing soil and ensure that it does not harbour any dangerous germs by sterilizing it in the oven.

Ever Feel Lost in the Garden? Connect With Others!
In the Fryd community, you’ll find friendly and helpful gardeners ready to share ideas, give advice, and celebrate wins (and failures) together. Gardening is just more fun when you’re not doing it alone.
Join the Community NowMaking Potting Compost: What You Need
To make your own potting compost, you essentially need three ingredients: well-ripened Compost, garden soil (preferably from your own garden) and sand.
Recipe for Sowing Soil:
- 1 part well-matured compost
- 1 part sand (preferably medium grain size)
- 1 part loose garden soil
The Right Compost
The compost component should be well-matured compost, as this is well decomposed. The compost should have been matured for 2 - 3 years at best. As a result, it has a fine crumbly structure and also contains fewer nutrients due to the long maturing process. The low nutrient content is important for the young plants, as it encourages the seedlings to develop stronger roots. This makes the plants more resilient and better supplied with nutrients later on. So your harvest already depends on the potting soil!
The Right Garden Soil
First of all, you should know what type of garden soil you have. Use our Simple Soil Test to find out the composition of your garden soil. In addition, Indicator Plants can also give you clues about your garden soil. If it is very heavy (clayey, loamy), it is not so suitable for making sowing soil. Clumps can easily form here, as it becomes very hard when it dries, making it difficult for the roots of the small plants to grow. Very light, sandy garden soil is also not ideal, as it dries out very quickly. A silty, medium-heavy garden soil is therefore best. You can collect such great, loose soil from molehills, for example.

Instructions: Cultivation Soil/Seeding Soil
1) Mix Compost, Soil and Sand
First sieve the compost and garden soil to create a fine structure. It is best to sort out coarser components such as plant or root residues and seeds. Then mix the garden soil, compost and sand thoroughly to create a homogeneous mass. If you like, you can also mix some rock flour or seaweed lime into the potting compost to provide the seedlings with important micronutrients at an early stage.
2) Sterilize the Potting Soil
To make sure that no germs or pests endanger your young plants, you should also sterilize the mixture. To do this, place it in the oven at approx. 120 °C/248 °F for approx. 45 minutes. You can then use the soil directly for your cultivation. Sterilizing the soil will make it very dry. Therefore, moisten it carefully and knead it like a dough until the growing medium has the desired consistency.
Mix Your Own Herb Soil: Cultivation and Herb Soil
Basically, your homemade potting compost can also be used as a substrate for herbs. Most herbs, just like young plants, require a nutrient-poor and crumbly soil. Mediterranean herbs usually prefer lime-rich, alkaline soil. In this case, you should add a handful of magnesium lime to your home-made herb soil.
Herbs With Low Nutrient Requirements:
- Savory
- Lavender
- Oregano/marjoram
- Rosemary
- sage
- Thyme
However, some herbs thrive better in more nutrient-rich substrates. They need soil that can store nutrients and water well. In this case, you should either fertilize your herb soil regularly or mix in fresh compost.
Herbs With Higher Nutrient Requirements:
- Basil
- Borage
- Dill
- Tarragon
- Coriander
- Lovage
- Lemon balm
- Mint
- Parsley

Tips for Growing
- If you want to save space and waste, you can try a Soil Baler. This can be used to quickly and easily press small growing blocks (soil pots) from (homemade) growing soil, which you can use like growing pots. You can place these close together on a base to save space and don't have to buy extra plastic growing pots.
- Always make sure that your young plants are supplied with sufficient water, as the small plants with their meagre root system dry out quickly at first. However, the pots/soil pots should not stand in water either, otherwise too little oxygen will reach the roots and the little plants will die.
- Not all plants need to be grown in advance. In our article, we tell you Which Plants Should Be Grown in Advance and Which Should Be Sown Directly.
I hope I was able to inspire you to make your own potting soil. If you have any questions or comments, please write to us at [email protected].
Become part of the Fryd family now, plan your vegetable beds and get help with all your gardening questions in the free app. Register here or download the Fryd app for Android or iOS.
Fryd - The joy of gardening

Isabell
Isabell studies agricultural sciences and loves to be surprised by nature and its complexity again and again. Herbs - whether gathered wild or in the garden - are her passion.
Learn MoreCurrent Topics in the Community
Liked 4 times
The garden is so beautiful 🥰
Show 1 answer
Liked 2 times
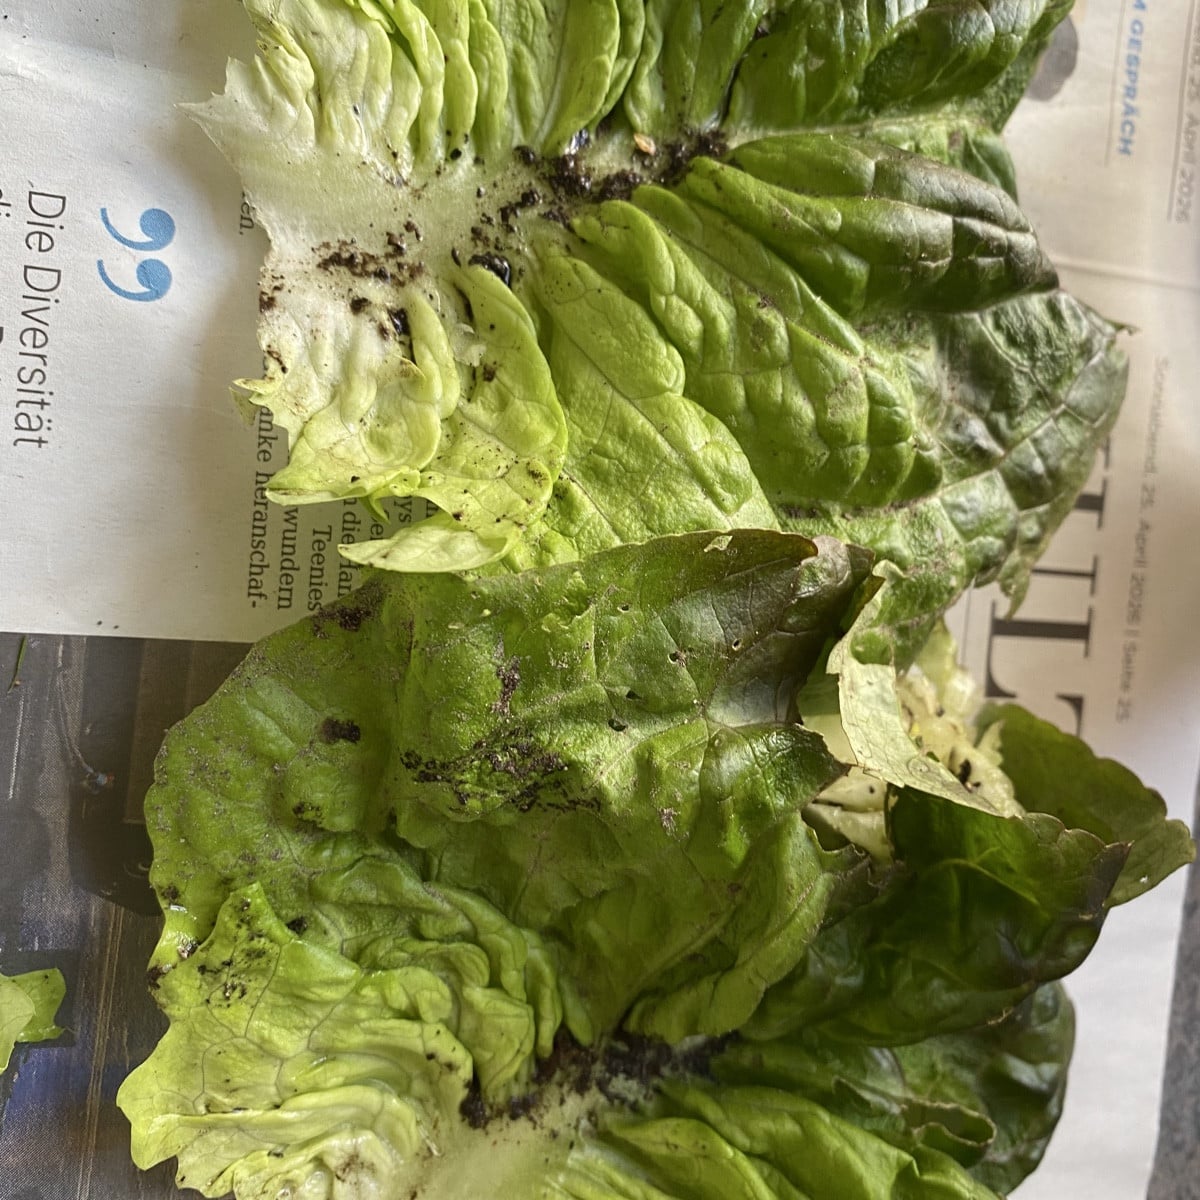
Can you please give me some advice? Right now, I’m harvesting almost exclusively self-seeded Baquieu, whose leaves are so dirty right down to the core. Is there any way I can prevent this? I also have no idea when or how the soil gets in there. With the lettuces I plant myself, I make sure not to plant them too deep. These aren’t even the outermost leaves; I’ve already removed at least two “layers.”
Show 5 answers
Liked 3 times
I planted prickly pear cactus and was happy looking at it growing new ear pads, then the chickens came and made a hole on one of the pads, so I built a large enclosed chicken run to protect my plants, the cactus keep growing and I thought no more trouble, then a strong wind came and one of the cactus pads snapped off, it was hit with dirt sifter nearby, I told to my self no problem, Permaculture is about turning problems into solutions, so I took that poor cactus pad and decided to plant it beside the mother plant, at first I was planning to let dry out to heal, probably applying growing roots hormones, but then I decided to just plant it directly halfway in the ground, because sometimes when I try to do things perfectly I fail, low and behold the new pad started to grow two ears, one of them still thriving but the bottom one became a meal for my ( peSt ) tortoise...
Show 5 answersPopular Articles

Gardening in March: Preparation & Cultivation

Propagating Peppers/Chillies: How to Grow Them Successfully

Cultivation or Direct Sowing: When and Which Vegetables to Propagate?

Sowing and Propagating Tomatoes: This Is How It Works

Raised Beds: Your Planting Plan for a Year

Plant Lights for Growing and Overwintering Plants

Growing Cucumbers Seedlings in Pots: Tips for Propagation

Pricking Out Vegetable Plants: Tips and Instructions

Growing & Harvesting Rocket: Good & Bad Companion Plants

How to Grow Broccoli: Tips for Cultivation