Obtain your own tomato seeds
Obtain your own tomato seeds
If, like me, you are a big fan of the incredible selection and variety of tomatoes, then you will no doubt have wondered how best to propagate your favorites yourself. I propagated tomato seeds myself this year and show you how to do it here.
Use open-pollinating varieties
To obtain your own seeds, it is important to know what type of tomato you have. Many seeds that are available to buy are labeled F1 (hybrids). These come from the crossing of two varieties. Breeders use this to increase yield, improve resistance to typical diseases or promote a uniform ripening time, for example. If you were to propagate "offspring" from these, the result would of course be a tomato, but with unclear characteristics, e.g. smaller fruits, firmer skin, etc. Therefore, your tomatoes for breeding should be seed-resistant varieties. These include Oxheart, Indigo Rose, Black Cherry, Artisan Blush Tiger, Green Zebra, Black Krim, Pineapple Tomato and Blond Head, to name but a few.
Use fully ripe and healthy tomatoes

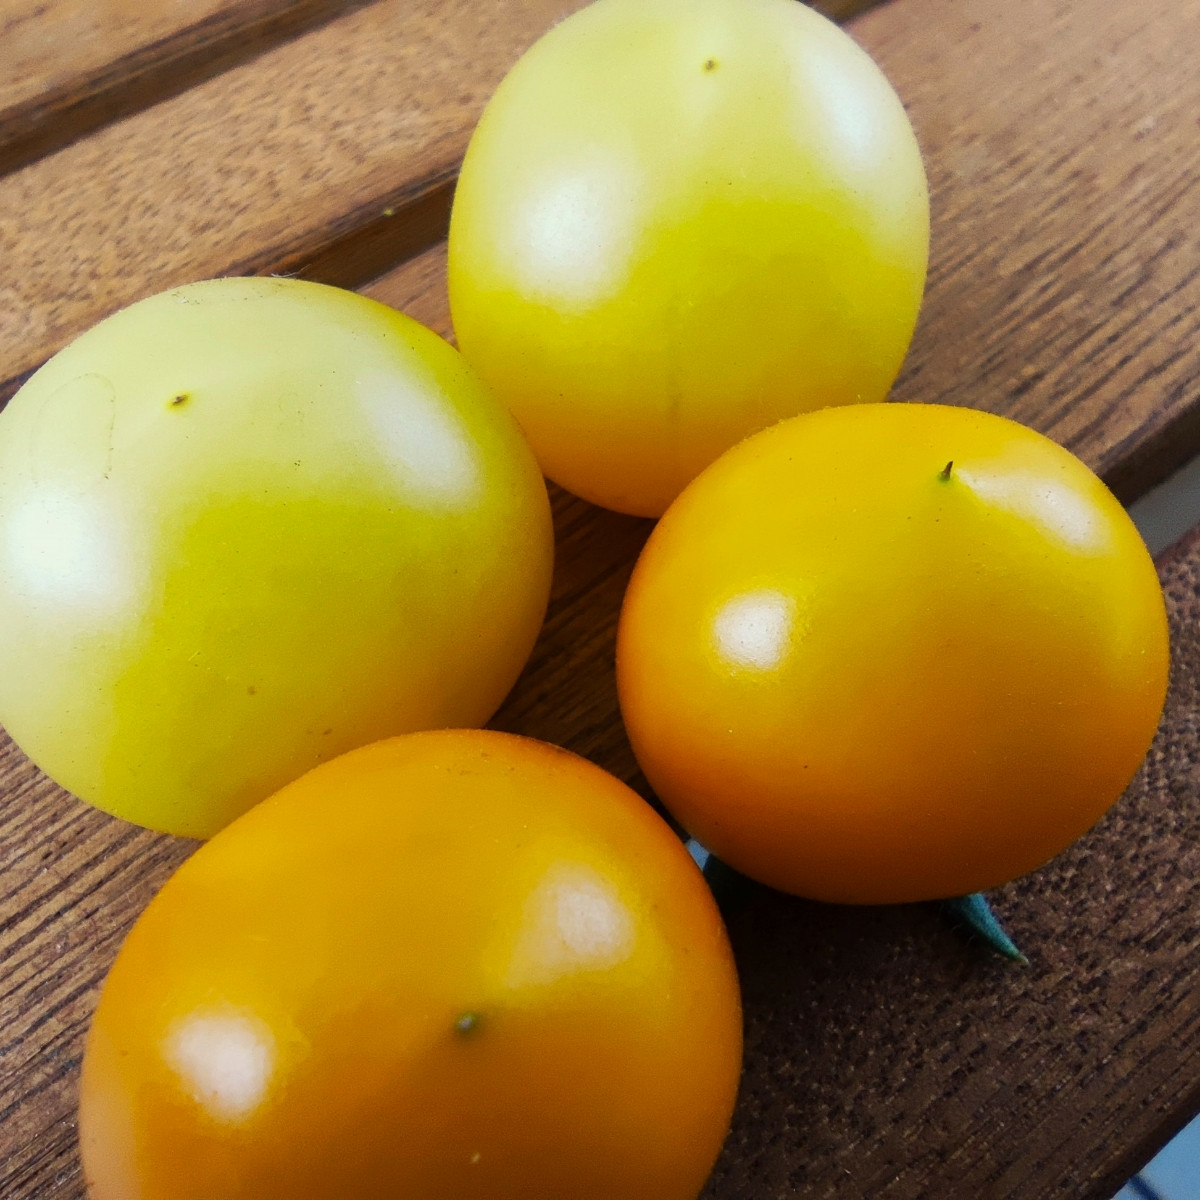
Once you have decided to save tomato seeds for the coming season, choose a fully ripe tomato from a healthy plant with a good yield and tasty fruit. Many gardeners think "oh, the tomato is a bit rotten, if I don't eat it, I can use it for seed production" - wrong! For good seeds, you should use the healthy and beautiful fruits. In my photo, these are the Gold Nugget and White Cherry varieties.
Procedure

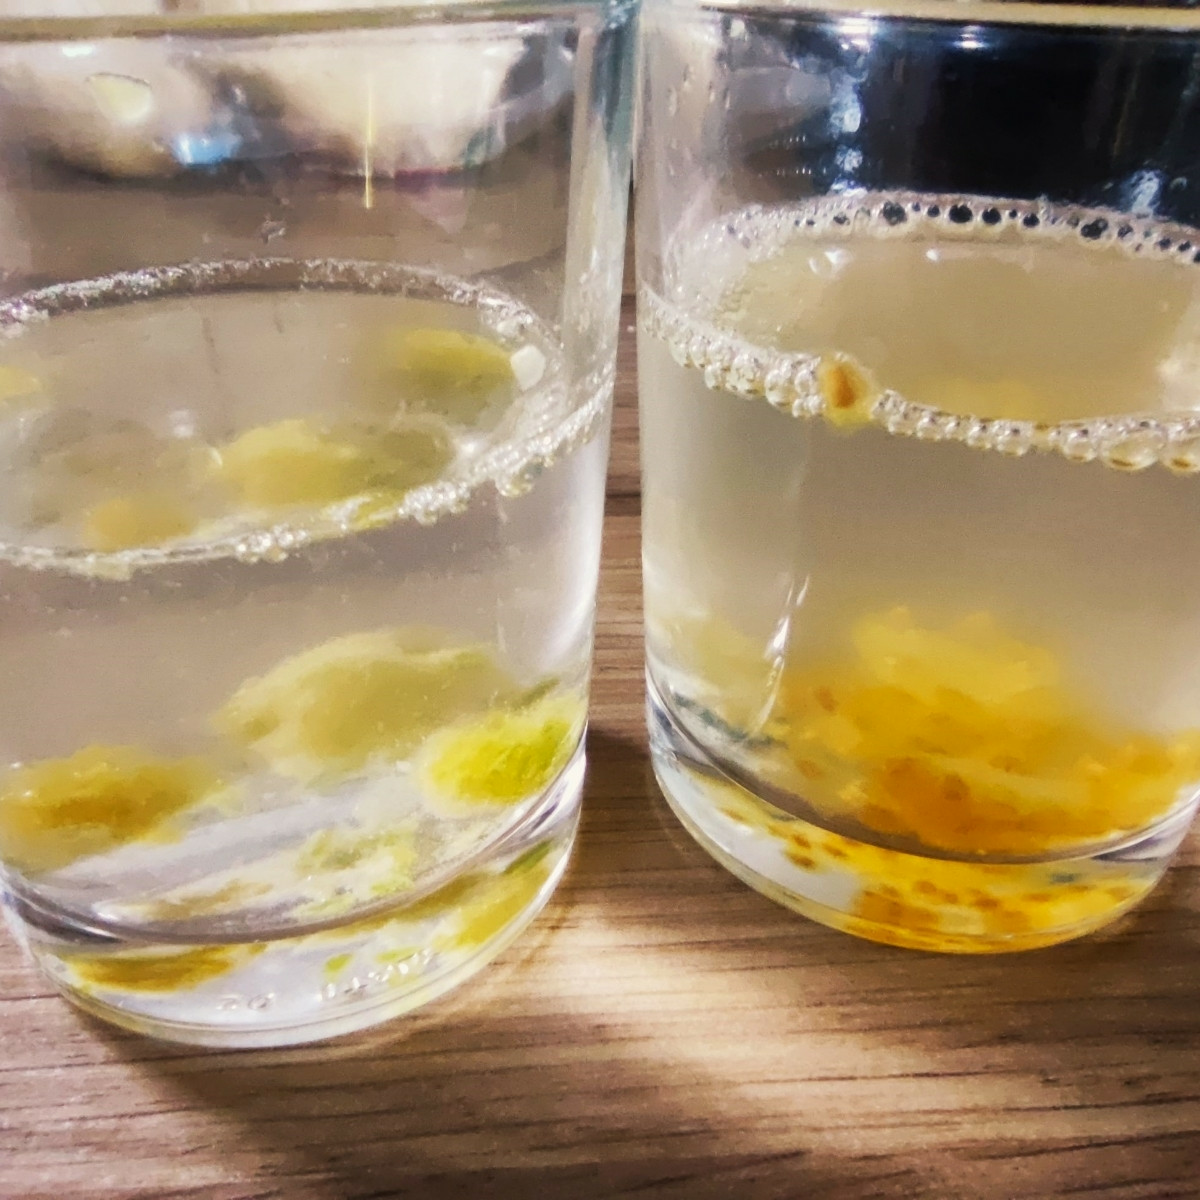
Cut the tomatoes open and scrape the gelatinous inside with the seeds into a jar using a small spoon and cover with water. Now leave the whole thing to stand for 2 to 3 days. The water will loosen the seeds from the mass. Some will then sink to the bottom. When the seeds are slightly coarse, it is time to pour them into a fine sieve. I use a sieve for this. For very small seeds, such as blackcurrant tomatoes, I use a very fine-meshed tea strainer, as they are really incredibly tiny. Now carefully rinse the seeds out of the pulp under the tap. All residue must be completely removed, otherwise the seeds could go moldy or their germination could be delayed. You can use a pastry brush to help with this.
Drying

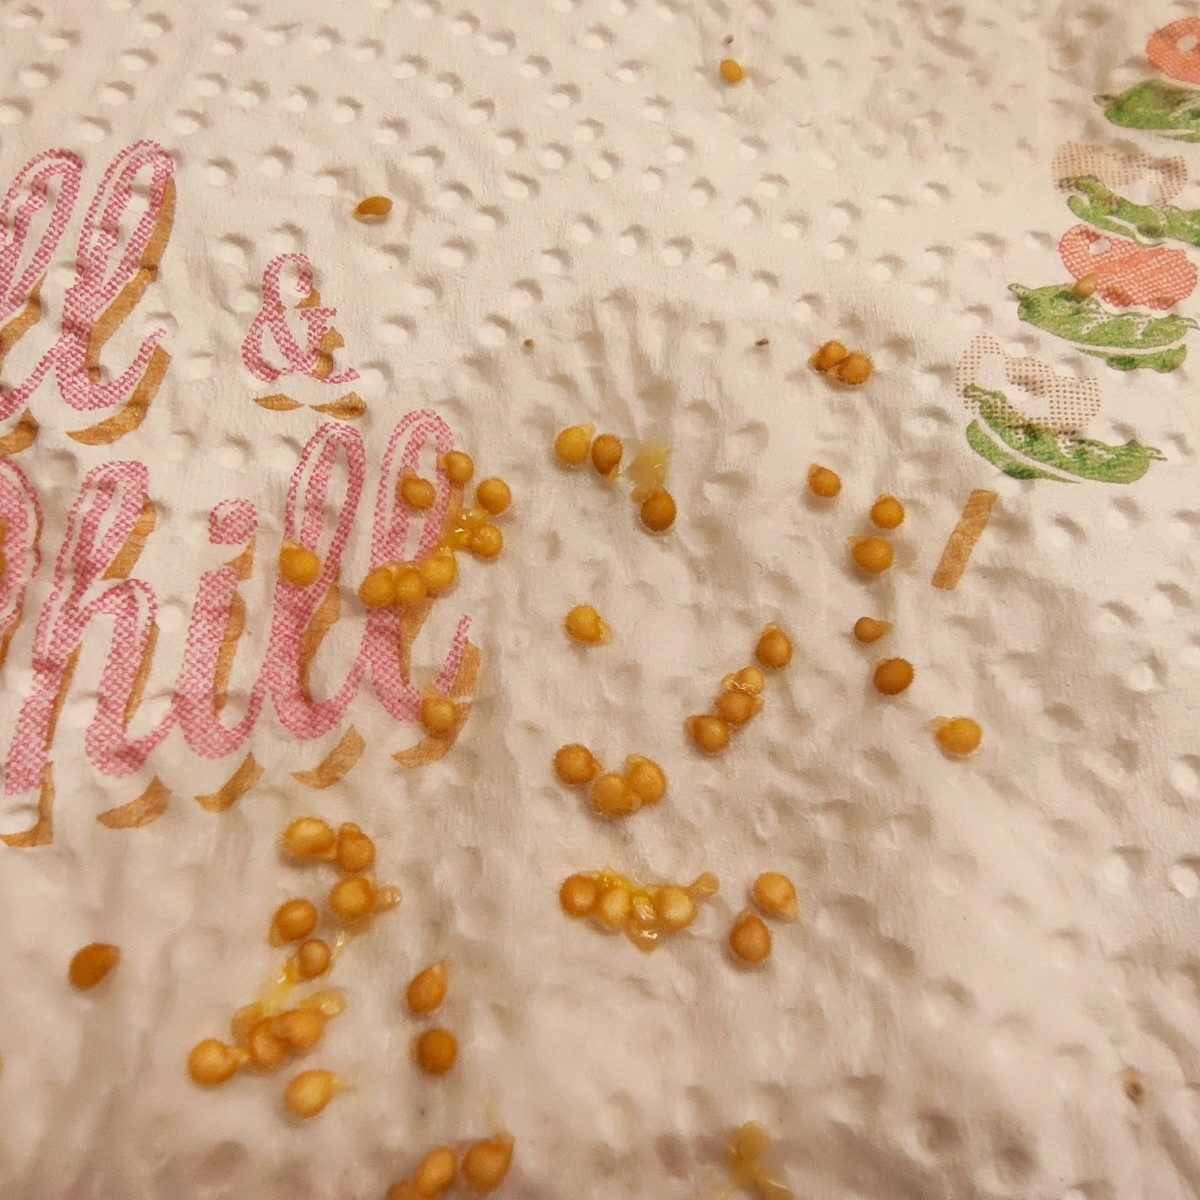
Place the seeds on kitchen paper to dry for about a week before transferring them to small jars or sachets. Important: Don't forget the variety label including the date of seed collection. The germination capacity of the seeds is about 5 years.
A tip for small tomato seeds
I spread small tomato seeds generously spaced on the kitchen paper, leave them on after drying, cover them with another layer of paper and store them lying down. Next year, you can spray the seed paper with water, put it in a small bag and let the tomatoes germinate like in a mini greenhouse. Or you can place the seed paper in potting compost, remove the top layer of paper, cover everything with a thin layer of soil and spray everything with water. The spacing makes it much easier to prick out the small plants. Have fun saving your treasures!
