Making your own ollas - here's how
What are ollas?
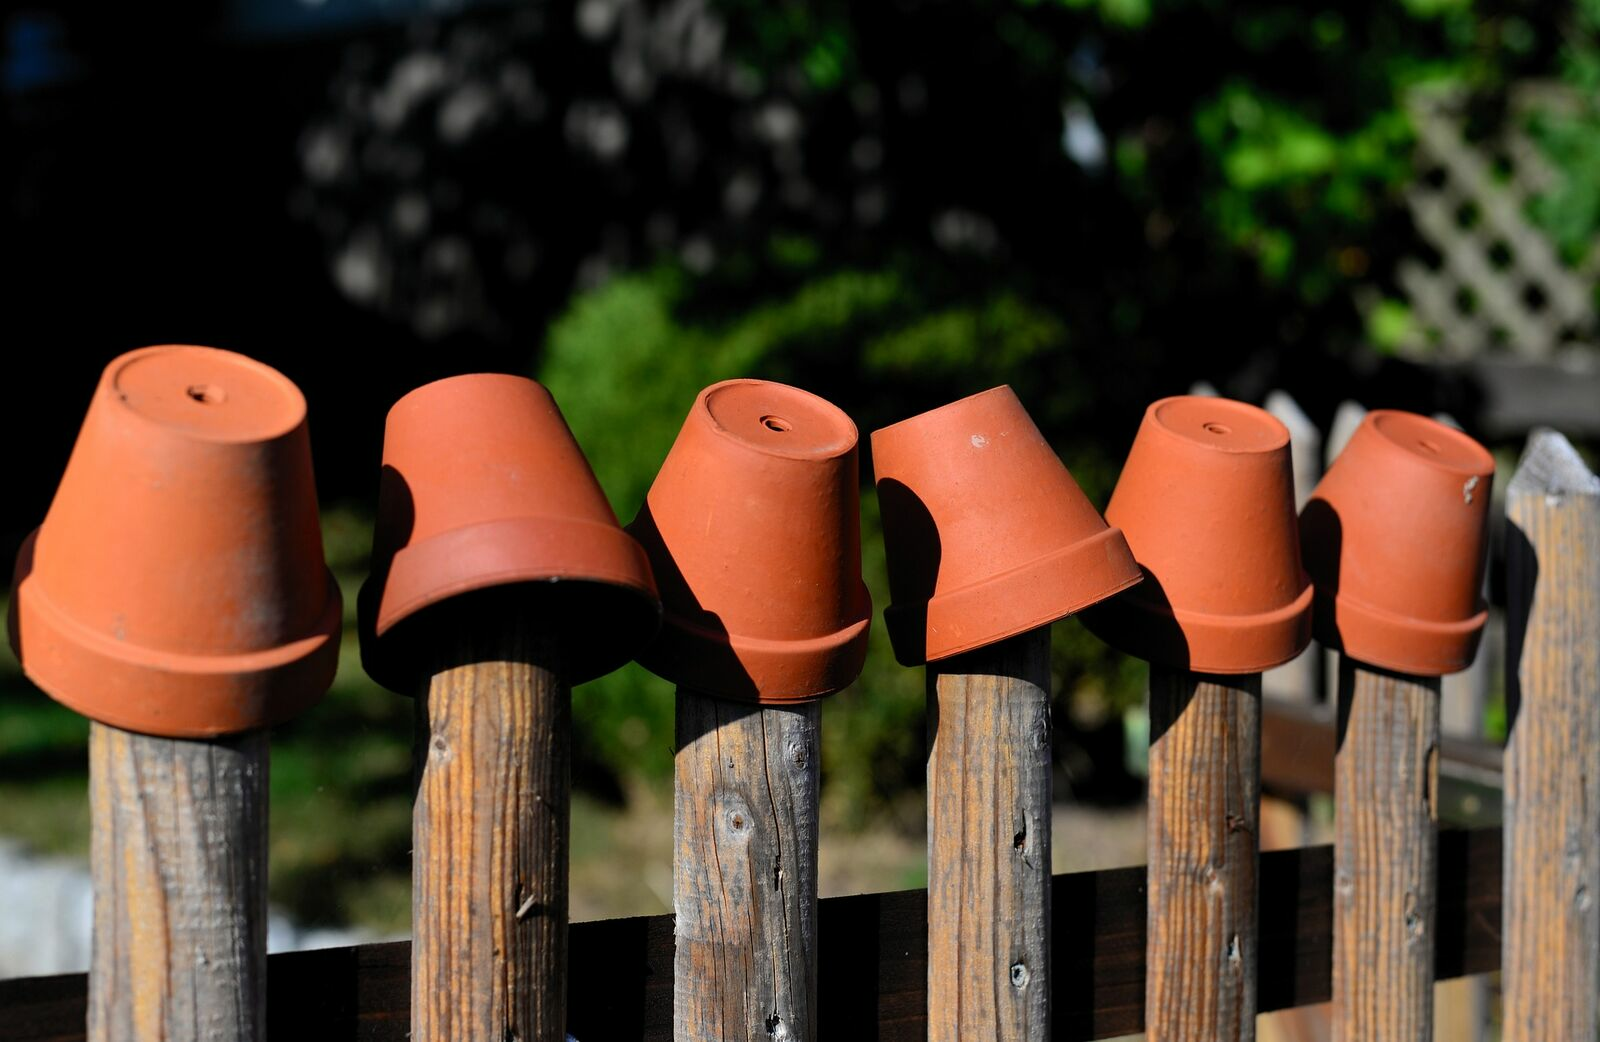
Ollas originally come from the Mediterranean region. They are clay pots that are used as an irrigation system in the soil. Due to the porous structure of the clay, water is continuously released through the soil to the plants, while evaporation is kept to a minimum as the clay pots are buried.
Ollas for watering raised beds, greenhouses & balconies
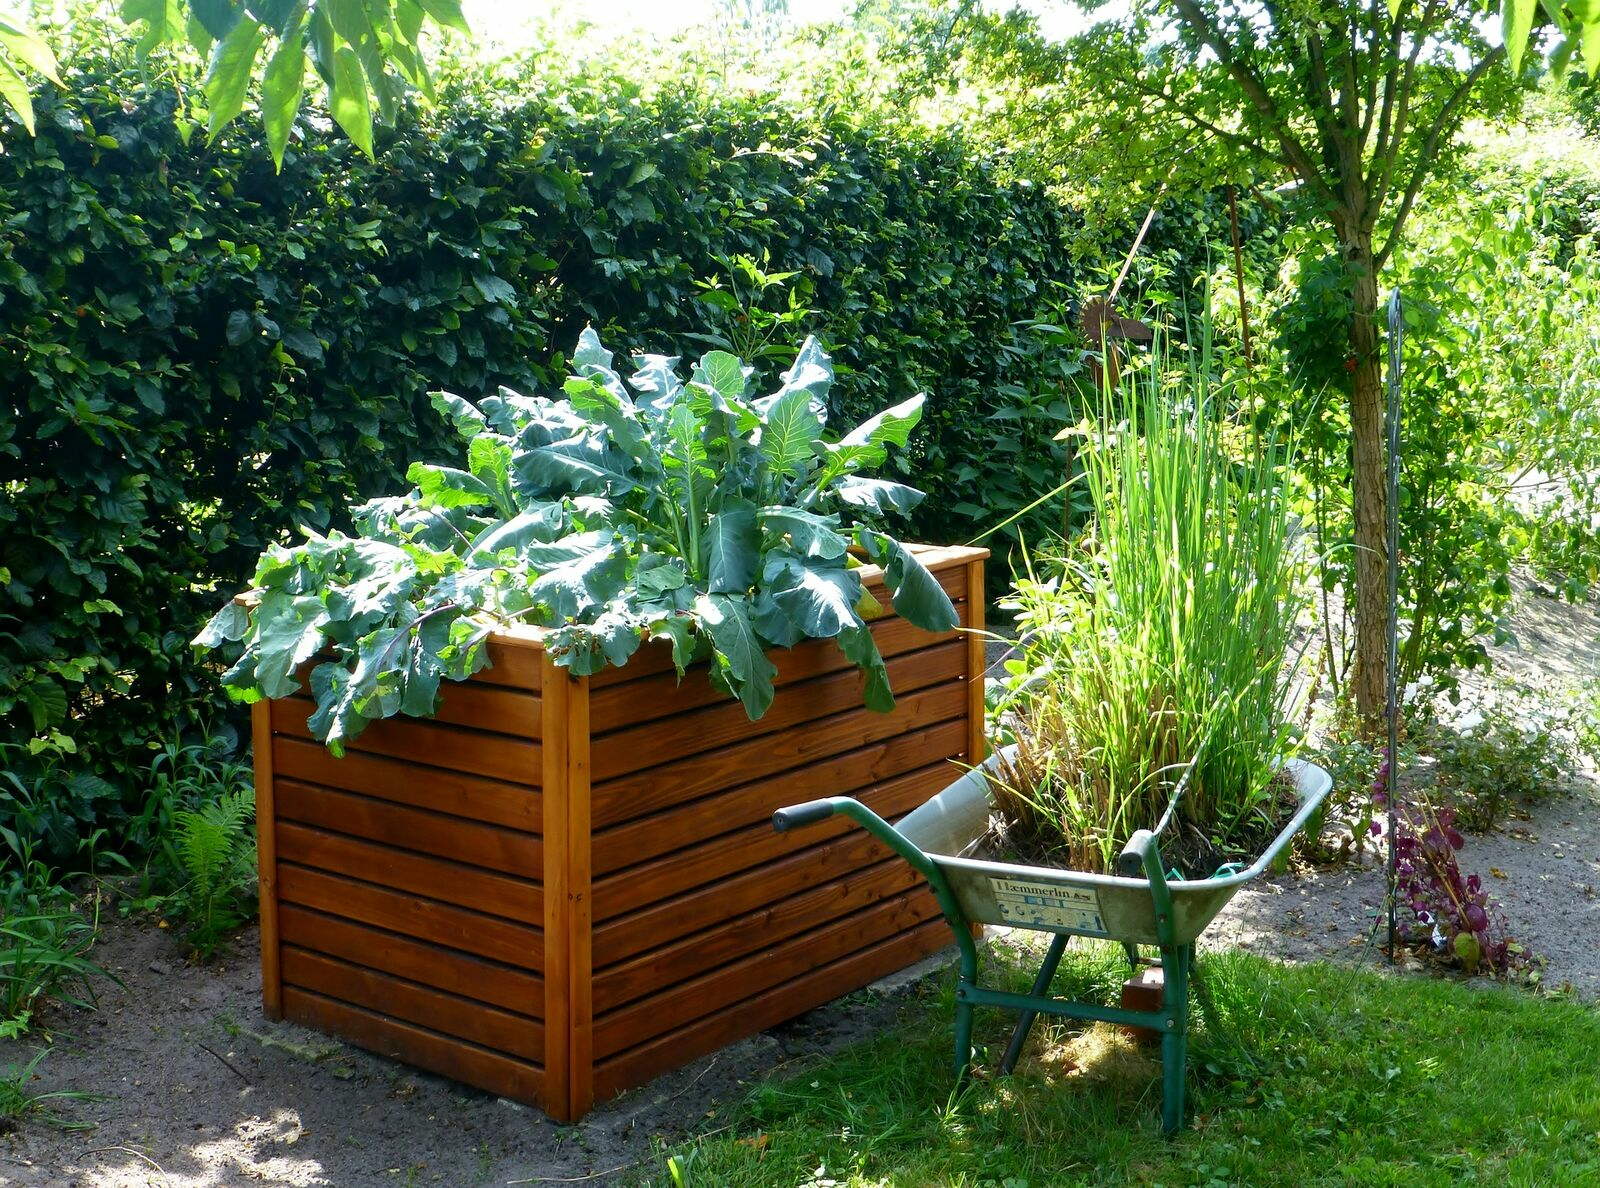
Plants are more exposed in raised beds than in the ground and often need more water there. Ollas are a good solution for using less water. The slow release of water maintains a constant level of humidity, which is important for your plants. That's why you can also use them very well in the greenhouse and on the balcony. You can make them in different sizes and shapes so that they can be adapted to the available space.
Build your own vacation irrigation system
When you go on vacation in summer, it is always a challenge to provide your plants with enough water. Ollas can be a great solution here to keep your plants sufficiently watered while you are away. Someone should check your Ollas once or twice a week to top up the water if necessary.
Make your own ollas - that's what you need:
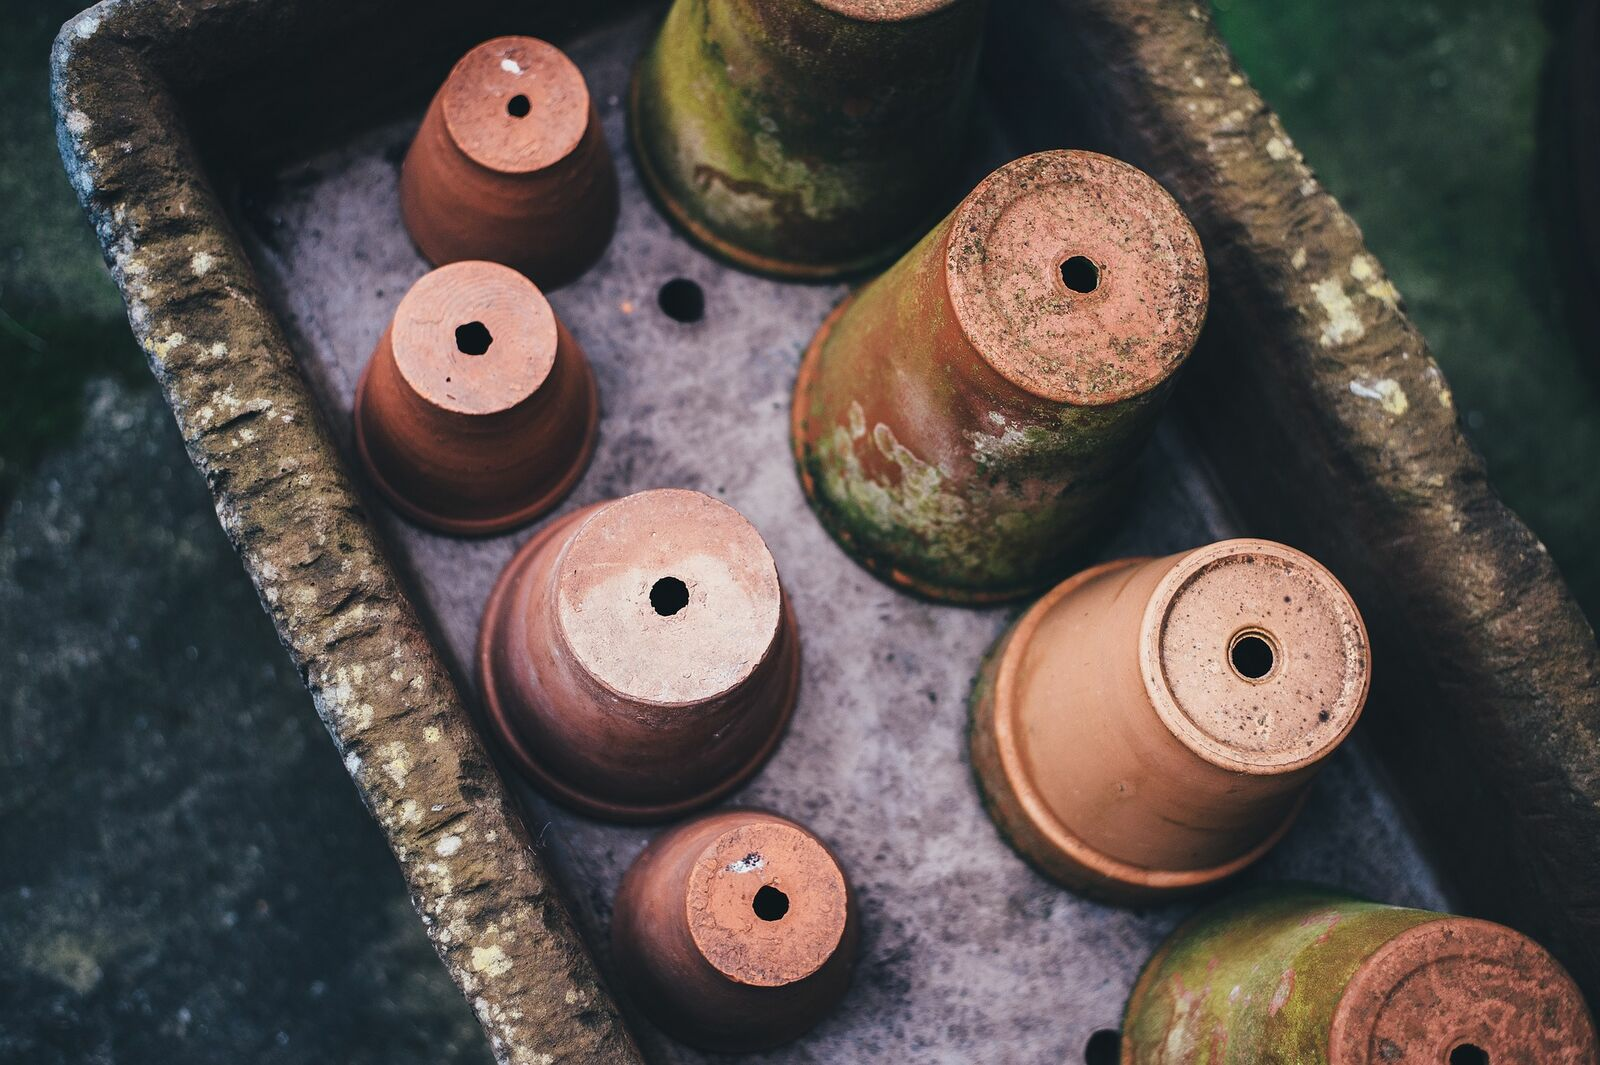
- Clay pots (unglazed and with a diameter of 10-30 cm) - Clay adhesive (tile adhesive or wax can also be used) - Water - A cover, e.g. a clay coaster or similar
Olla as a water dispenser - do-it-yourself instructions
Seal the hole in the bottom clay pot well with a cork or similar. Stick and glue the pots together with clay glue or similar. Leave the glue to dry overnight. Dig your olla into the soil so that at least 3-5 cm is still sticking out. Fill it with water and cover the top hole with a saucer.
Tips for correct use
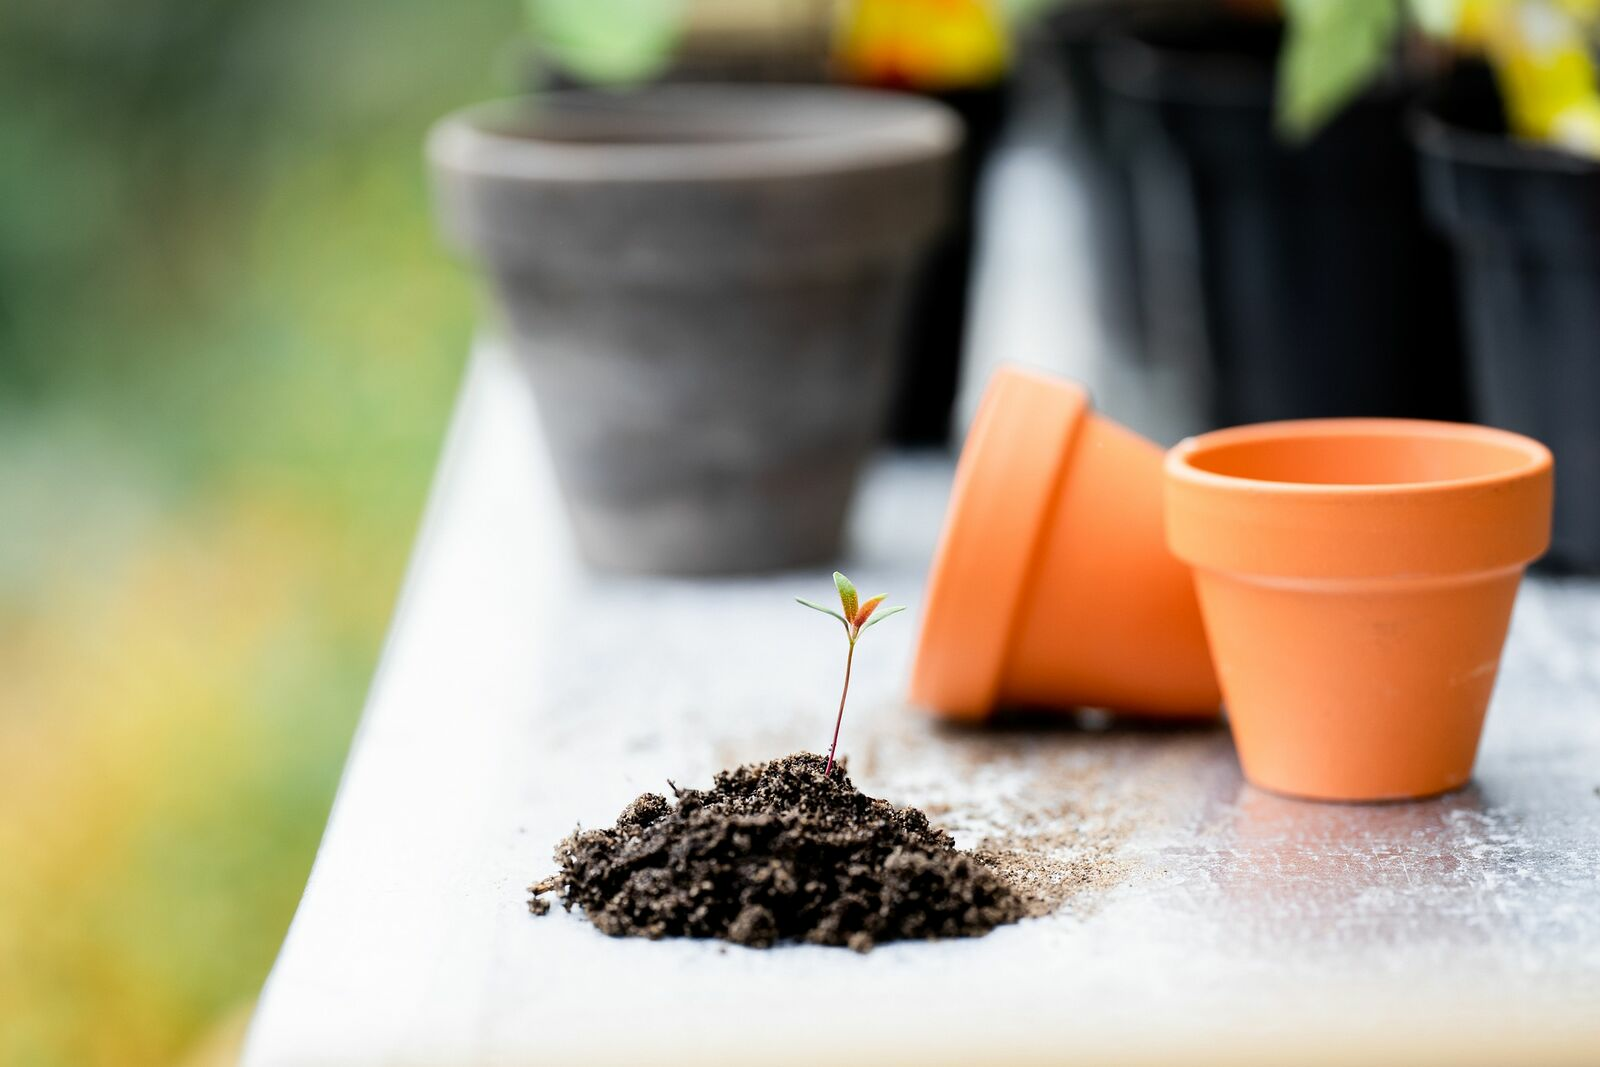
- Regularly top up with water to prevent drying out - Do not place too close to plants, as this can impair root growth - Best used in combination with other watering methods, especially when freshly sown. Important: In winter, you should dig up your ollas again to prevent them from bursting in the event of frost.
Advantages of Ollas
- Reduced water loss & labor - Deeper root formation - Consistent irrigation - Less weeding, diseases and pests
Disadvantages of Ollas
- Regular monitoring necessary - Less suitable for large areas - Must be dug up again in winter - Additional watering required for young plants and seeds - Incorrect placement of ollas can hinder root growth and lead to waterlogging
