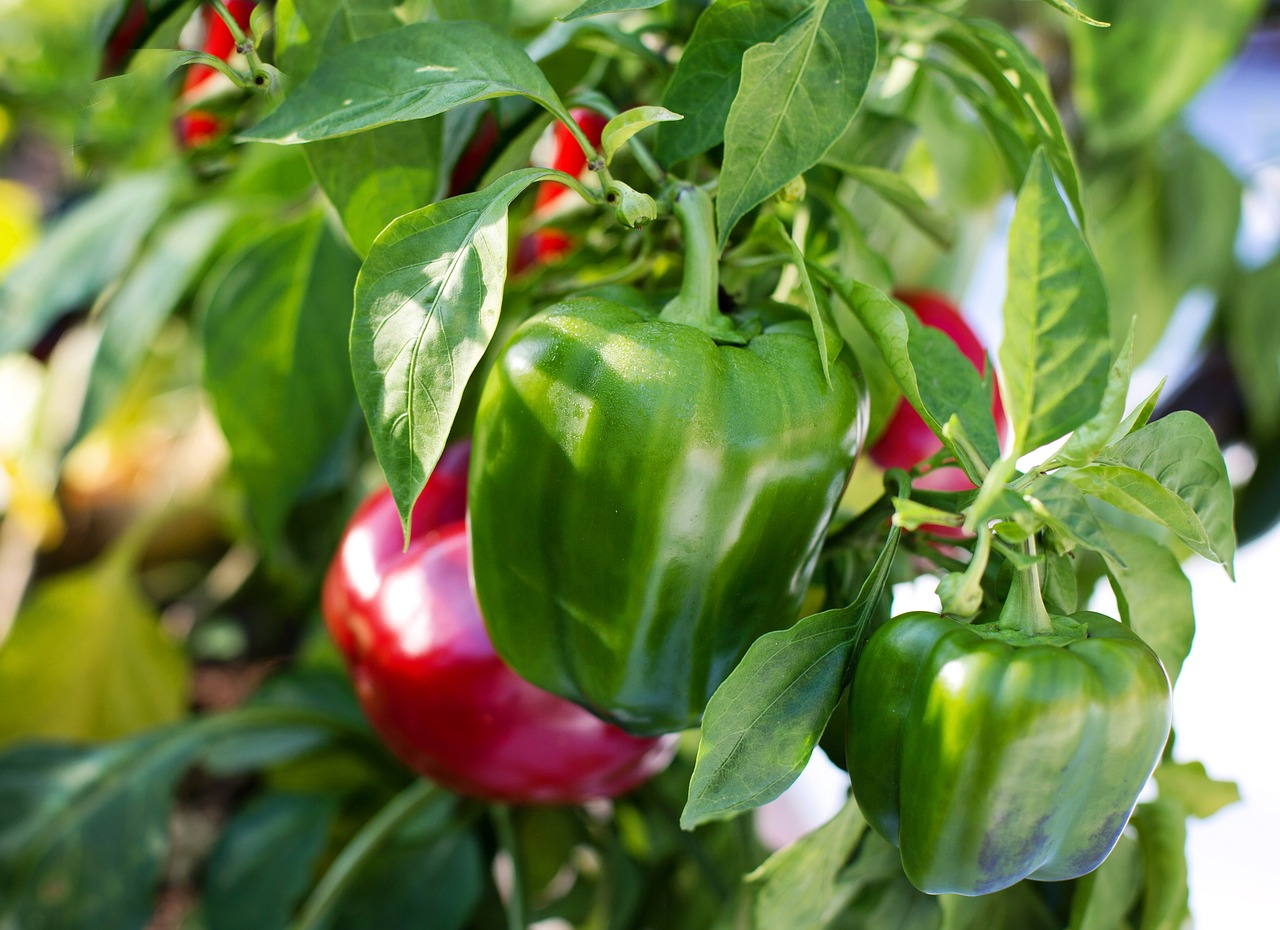
Growing, Care for and Picking Peppers and Chilies
The colorful fruits of peppers and chilies are real gems in the garden. Find out now how you can successfully grow these sun-loving plants yourself. We give you tips on sowing, planting and harvesting peppers/chillies.
This Article Contains:
- Planting Chili & Peppers: What You Need to Know
- Chili and Paprika Varieties at a Glance
- Sowing Chili & Peppers: A Guide
- Planting Peppers and Chilies: How to Do It
- Fertilizing Chilli and Peppers: Care Tips
- Diseases & Pests: Aphids & Co.
- Harvesting Chili and Peppers
- Overwintering Chilies and Peppers - Here’s How
- Frequently Asked Questions About Planting Peppers/Chillies
Quick Overview
Sowing Peppers: Germination Temperature, Timing, Sowing Depth
- Germination temperature: between 20 and 25 °C/68 and 77 °F
- Timing: cultivation possible from February/March
- Sowing depth: approx. 0.1 to 1 cm/0.04 to 0.4 in (depending on variety, as some are pure light germinators)
Planting Peppers: Timing, Spacing
- Plant in the greenhouse from the end of April or outdoors from mid-May
- Planting distance: 40 to 50 cm/15.7 to 19.7 in
- Row spacing: 60 cm/23.6 in
Location & Soil
- In a warm, sheltered location with loose, humus-rich soil. In our latitudes, cultivation in a greenhouse is recommended.
- Peppers and chilies need temperatures between 25 and 18 °C/77 and 64 °F to grow
Planting Chili & Peppers: What You Need to Know
Paprika (capsicum annuum), also known as Spanish pepper, belongs to the Solanaceae family and is therefore closely related to the tomato. Within the species there are countless varieties in all shapes, colors and degrees of pungency. Botanically, there is no distinction between peppers and chilies, they are different varieties within the same species. In contrast to mild sweet peppers, chillies contain the hot capsaicin. They all originate from Central and South America. Most bell pepper fruits are initially green and turn yellow, red or orange as they ripen. Ripe peppers contain more vitamin C than any other vegetable! The green, unripe fruits are also edible, but they taste slightly bitter and are not as rich in vitamin C.
The Right Location
Bell pepper plants require extreme warmth and grow best at temperatures between 25 and 28 °C/77 and 82 °F. In a warm, sheltered location (e.g. in front of a south-facing wall), they can also grow outdoors in a sunny summer. However, the moderate temperatures in our latitudes are usually not enough for them. To avoid disappointment, cultivation in a greenhouse is recommended. Care should be taken to regularly ventilate the greenhouse at temperatures above 28 °C/82 °F to prevent overheating. Peppers are similar to tomatoes in their requirements, they just like it a little warmer.
Chili and Paprika Varieties at a Glance
Within the Capsicum annuum species, there are many varieties in various shapes and colors. Probably the best known are the classic block peppers, which are available in red, yellow, orange or brown. When unripe, they can also be harvested green, purple or black. Varieties include'Mavras' (dark purple - later red), 'Bontempi' (green - later red), 'Goldflame' (green - later yellow), 'Neusiedler Ideal' (green - later red), 'Brownie F1' (green - later chocolate brown). Pointed peppers are, as the name suggests, more pointed and longer than the usual block peppers. They include mild-tasting outdoor varieties such as 'Zlata' (yellow - red), 'Toscana' (green - red), 'Feher' (yellow, white - orange-red) or 'Roter Augsburger' (green - orange - red). There are also a few varieties with a slight pungency, e.g. 'Leutschauer Schotenpfeffer' (green - red).
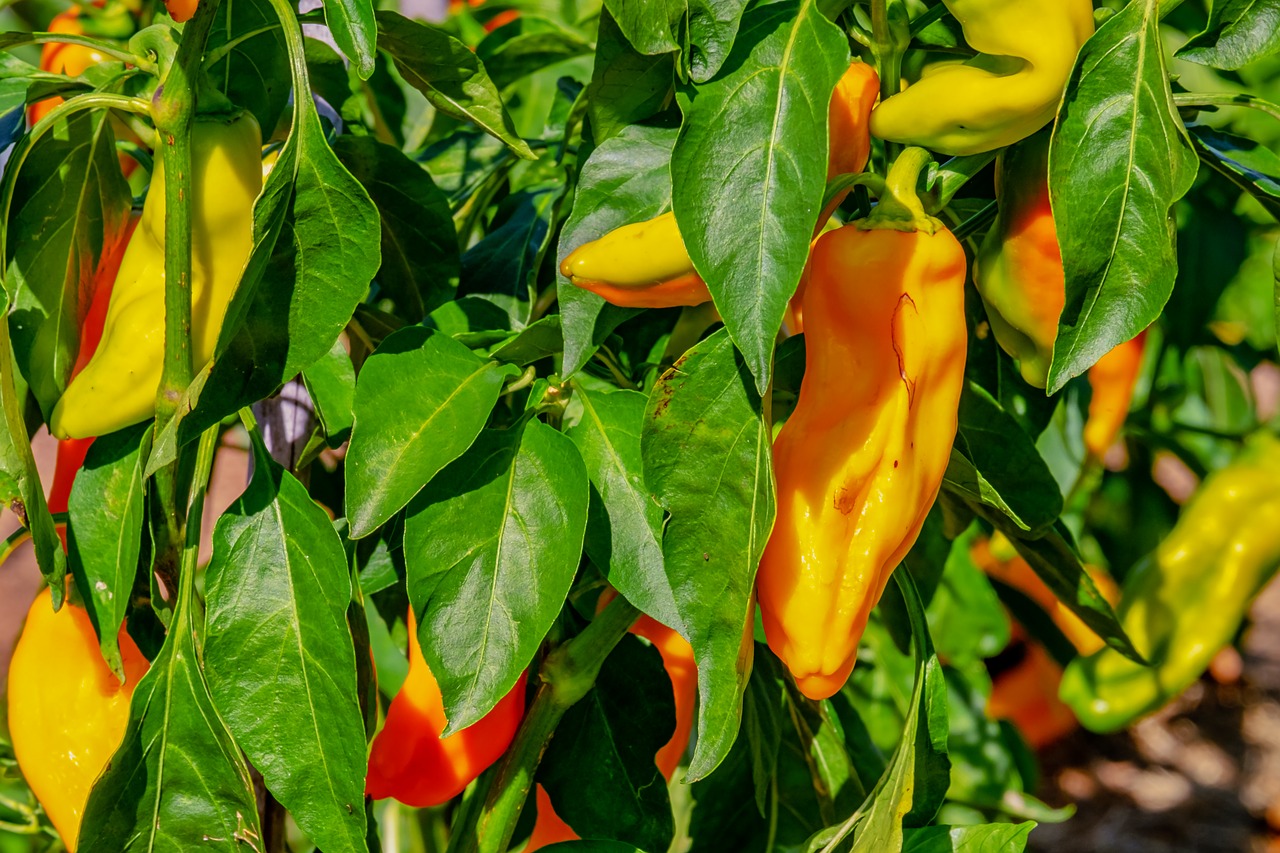
There are also other groups that differ mainly in terms of growth and use. With this great variety, it is worthwhile for true bell pepper lovers to familiarize themselves with the different groupings and varieties in addition to this article. These include horn peppers, roasting peppers, tomato peppers, snack peppers and cherry peppers, not to mention the hot varieties. Some seeds can be dried from hardy varieties for sowing the following year.

Want to Know More About Varieties?
In our library you will find information on the individual varieties with cultivation periods, tips on planting and harvesting. You will also find good and bad neighbours to help you plan a mixed crop.
View Library NowSowing Chili & Peppers: A Guide
As the growing season is very limited in our latitudes, peppers and chilies should be started in March. You Can Find More Tips and Detailed Instructions in the Article on Propagating Peppers and Chilies. Here is a brief overview of how to sow bell pepper seeds.
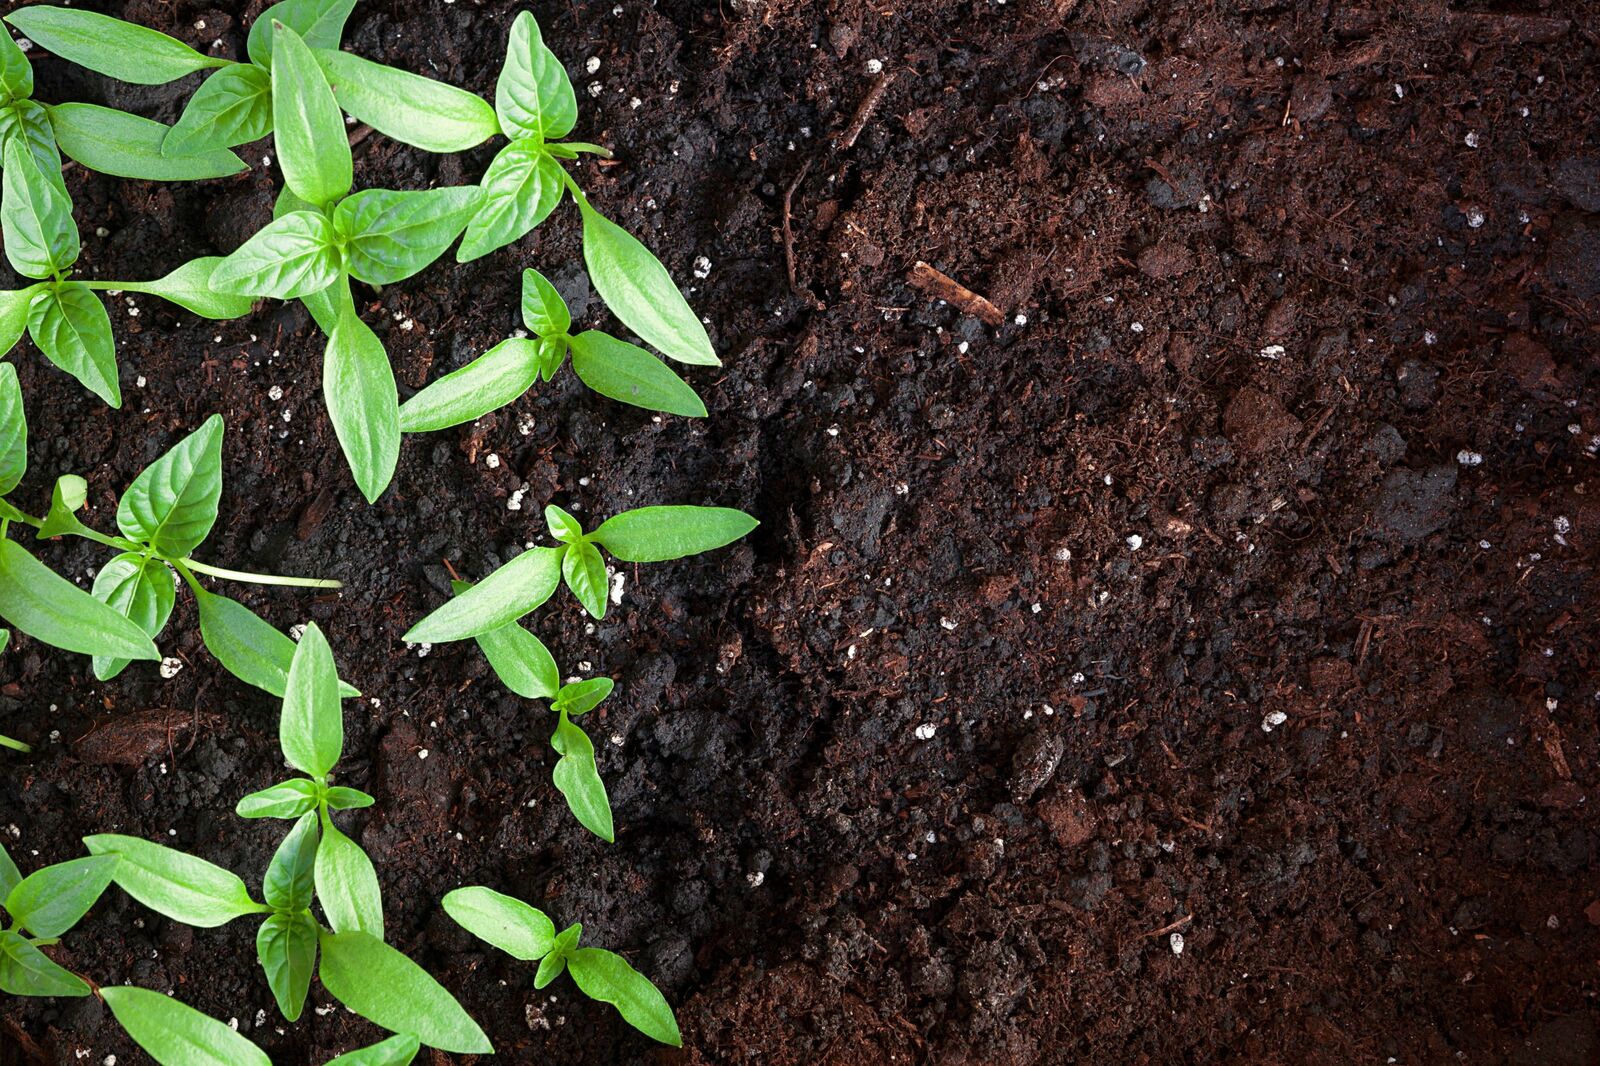
Spread the seeds evenly in a sowing tray and cover them thinly with soil. Even better are multi-pot trays, where only one seed is placed in each pot. The seeds are usually covered twice as thickly with soil as they are large. However, some varieties are pure light germinators and should not be covered with soil. Pay attention to the information on the seed packaging. You can then press the soil down lightly and moisten it well. Bell pepper seeds germinate best at a temperature of approx. 25 °C/77 °F, so it is worth covering the seed tray with a transparent cover (e.g. plastic trays from carrots, mushrooms, etc.). After four weeks, You Can Prick Out the Small Bell Pepper Seedlingsso that the roots do not grow together.
Planting Peppers and Chilies: How to Do It
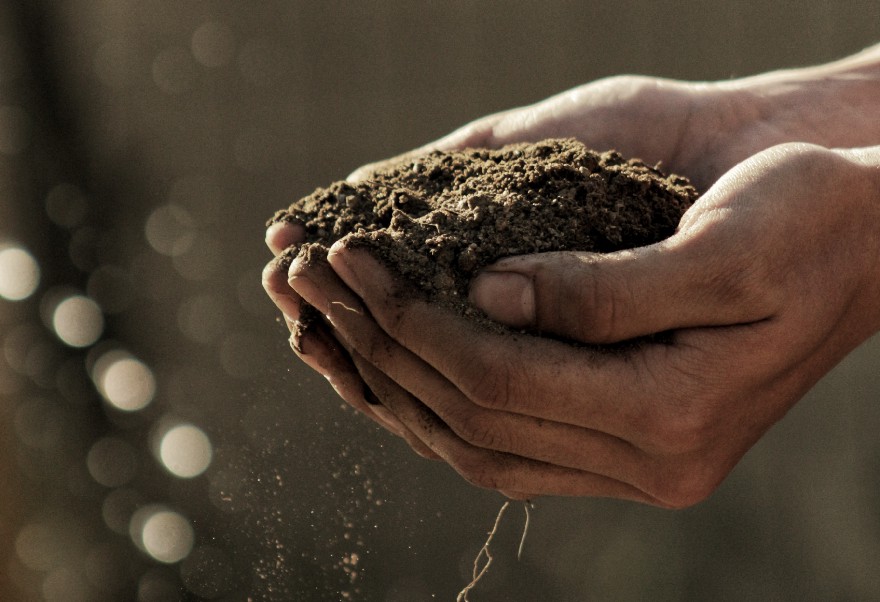
Pre-harvested peppers can be planted in an unheated greenhouse from the end of April or outdoors after the ice saints in mid-May. When planting outdoors, make sure the location is as sunny and sheltered as possible. The soil should be loose and rich in humus. Prepare the soil with plenty of compost and horn meal. The plants should be 40 - 50 cm/15.7 - 19.7 in apart in the row and 60 cm/23.6 in between the rows. When growing peppers outdoors, it has proven to be a good idea to cover the soil with black mulch film beforehand and plant the seedlings in small slits. The dark foil not only retains moisture in the soil, but also ensures faster warming. This measure can help to meet the temperature requirements of the bell pepper plant. If you don't have a garden, let alone a greenhouse, that's no problem either! You can also grow peppers on the patio or balcony. Choose the largest possible plant pots and use commercially available vegetable soil.
Fertilizing Chilli and Peppers: Care Tips
Peppers grow more slowly than tomatoes and also remain significantly smaller. Nevertheless, it is worth stabilizing the plants early on with a bamboo stick so that they do not topple over even in strong winds. The plants can make good use of the additional stability, especially when they are forming fruit, as the fruits can become quite large. Water your peppers every 14 days with a little diluted nettle slurry or another organic liquid fertilizer. Bell pepper plants have a very high water requirement, so make sure they have a sufficient water supply. In midsummer, it may even be necessary to water the plants daily. Mulching with grass clippings reduces evaporation and keeps the soil evenly moist.
Our tip: With large-fruited varieties, you should break out the so-called king bloom, as it costs the plant a lot of energy. The king bloom develops in the fork between the main shoot and the first side shoot. Removing it stimulates the plant's leaf and shoot growth and ensures a higher fruit yield.
Diseases & Pests: Aphids & Co.
If the temperatures are too cool, aphids can make themselves at home on the plants. To prevent this, make sure your plants are in an airy position, have enough light and do not over-fertilize - over-fertilization makes peppers more susceptible to pests. In the event of an infestation, the leaves can first be rinsed with water; spraying with neem oil can help with more stubborn aphids. When growing in a greenhouse, whiteflies or gray mold can also settle in. Use commercially available yellow tablets against whitefly. Mold and other fungal diseases can be effectively prevented by regular ventilation.
Harvesting Chili and Peppers
Under favorable greenhouse conditions, the first semi-ripe, green peppers can be harvested as early as mid-July . With good light exposure, the first fruits will be fully colored by the end of the month. When grown outdoors or in pots, the harvest is usually delayed by around three to four weeks. The harvest time in the greenhouse ends between October and the beginning of November, depending on the hours of sunshine and temperature. At temperatures below 17 °C/63 °F, the fruits can hardly grow. When harvesting, it is best to cut the fruit with scissors or a sharp knife to avoid damaging the plant.
Fresh peppers will keep for around two weeks if stored well, chilies can also be dried well. Alternatively, you can pickle them raw or roasted in vinegar or oil. You can find tips on Preserving Fruit and Vegetables here.
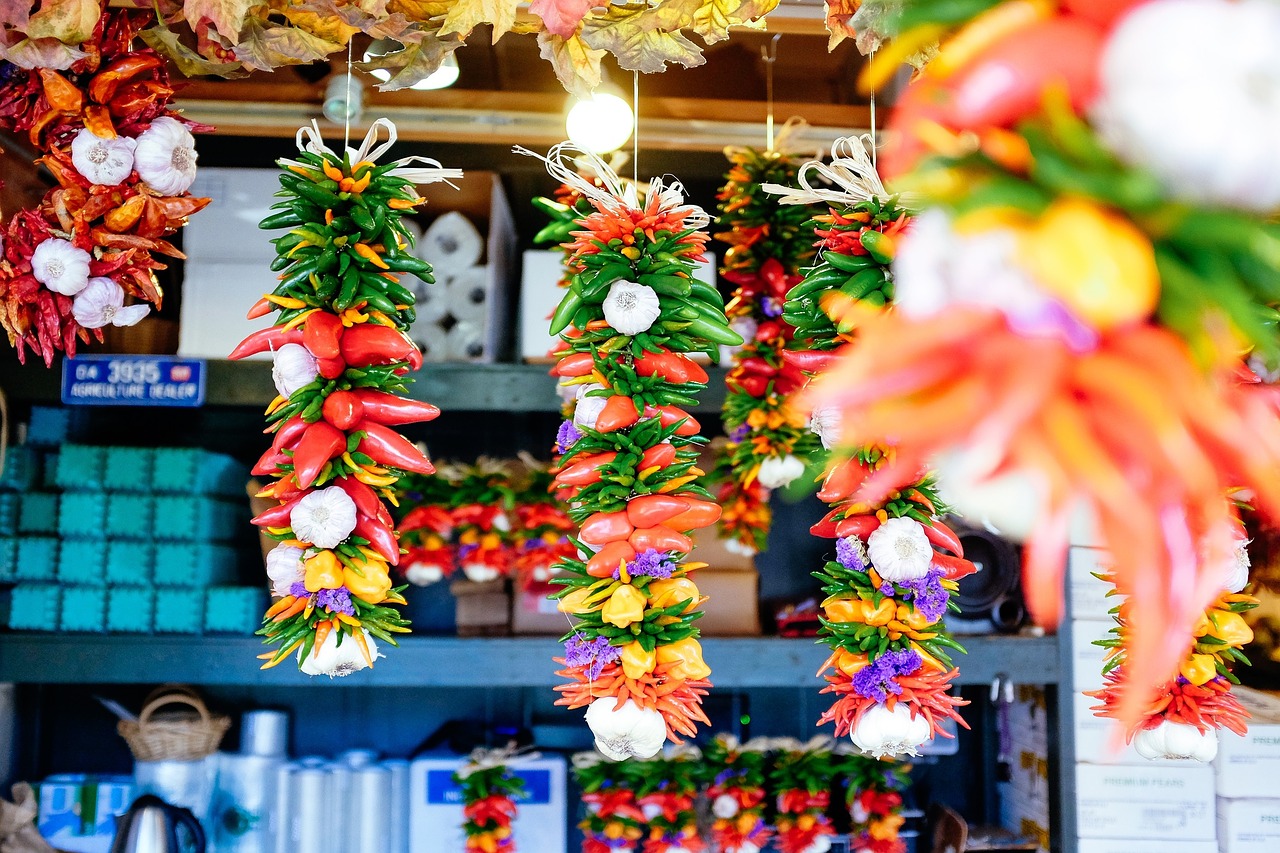
Overwintering Chilies and Peppers - Here’s How
In principle, all bell pepper varieties are perennial, as they are not affected by cold winters in their native country. In our latitudes, however, they are usually cultivated as annuals. A heated greenhouse, stairwell, conservatory or living room below 20 °C/68 °F is suitable for overwintering. Overwintering is usually more worthwhile for chili plants than for peppers. Overwintering is not worthwhile for fast-growing varieties such as 'Serrano' and 'Inferno'; it is more efficient to collect seeds and sow them in spring.
Instructions
- Harvest all the remaining fruit. You can eat them fresh, dry them, pickle them or process them into dips. Also remove all dried leaves and shoots.
- Shorten long shoots so that the shape becomes more compact and the plant does not put any more energy into shoot growth. Even with radical pruning, you should leave at least two nodes above the branching. Heavily pruned plants with few leaves are better suited to a cold winter at around 10 °C/50 °F. Water sparingly in winter and check your plants regularly for pest infestation.
- As soon as the temperatures are permanently above 10 - 15 °C/50 - 59 °F again, you can slowly bring the chilli plants back to life. Plant them in a slightly larger pot and give them fresh soil. From now on, you can also start fertilizing them regularly again. However, it is advisable to start with a small amount of fertilizer and gradually increase it.
I hope you now have all the information you need to grow your own peppers and chilies. If you have any questions or comments, please write to us at [email protected]. Would you like to receive helpful gardening tips all year round and plan your own beds optimally? Then register here or download the Fryd app for Android or iOS.
Fryd - Your digital bed planner
Cover picture by Jill Wellington on Pixabay

Annabell
Annabell is studying agricultural biology at the University of Hohenheim. She also enjoys gardening in her private life, spends a lot of time in nature and loves to be creative.
Learn MoreCurrent Topics in the Community
Liked 1 times
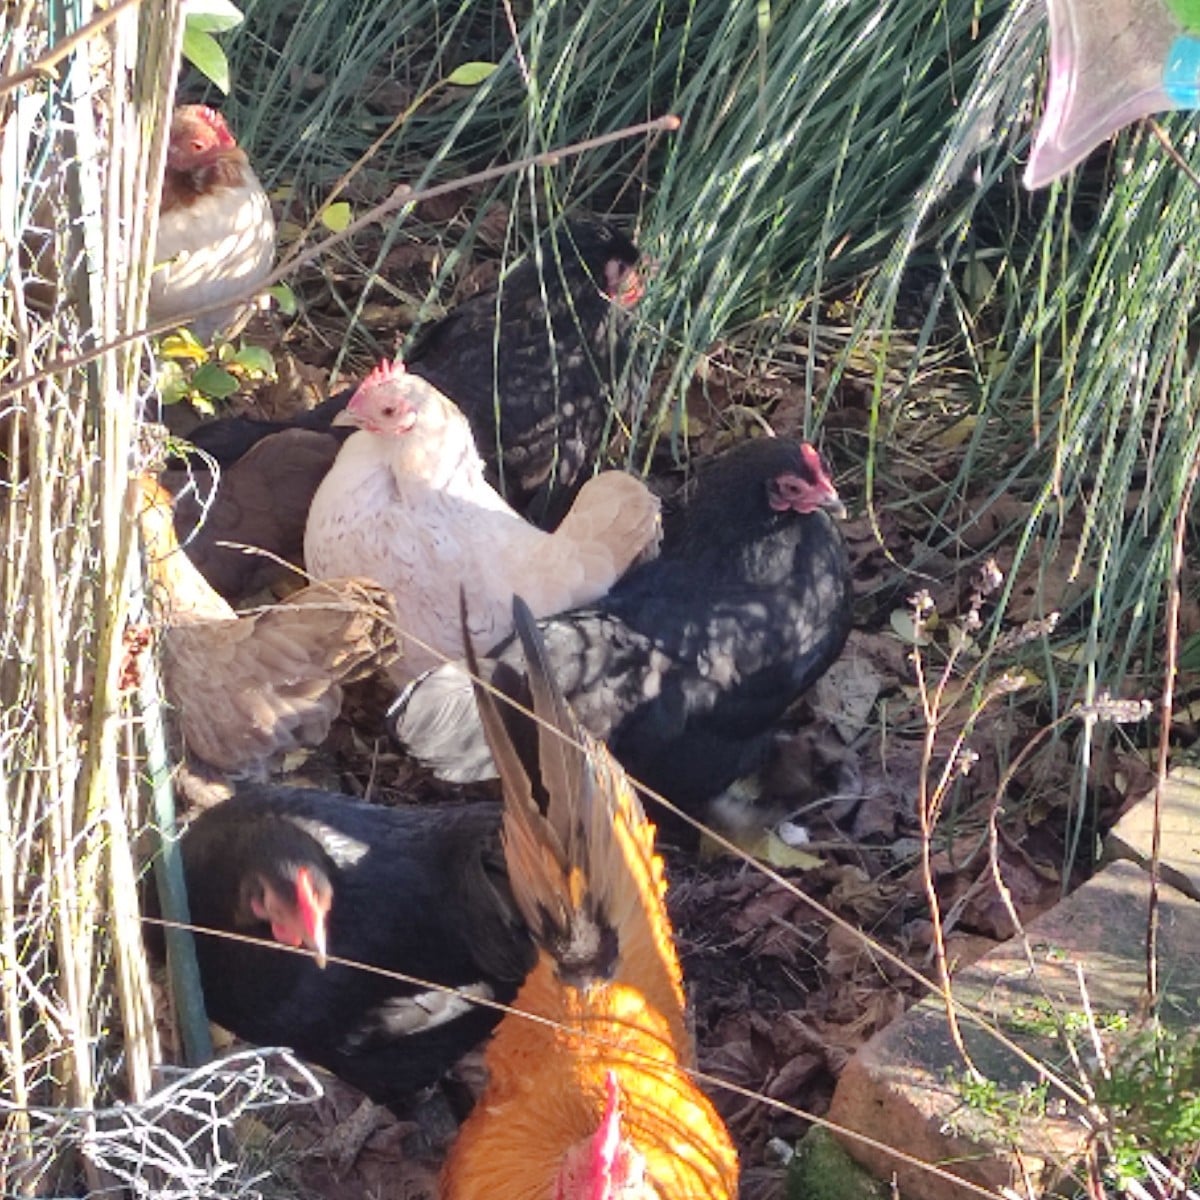
The chickens are not happy about the cold weather.
Show 1 answer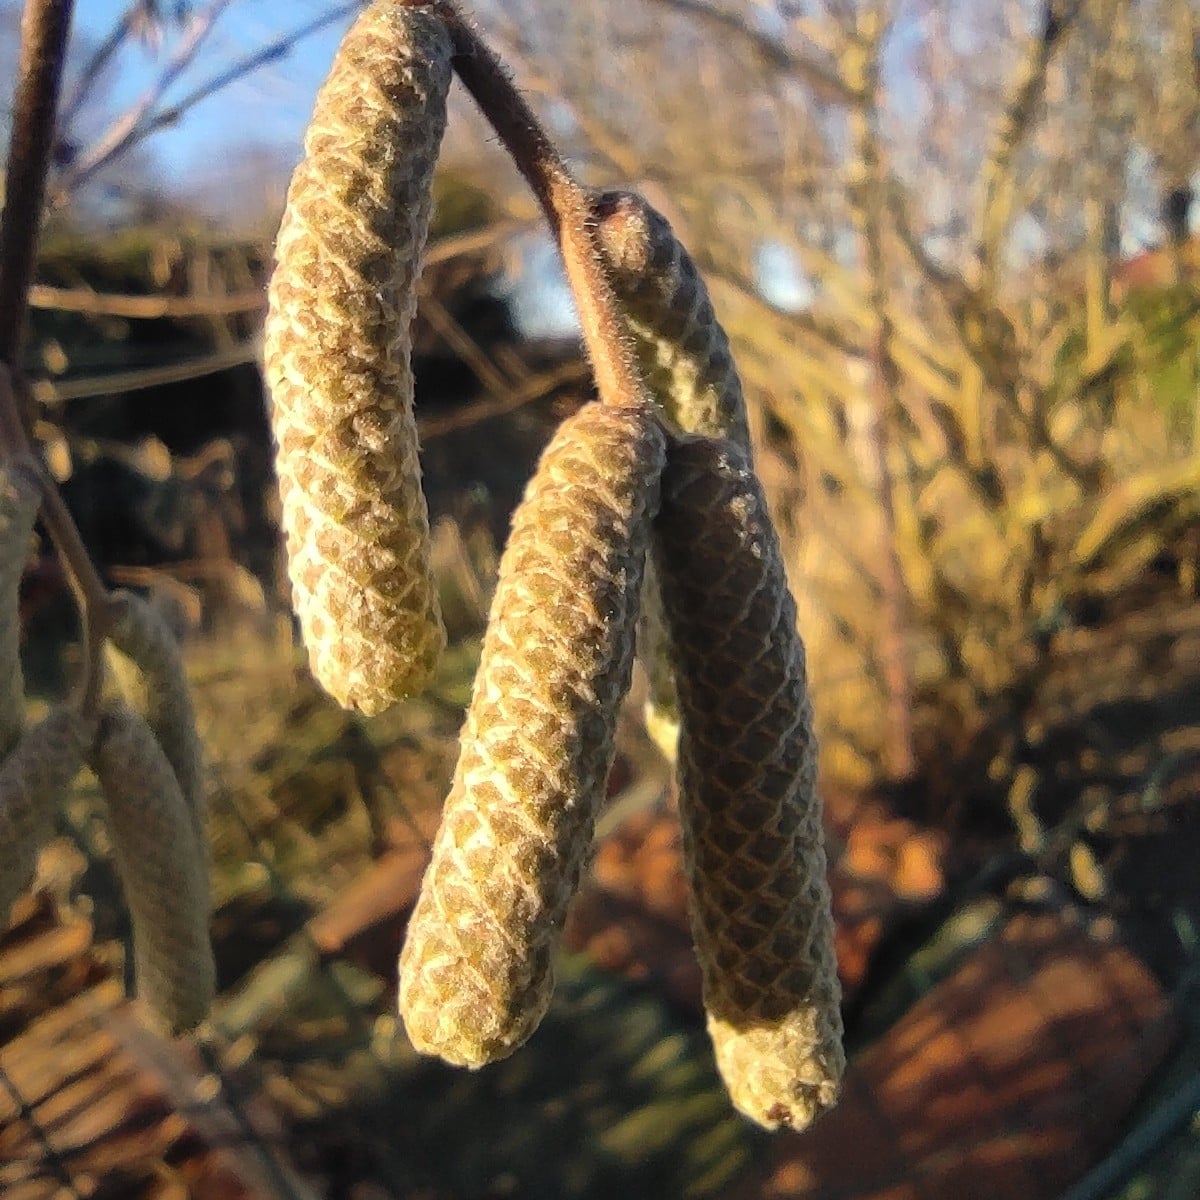
Without words
Show 1 answer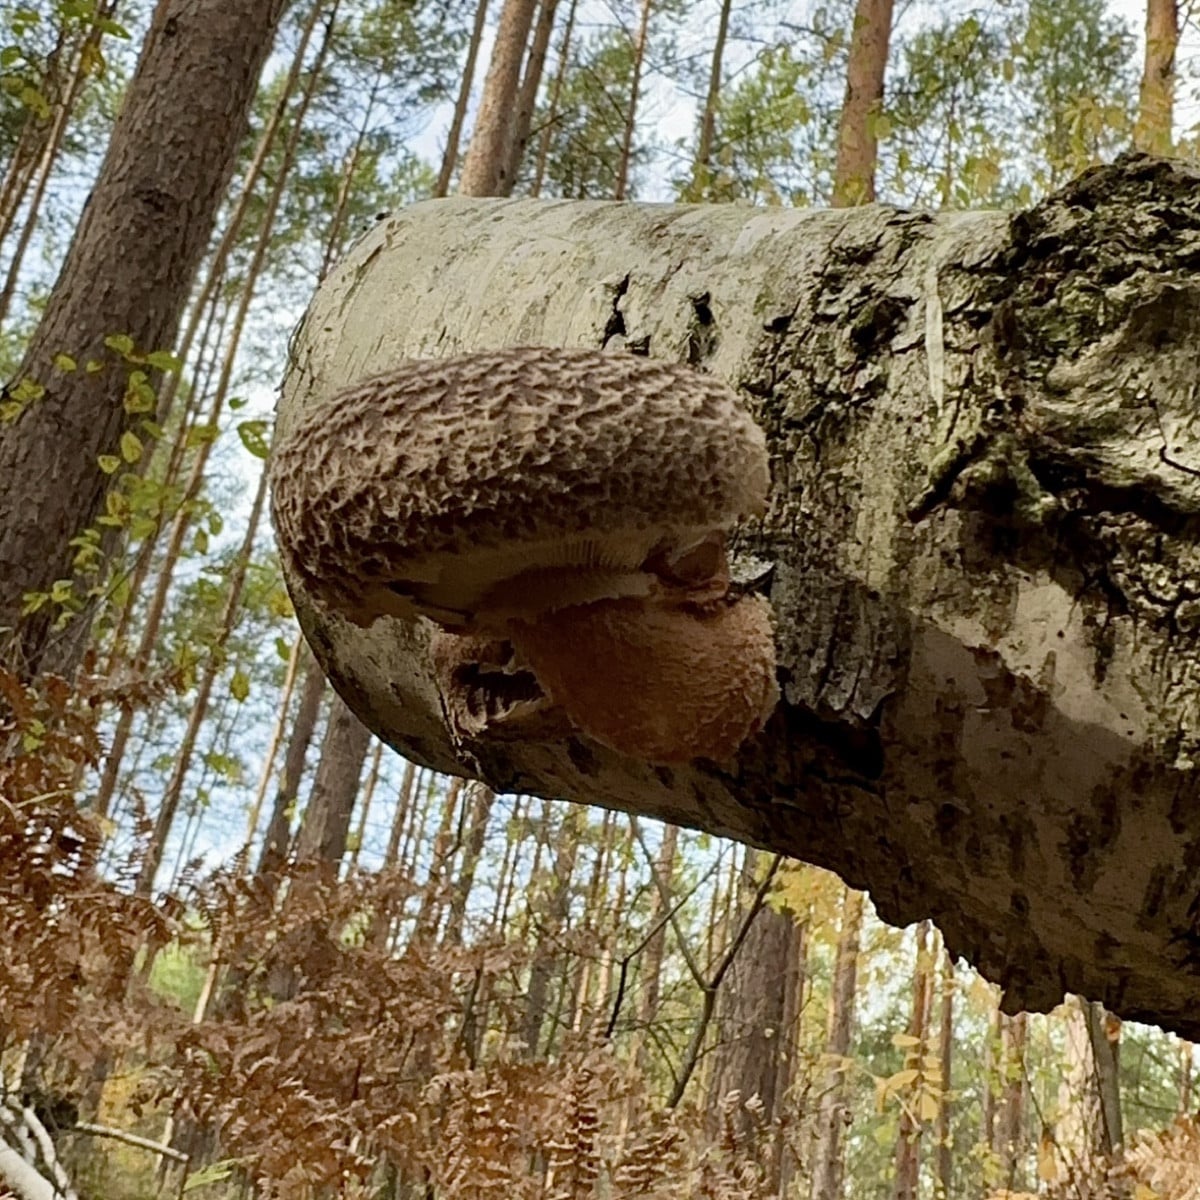
Liked 4 times
It may have actually worked with the shiitake smuggled into the fallen birch tree in our forest 🍄
Popular Articles
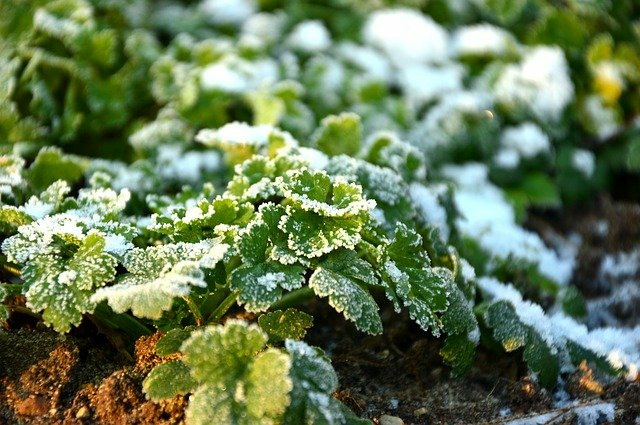
Overwintering Parsley: How to Do It Successfully
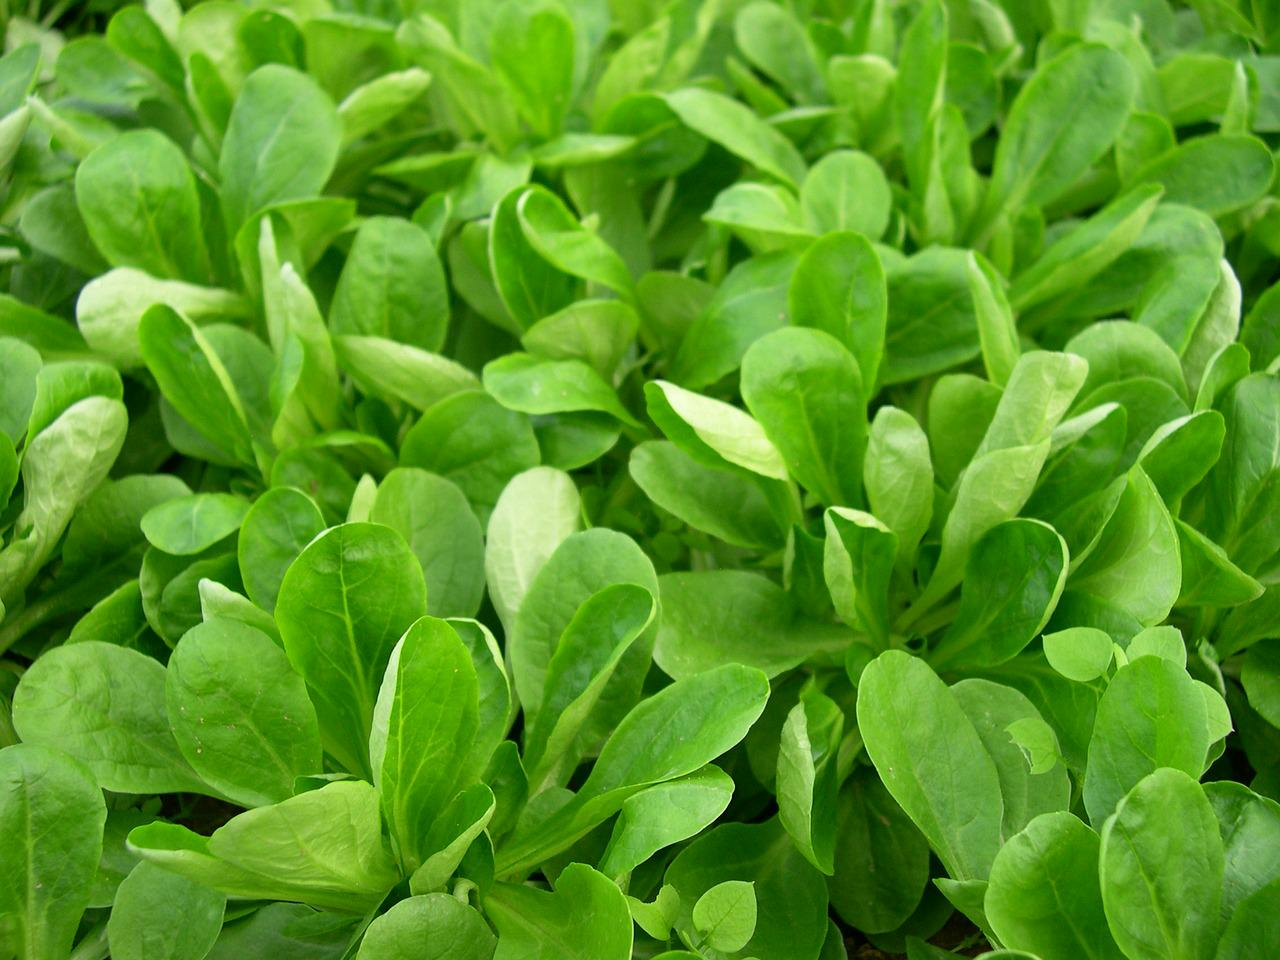
How to Grow Lettuce in Winter: Varieties, Sowing, Harvesting

Growing Sage Plant: Tips for Sowing and Harvesting
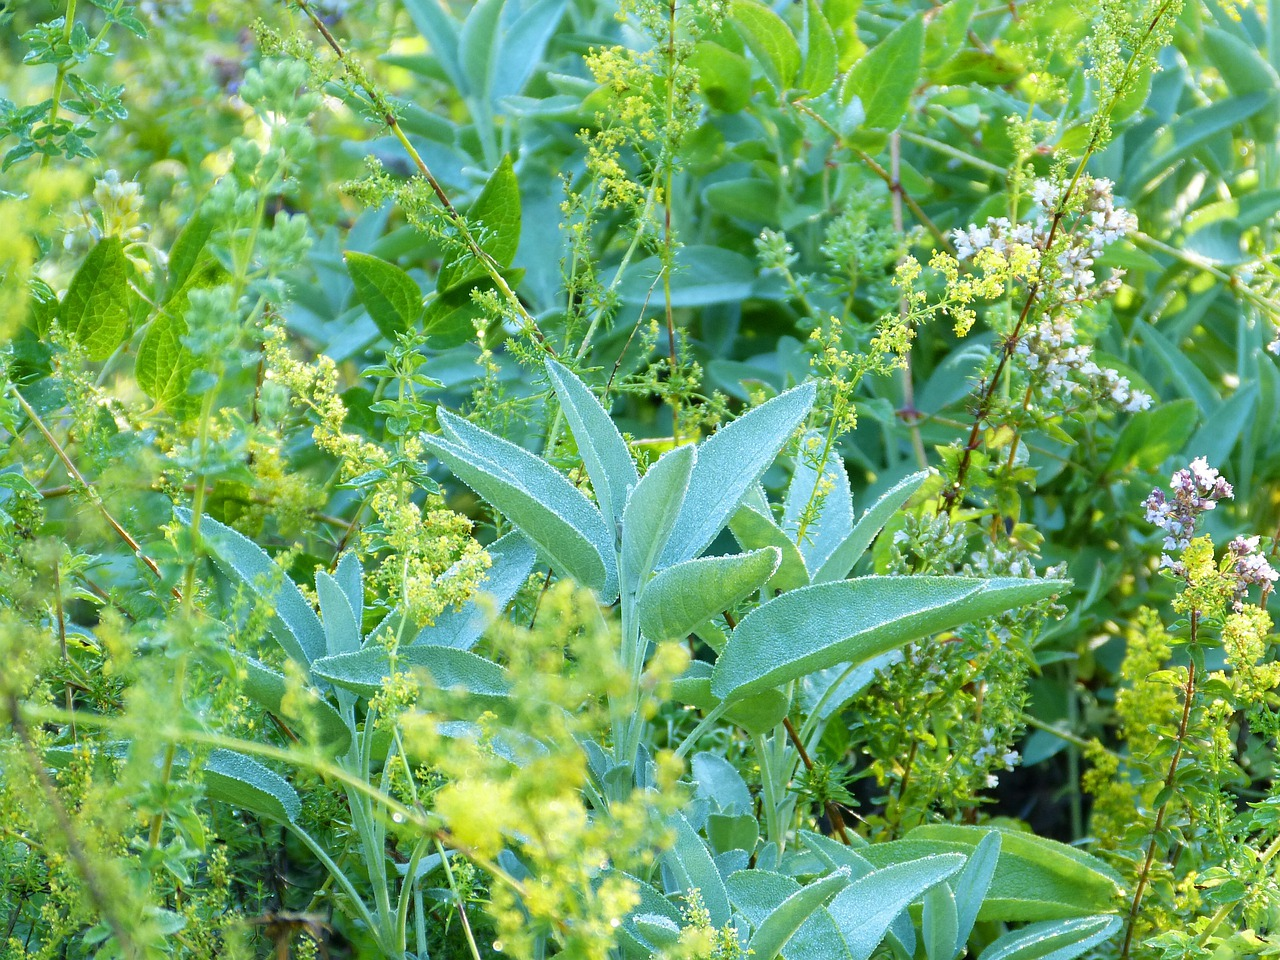
What Herbs Can Be Planted Together?
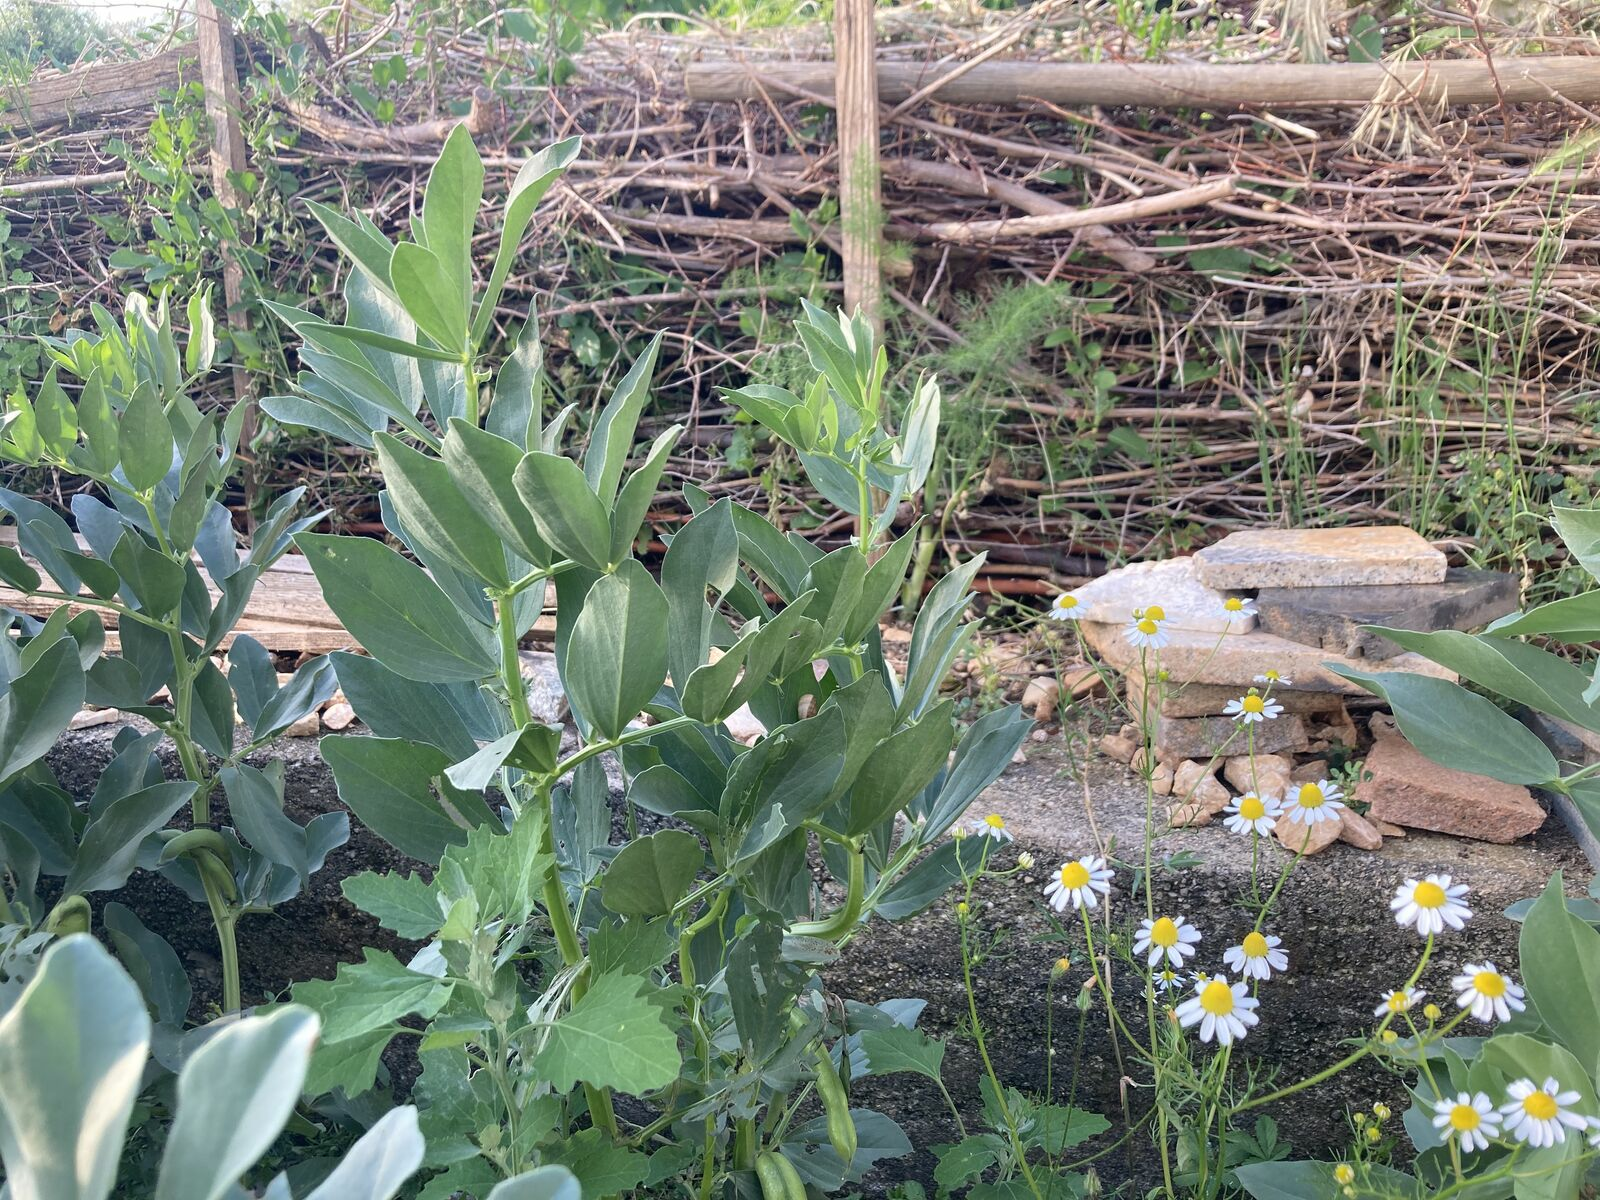
Create & Design a Permaculture Garden
Overwintering Plants: Tubs, Pots and Raised Beds

Pruning, Fertilizing & Propagating Currants: Care Tips
Pruning Raspberries: How to Do It
Vegetable Garden With Greenhouse: How to Use Greenhouse Effect
Winterizing Beds and the Garden: How to Do It
FAQ
Can I plant peppers and chili peppers outdoors?
Peppers/chillies are extremely heat-loving. To grow, they need a sheltered, sunny location with temperatures between 20 and 28 °C/68 and 82 °F. This is why they are often grown in greenhouses in our latitudes, as we have comparatively few months with sufficient temperatures.
Can I grow peppers and chili peppers without a greenhouse?
In this case, covering the soil in the bed with black mulch film has proven to be a good idea. This allows the seedlings to benefit from faster warming and higher temperatures overall. If you don't have a garden, you can also grow peppers/chillies in a pot.
How are chilli and bell pepper plants fertilized?
As peppers/chillies are heavy feeders, you should prepare the soil well with compost or other organic slow-release fertilizer (e.g. Terra Preta) before planting. You can also add some diluted nettle slurry every 14 days.
When can peppers and chili peppers be harvested?
Under favorable greenhouse conditions, you may be able to harvest unripe green peppers as early as mid-July. If there is enough sun, the first red peppers/chillies should be ready to harvest by the beginning of August at the latest. However, this depends very much on the weather conditions that year.
How do you overwinter peppers and chilies?
After harvesting, shorten all long shoots, leaving two nodes. Now place the plant in a heated greenhouse, stairwell or conservatory and water from time to time. The temperature should remain below 20 °C/68 °F. As soon as the temperature outside rises to 15 °C/ 59 °F, you can slowly bring the plant back to life with fresh soil and a larger pot.