Building and filling raised beds: A guide
Creating a raised bed: The right location
In principle, you can set up a raised bed almost anywhere. Whether in the garden, on a balcony or on the roof. Wood, concrete, soil, metal or plastic - the surface doesn't play any particular role. Ultimately, when choosing the right location, you should consider which types of plants you want to grow in your raised bed and what their needs are (e.g. "sun-loving" or rather "semi-shady").
Tips for the right location: Wooden raised bed

If you opt for a raised bed with a wooden frame, it is advisable to build the bed as freestanding as possible. Due to moisture (from rain or irrigation water), the wood tends to rot quickly over time. If you give your raised bed some space, the air around it can circulate better and the frame will dry out more quickly.
Advantages of raised beds

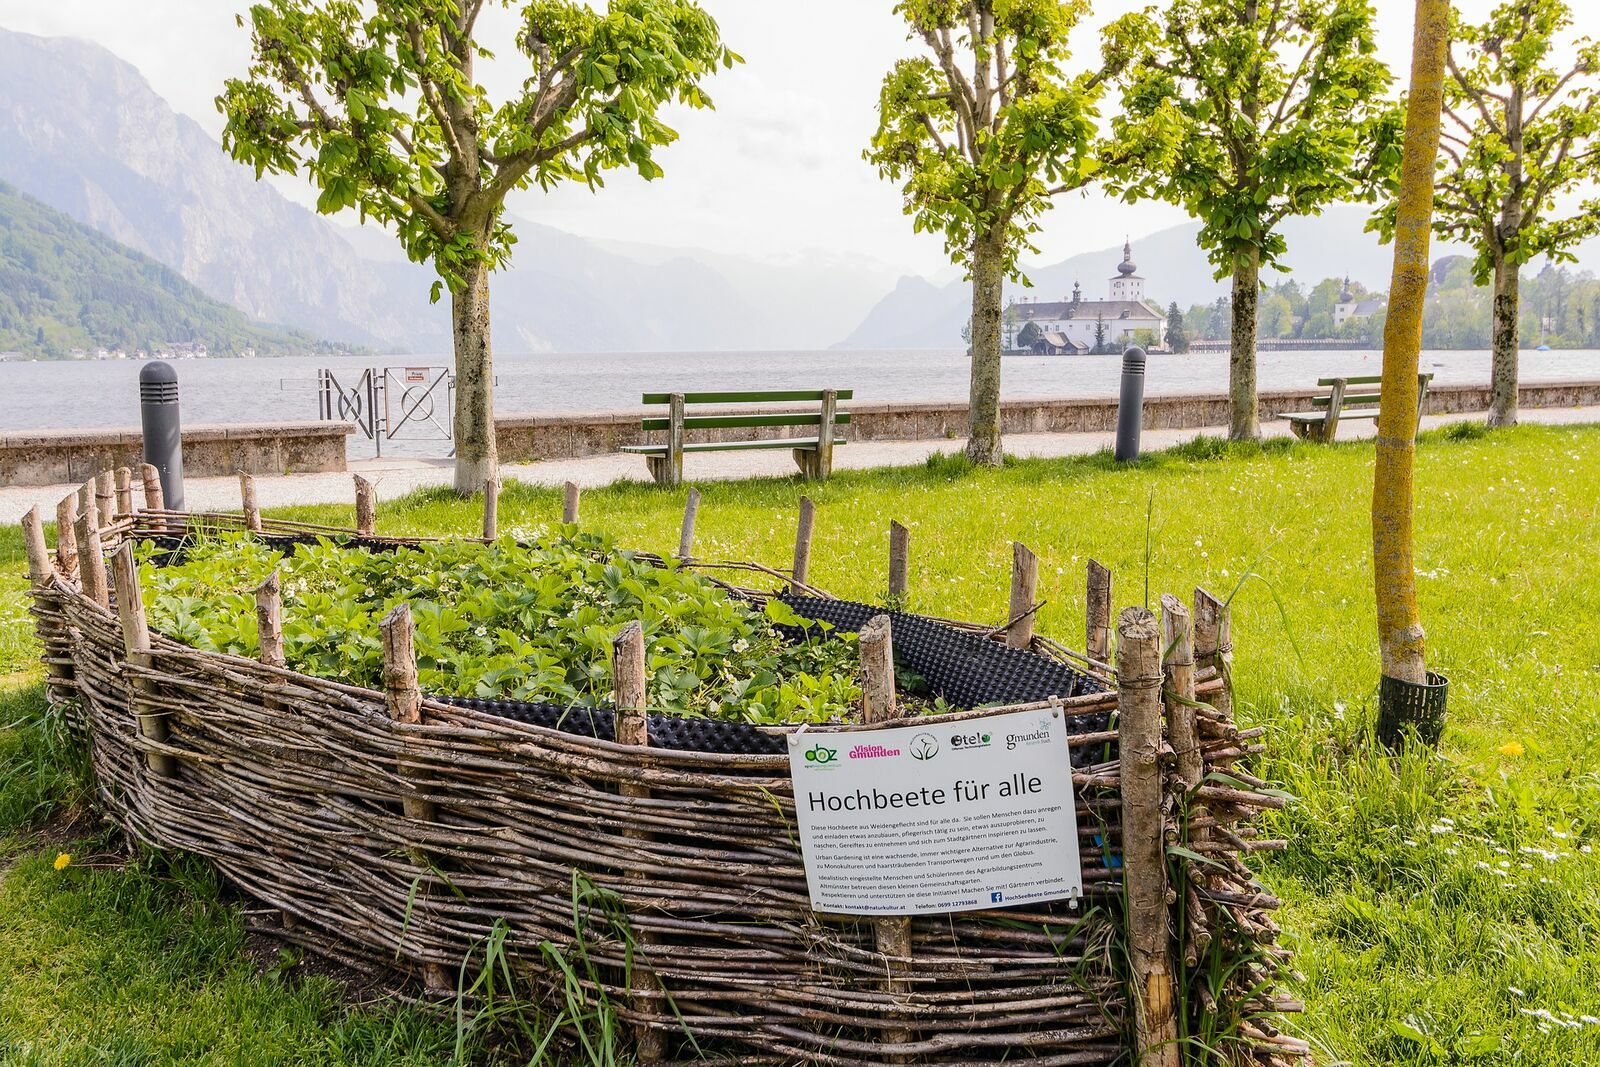
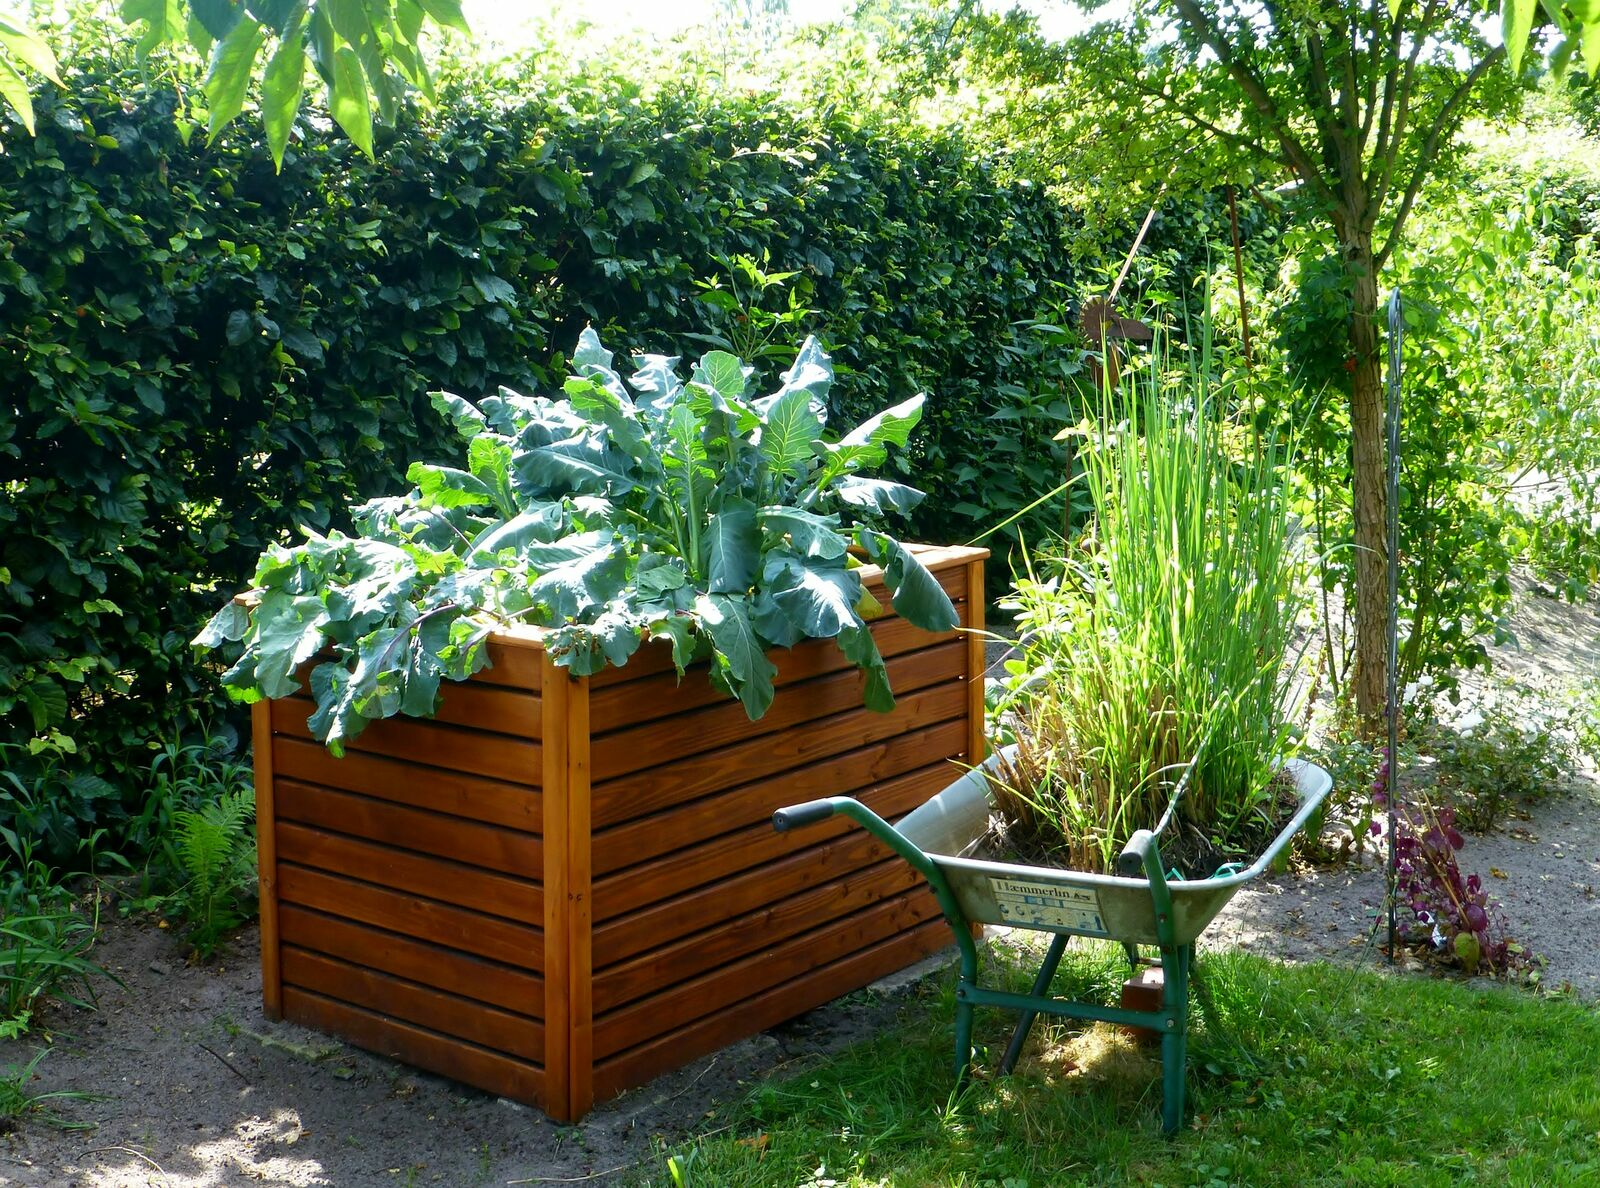
Raised beds are - as the name suggests - high. They usually consist of a wooden or stone frame up to 80-90 cm high, which is filled with green cuttings, compost and garden soil. Their elevated position offers many advantages: - Faster heating, back-friendly working, plant protection, cold frame function.
Building a raised bed - what to consider
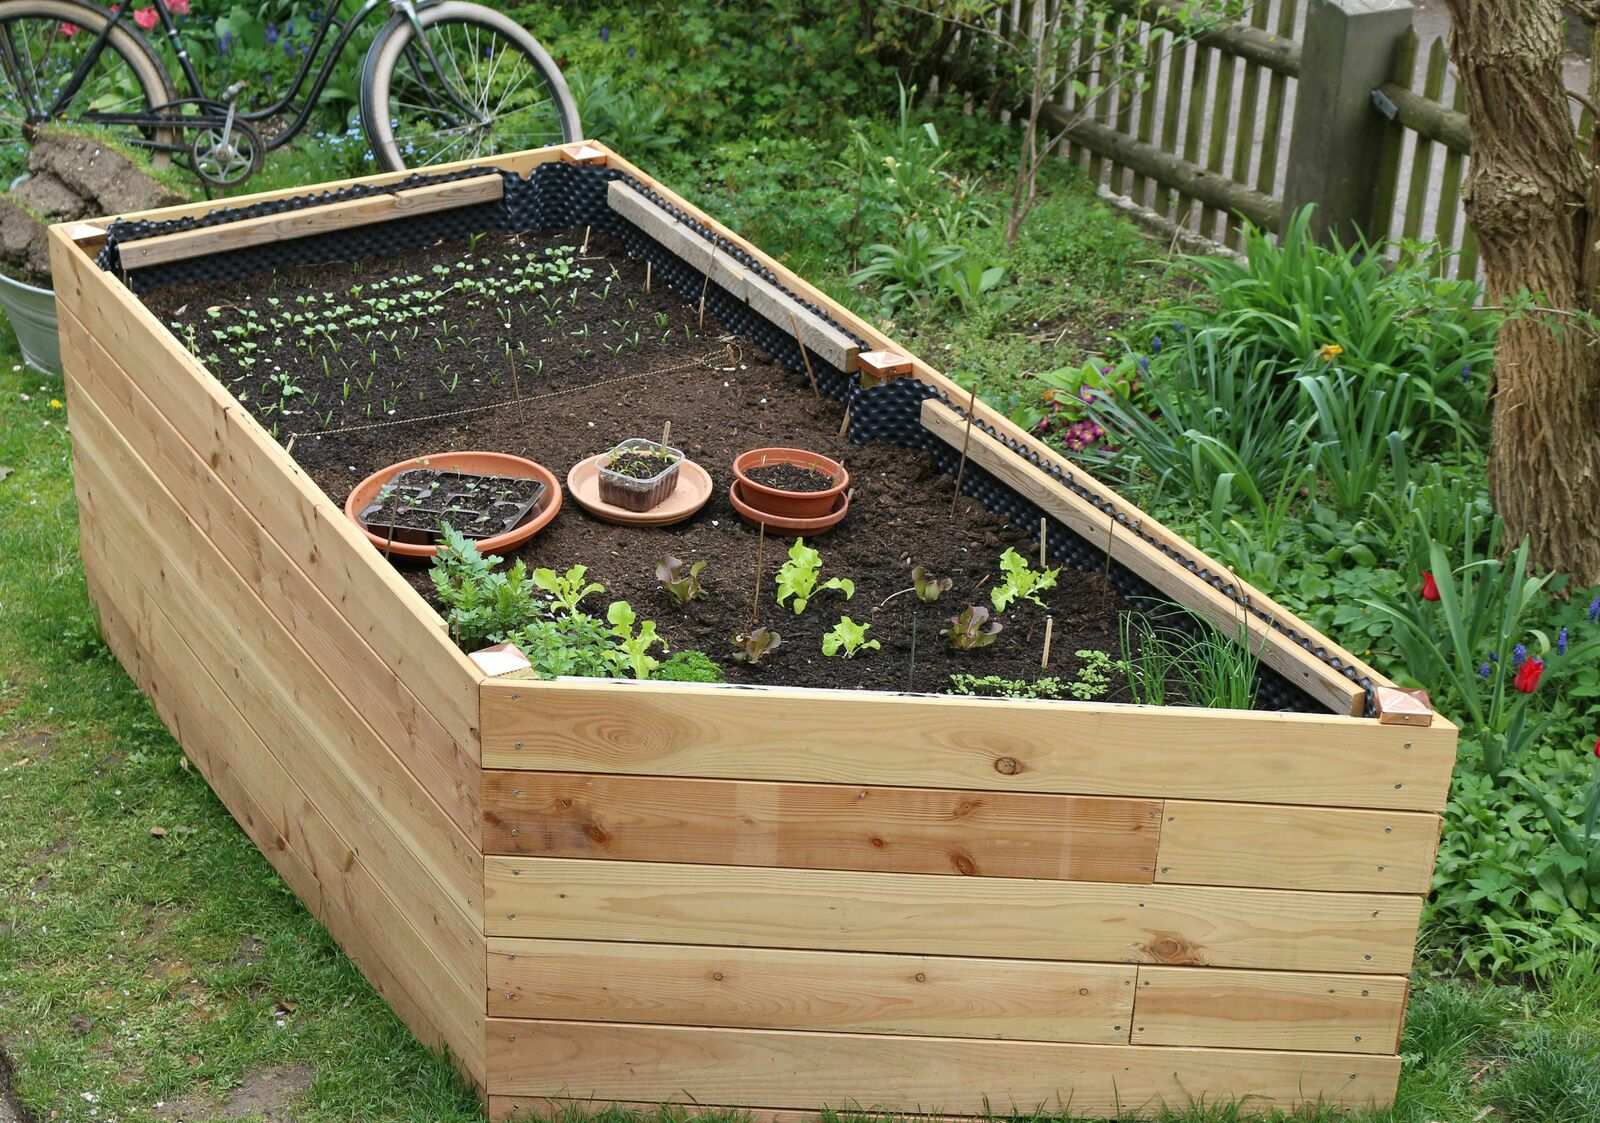
First dig a 10-15 cm deep pit for the area where you want your raised bed to stand. Then you can start building the desired border out of wood or stone. Once the box is in place, you can start filling it.
Fill the raised bed correctly - here's how

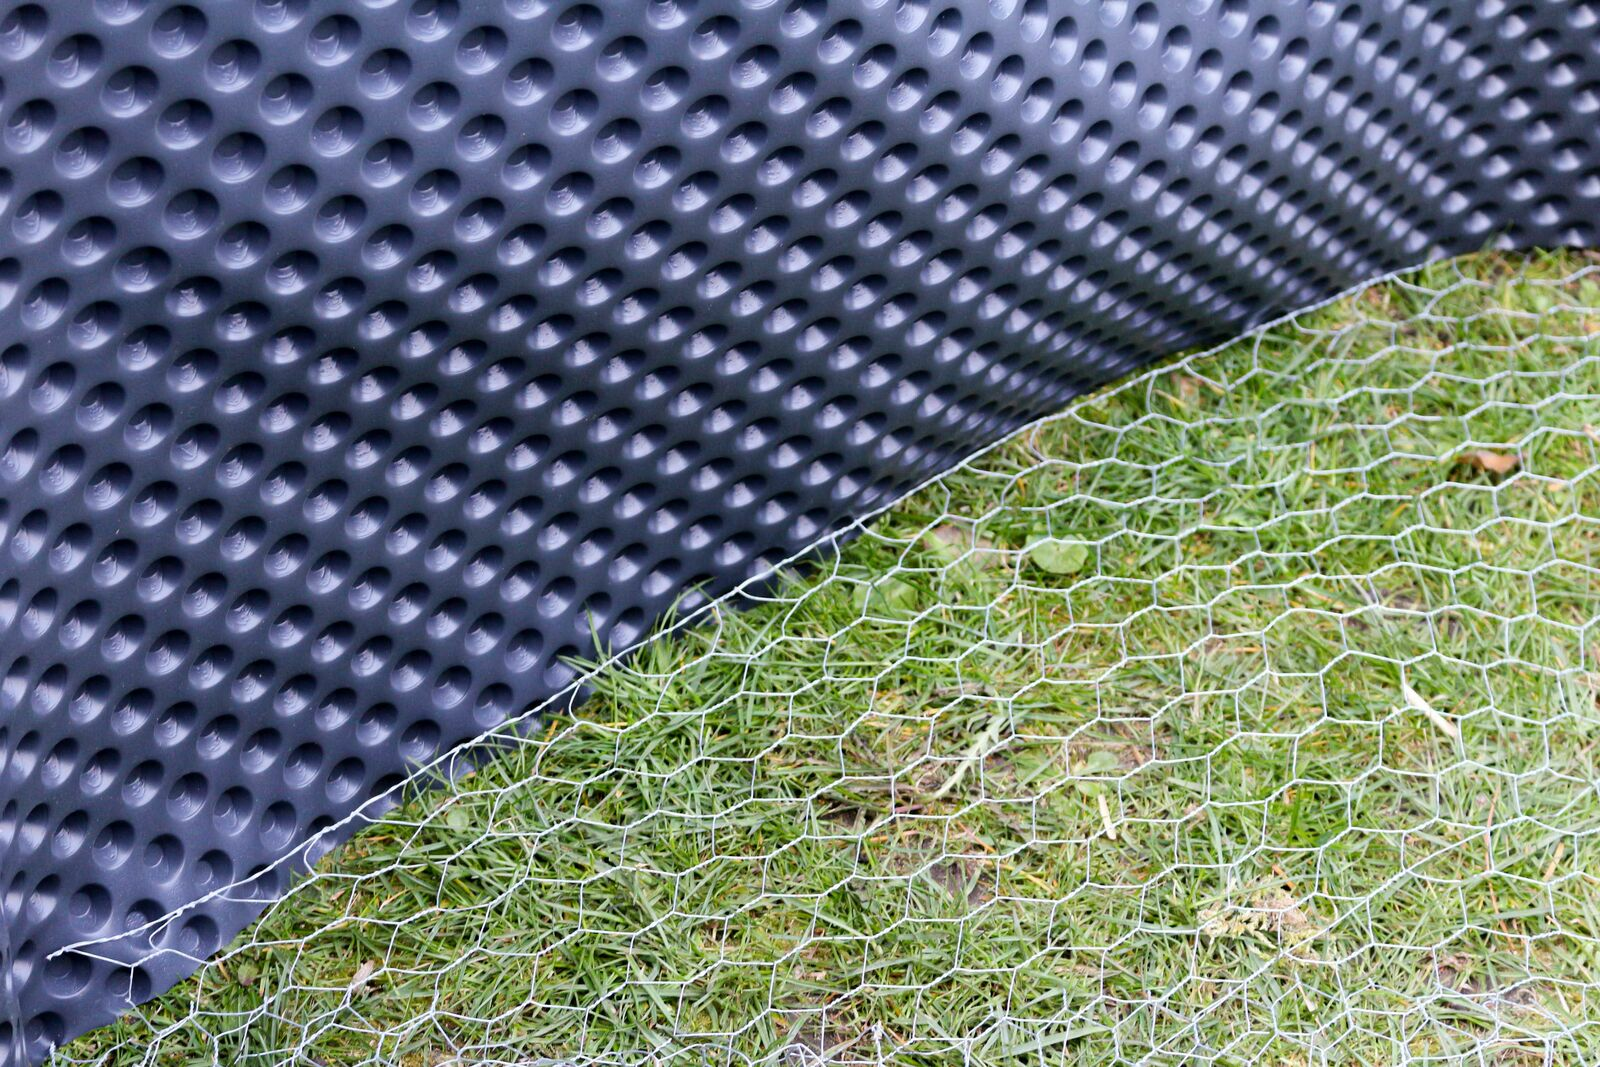
Before you fill your raised bed, you must first place a film in the box to protect the wood from rotting. This should be waterproof, rot-proof and free of harmful substances. Then place a vole grid at the bottom and attach it to the bedding box so that no more mice can slip through. Now you can start with the actual filling.
At a glance: 5 layers in the raised bed
When filling the raised bed, proceed in layers: - Drainage layer 1: 20-30 cm of coarse wood cuttings (branch and shrub waste that does not release toxins) - Drainage layer 2: 15-20 cm of shredded material (fine prunings or chaff) - Transition layer: 10-15 cm of grass cuttings and leaves - Nutrient layer: 20 cm of coarse compost (less decomposed) - Planting layer: 30 cm of soil mixed with well-decomposed compost


