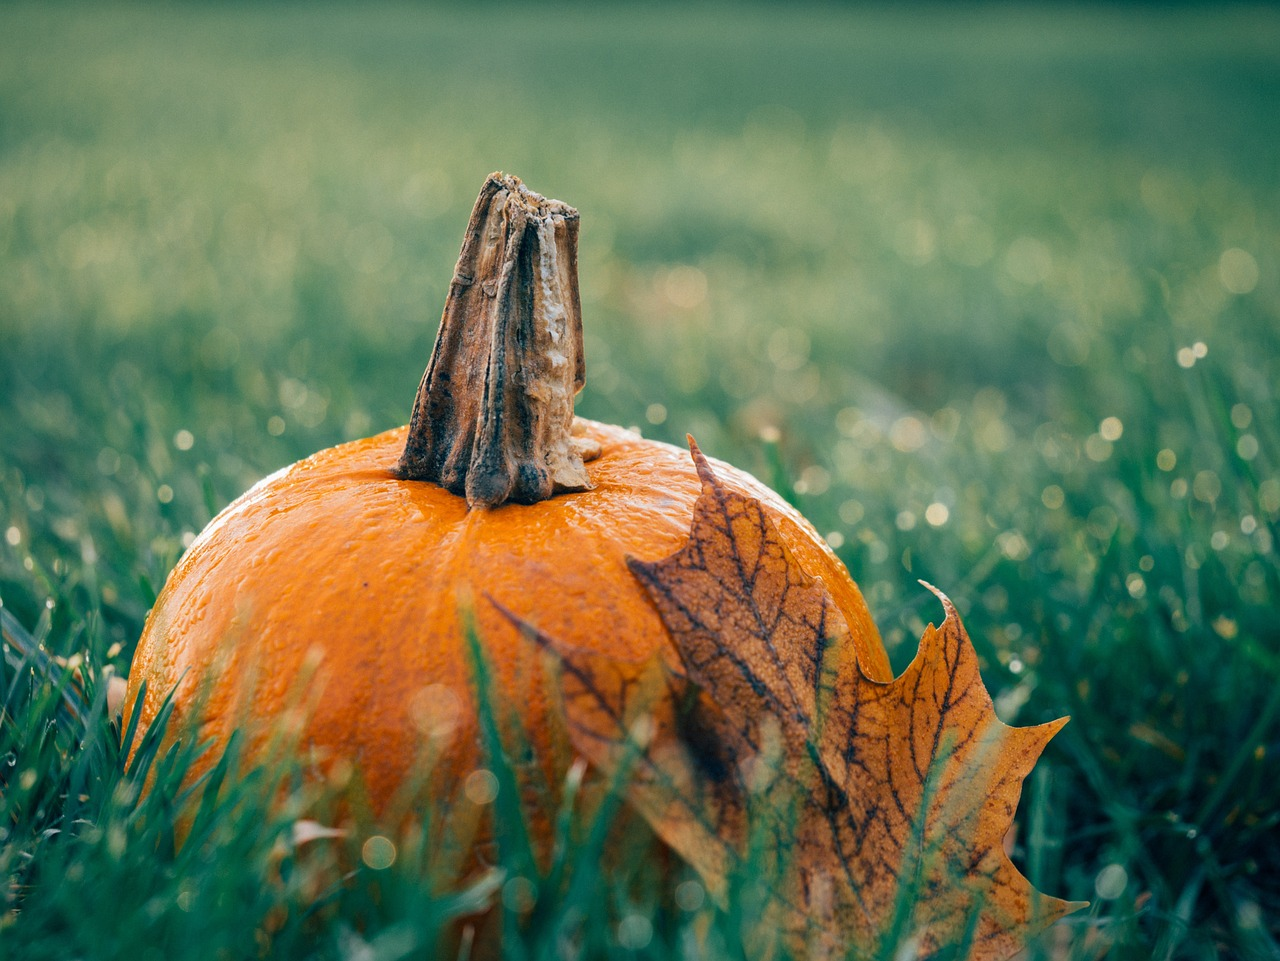
Gardening in October: What to Do in the Garden?
Even though October is not the typical gardening month, there are still a few things you can do in your garden on a sunny fall day. From harvesting the last of your crops to preparing your beds for next year, there's plenty to do in October. In this article, you'll learn what to look for.
This Article Contains:
- Winterize the Beds: Covering Winter Vegetables
- Sowing in October
- Harvest in October
- Storing Vegetables: Earth Mounds & Co.
- Shifting Compost
- Plan Succession Cropping for your veggie patch
- Spreading Compost: Prepare & Fertilize Beds
- Mulching Beds or Sowing Green Manure
- Planting Trees and Fruit Trees
- Prune Fruit Trees and Shrubs: Fall Pruning
- Frequently Asked Questions About the Garden in October
Quick Overview
Gardening in October:
- Protect late crops and winter vegetables with fleece
- Sowing: chard, spinach, winter cress, postelein, field beans
- Plantonions and garlic for next spring
- Harvest fall vegetables: Pumpkin, beet, chard and beans
- Wrap root vegetables in sand
- Turn compost and sieve mature compost
- Fertilize heavy-growing beds for the next season with compost or manure
- Plan succesion cropping for the next season
- Plant and prune berry bushes and fruit trees
Winterize the Beds: Covering Winter Vegetables
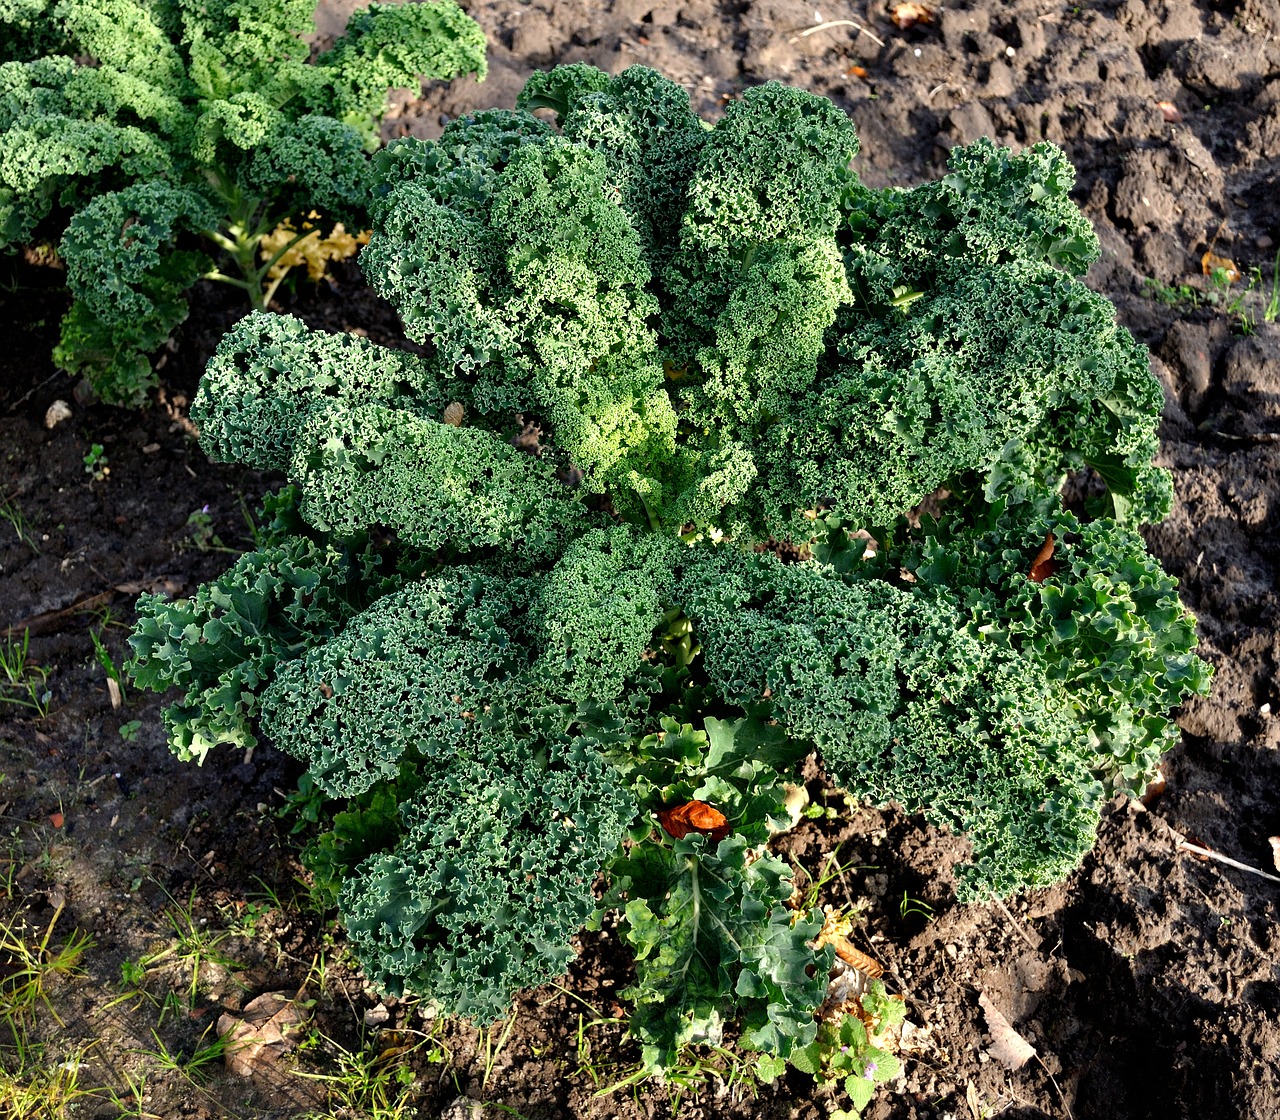
If you planted winter crops in your bed in late summer, now is the time to protect them against night frosts. Although winter crops such as leeks, kale, Brussels sprouts, lamb's lettuce, parsnips and salsify can withstand light frosts, they cannot tolerate temperatures far below freezing. You can easily remedy this with a protective layer of fleece. You can make semi-circular ar ches from thick wire and place them over your beds. You can easily attach the fleece to the arches with clothespins. To further protect the fleece from the wind, it is worth weighing down the edges with boards or stones.
The crops mentioned above can remain on the bed in such a fleece tunnel until spring and can be harvested again and again as required.
Sowing in October
Even though it can get really cold now, you can still sow some seeds in October. These include fast-growing winter vegetables such as:
- swiss chard
- winter cress
- postelein (winter purslane)
- lamb's lettuce
- spinach
You can also plant onions or garlic at the beginning of October so that you can harvest them early next year. Field beans can also be sown in October and then harvested early in the year. You can find out more about this in our article on Growing Vegetables in Winter.
Harvest in October
The last autumn vegetables such as pumpkin, beet, kohlrabi and beans should now be harvested in full. Although these crops are cold-resistant, they are not frost-hardy. It is therefore better to harvest the remaining plants quickly before they freeze on the bed. If you still have a lot of vegetables on the bed, you can make delicious compotes, ragouts and chutneys, which you can then use up gradually over the winter - the perfect activity for a rainy autumn weekend. You can read more about Preserving Fruit and Vegetables in this article.
Storing Vegetables: Earth Mounds & Co.
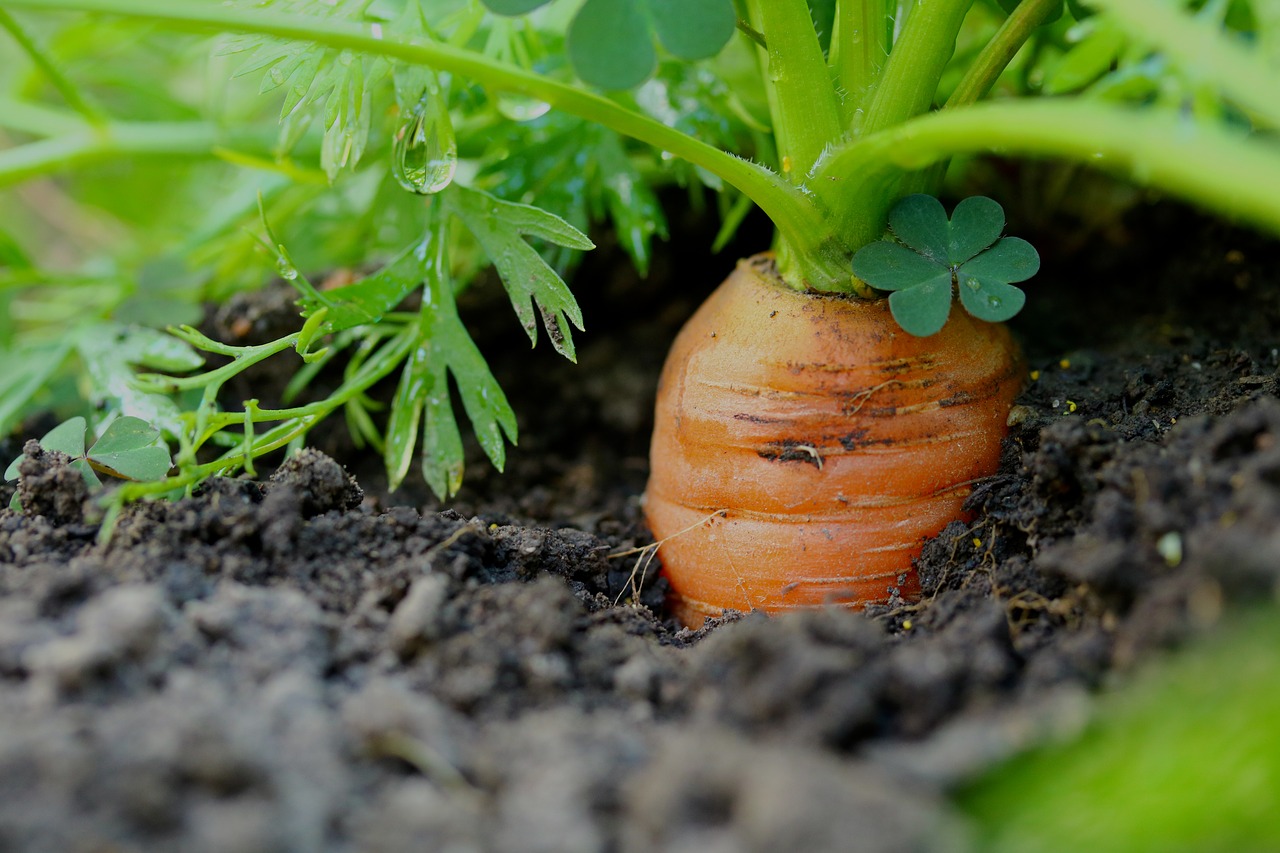
Many autumn vegetables keep for a very long time if you store them in the right way. For root vegetables, the more soil that is still attached to them, the longer they will stay alive and therefore fresh. So only remove the leaves from carrots, beet, turnips and parsnips and refrain from washing or even brushing them. Do not remove the fine roots either, as this only creates areas where rot can develop. To further preserve root vegetables, you can "wrap"them in damp sand. To do this, simply take a shallow box, preferably made of wood or another "breathable" material. Now line it with newspaper and alternate layers of damp sand and your harvest. It is best to store the box(es) in a dark, cool place, such as a cold cellar or an unheated shed, where the average temperature should be below ten degrees. This method is known as earthen storage and generally works for all root vegetables and kohlrabi. You can find out more about Storing Vegetables Correctly in this article.
You can simply store pumpkins individually on a shelf or hanging in nets in the same room. Depending on the variety, they may last the whole winter. In this article, you will learn briefly and concisely How Best to Store Pumpkins
To Store Head Cabbage, harvest it complete with all its bracts and wrap it loosely in newspaper or wrapping paper . It is best to store cabbage in a dark, cool place (e.g. cellar).
ATTENTION: You should not store your vegetables in the same room as apples or pears. These give off the ripening gas ethylene. This phytohormone initiates the ripening process of fruit and vegetables, causing them to spoil more quickly.
Shifting Compost
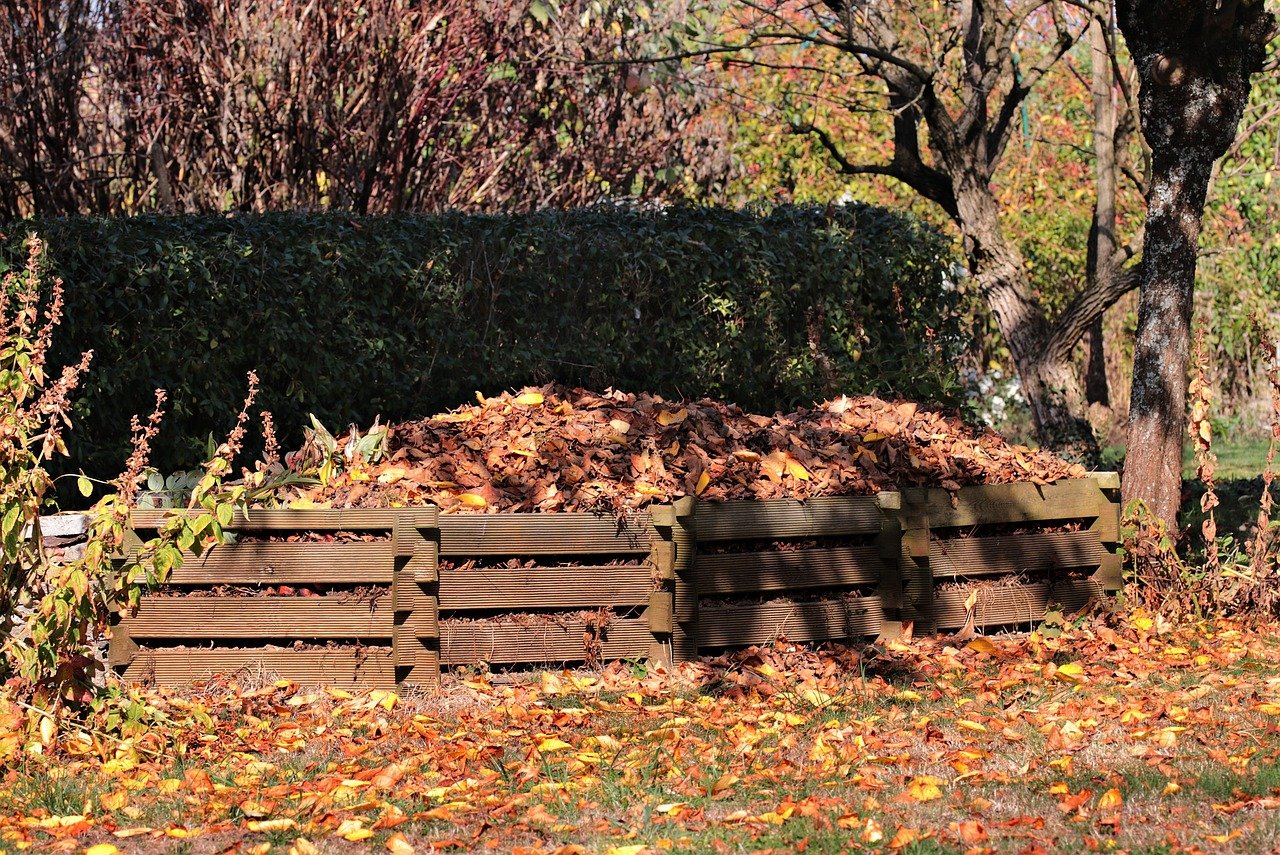
Your compost heap will have filled up considerably over the summer. To guarantee optimal composting until next year, it is worth moving the compost heap in October. In a compost system with two composting areas next to each other, shovel the entire compost heap onto the empty area next to it. This guarantees optimal mixing of the more decomposed areas further down and the less decomposed areas further up. It also loosens up the structure of the heap and aerates it, stimulating the composting process. You can fill the empty space with harvest waste, leaves and chopped green waste and dispose of your organic waste here over the winter. If you don't yet have compost in your garden and would like to know How to Make Compost Properly, you can find instructions here.
Plan Succession Cropping for your veggie patch
To get off to the best possible start next spring, you should start thinking now about which vegetables should fill your beds next season. You can read more about How to Plan a Crop Rotation for Your Vegetable Garden here. It makes sense to take a look at what you have grown this year and in previous years. To prevent soil fatigue and diseases, you should rotate accordingly in your planning for next year. A simple rule for this is never to grow the same thing after the same thing at the plant family level. This is because plants in the same family often have similar soil requirements and take up similar amounts of nutrients. If you grow them several years in a row, the soil will eventually be depleted. In addition, plants from the same family are usually susceptible to similar pests and diseases. With varied succession cropping, you avoid an accumulation of specific pests and diseases.
In addition to changing the plant families, the nutrient depletion of the respective crops should also be taken into account. In order to maintain the balance of nutrients in the soil, heavy feeders are always followed by medium to light feeders. For example, in a place where a cabbage crop such as broccoli was previously grown, a low-consuming crop such as spinach or lettuce will follow. You can Read More About Light and Heavy-Feeders in this article.
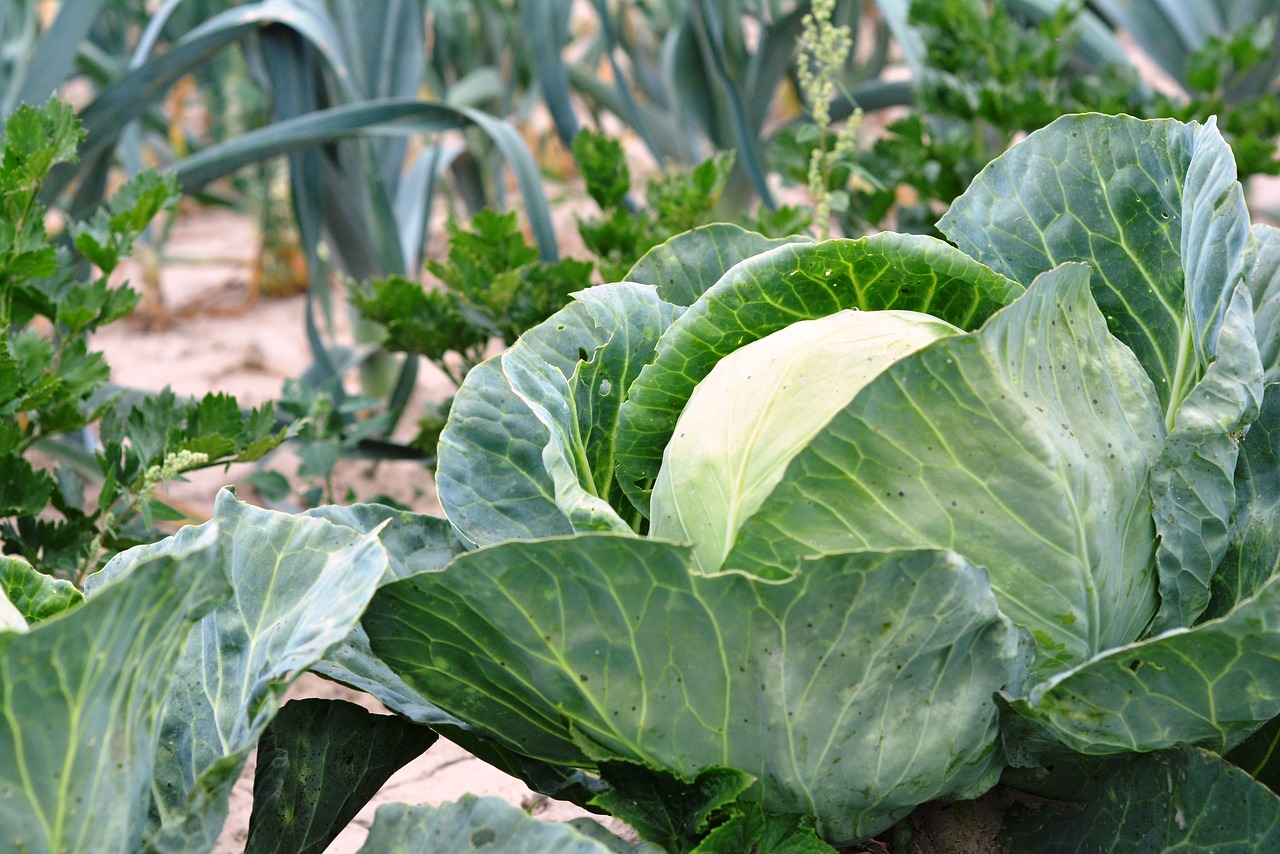
Important: The succession cropping and crop rotation rules are intended as a rough guide and play a greater role in large-scale cultivation with monocultures. In a colorful garden with mixed crops, which is cultivated organically and has healthy, fertile soil, these rules should therefore be considered softer. Especially with soil-conserving methods such as the No Dig Method according to Charled Dowding, you should have fertile soil that provides your plants with sufficient nutrients. Compost is piled up annually for this purpose, more on this in the next section.

Succession Planting and Crop Rotation With the Fryd App
Our planner makes it easy to plan a colourful mixed crop. Good and bad neighbours are shown right away, and you can even get crop rotation tips!
Start PlanningSpreading Compost: Prepare & Fertilize Beds
The beds that will be planted with heavy feeders next season must be optimally prepared. With an extensive fertilization with a layer of compost about 2.5 cm/1 in high, your plants are guaranteed to have enough nutrients to thrive and grow next year. First spread the compost evenly over the surface. To gently loosen the soil and work in the compost, it is best to dig into the soil with a large digging fork and gently lever back and forth. This lifts the soil a little, aerates it and mixes in the compost. You can also mix the surface a little with a rake and smooth it out. We do not recommend traditional digging because it disturbs the soil life. You can read more about How to Maintain and Improve Your Garden Soil After a Season here. If you have a very sandy or humus-poor garden soil, you should therefore apply more compost than organic fertilizer. Charles Dowding recommends a layer of compost up to 15 cm/5.9 in thick. You will also need more compost if you start with the so-called no-dig method and begin to fertilize with organic material. Soil that has previously been fertilized with mineral fertilizers, for example, needs more compost to stimulate the build-up of humus.
Mulching Beds or Sowing Green Manure
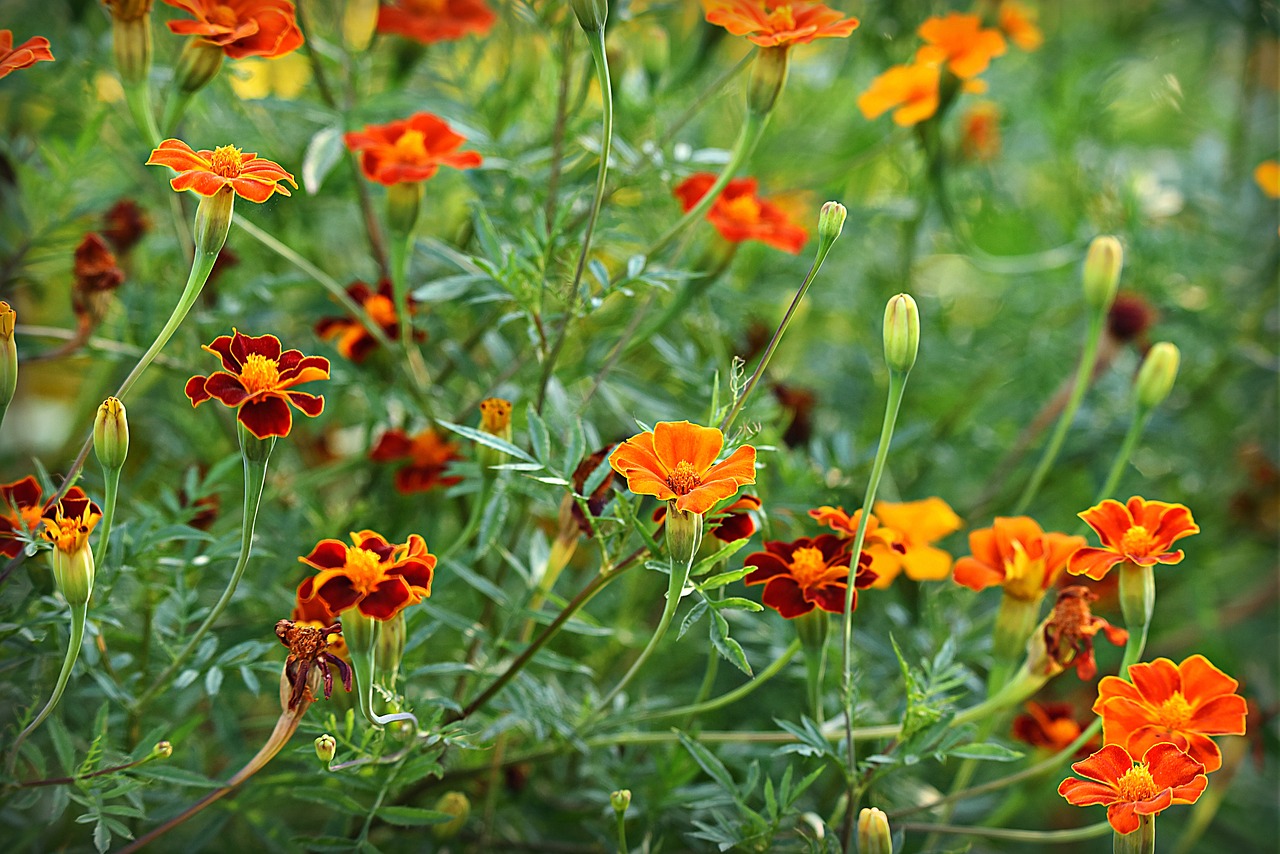
Especially in the cold season, it is important to protect the soil from wind and weather. Otherwise, you risk soil erosion and a decline in biological activity in the soil. Green manure is ideal for giving your soil a break and enriching it with valuable nutrients. Nitrogen-fixing legumes are particularly suitable for enriching the soil with lots of nitrogen. In spring, you can then cut off the plants and spread them on the soil surface as mulch. By covering the soil all year round, you not only prevent soil erosion but also the leaching of nutrients. Plants absorb nutrients through their roots and store them temporarily in their biomass. Mulching closes the cycle and the nutrients are returned to the soil. Without the plants, excess nutrients are washed out and end up in the groundwater or surface water.
Planting Trees and Fruit Trees
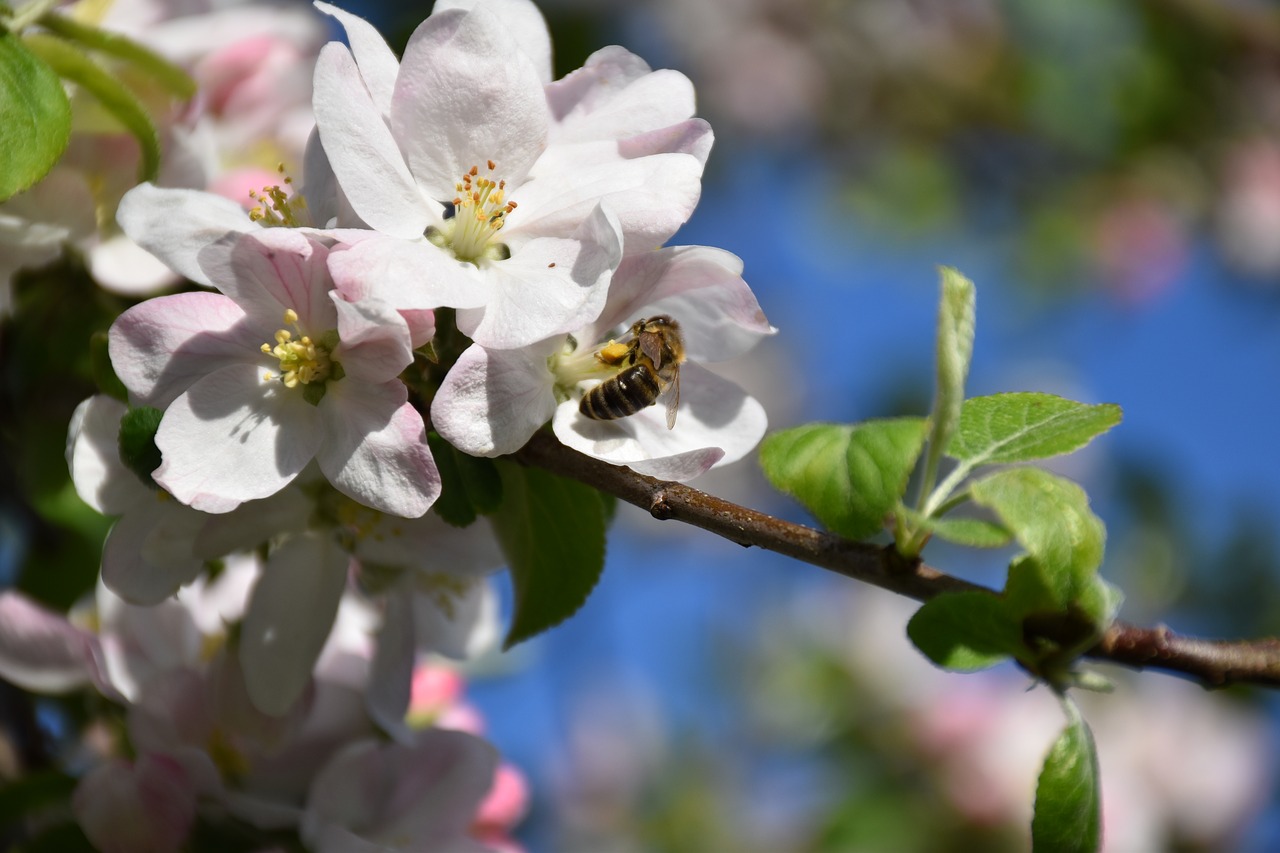
Autumn is the best time of year to plant fruit trees. Berry bushes such as gooseberries or raspberries and fruit trees such as apple, peach or cherry trees are best planted before winter. This gives them enough time to develop roots over the winter and they can really take off in spring. You can find out the best way to do this in our article on Planting Fruit Trees.
Prune Fruit Trees and Shrubs: Fall Pruning
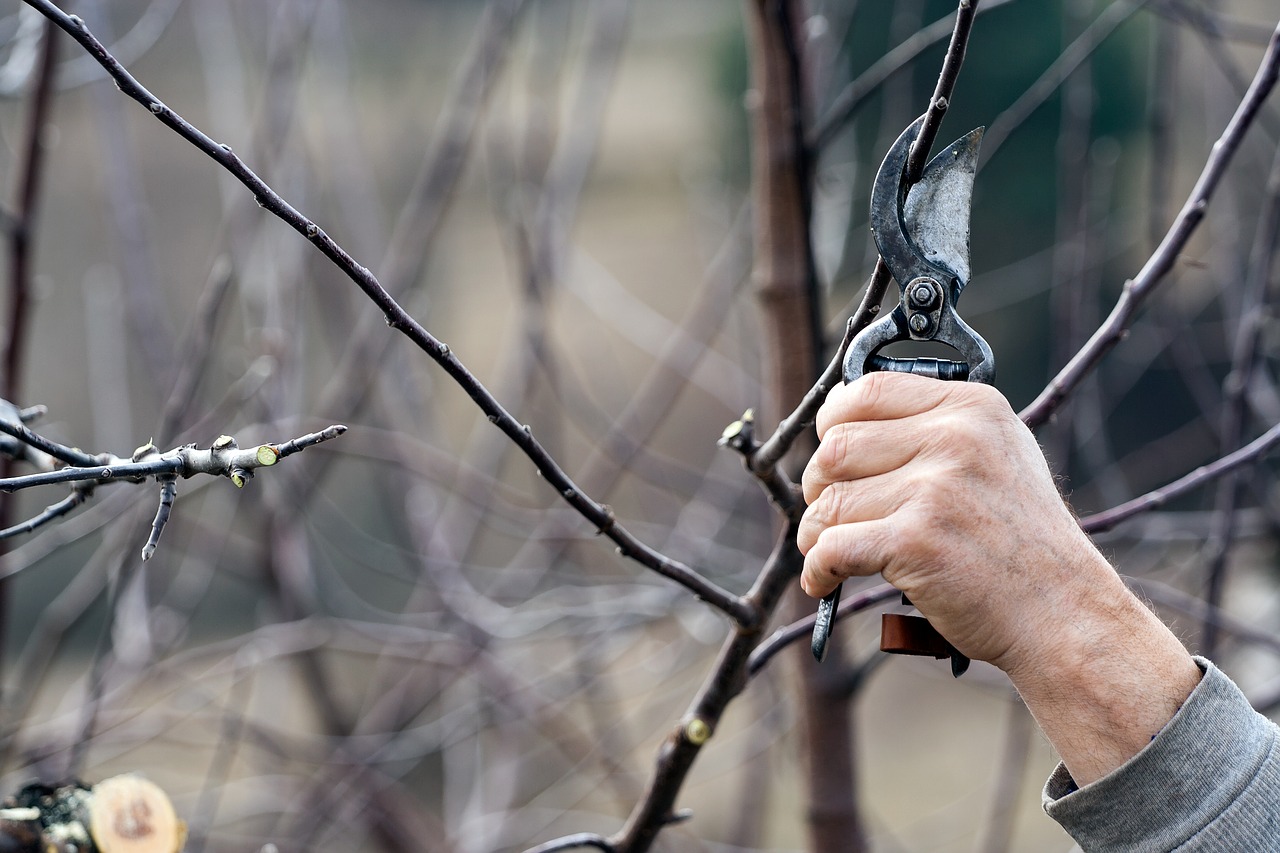
The fruit trees you already have in your garden also need care and attention before winter. Native woody plants in particular benefit from pruning in the fall. With fruit trees, you remove so-called "water shoots" after all the leaves have fallen off. This is also done in June with the June pruning. Water shoots do not bear fruit and only take nutrients, water and light away from the tree. You also remove all dead wood from the tree. You can recognize deadwood by the fact that either the bark is already coming off or the wood underneath the bark is brown instead of green. These shoots are dead and no longer useful for the tree. Finally, remove overgrowing shoots that could compete with each other as well as diseased branches and plant parts. These measures will help to thin out the crown and encourage fruit set for the following year. In general, you should carry out pruning work at a time when there is no rain for at least three days. Otherwise, fungal diseases and other pathogens will have an easy time penetrating the tree through the open wounds.
Some fruit shrubs are also happy to be pruned in the fall. These include berry bushes such as currants, gooseberries, blackberries and summer raspberries. This has the advantage that the plants sprout more vigorously the following spring. In addition, existing pathogens overwinter in the leaves of the bushes. Remove affected plant parts so that the plant can start the new season in good health.
Our tip: Let the tree's wound heal naturally. If you cut off large branches, it helps to leave a small bead (really only 1 - 2 cm/0.4 - 0.8 in). This promotes good wound healing. Waxes or other means of closing the wound are no longer recommended.
This small selection of gardening activities in October is of course not all-inclusive. But I hope you were still able to learn something and are now fully motivated to start preparing for the next gardening season.
If you have any questions or comments, please write to us at [email protected].
If you need help with planning, take a look at the Fryd bed planner. It will help you find the right crops for your location and skill level and give you tips on how to grow your own vegetables properly. Register here or download the Fryd app for Android or iOS.
Fryd - Your digital bed planner
Cover image from Free-Photos on Pixabay.
Source: Charles Dowding, #No Dig, 2023, Munich: Dorling Kindersley Verlag GmbH, Work instructions and descriptions

Jonas
Jonas studied agricultural biology. He discovered his passion for plants and gardening through an internship at a permaculture NGO. Since then, he has been gardening on his balcony and in community gardens.
Learn MoreCurrent Topics in the Community

Liked 1 times
Our #heart element in the garden is the lovingly built "bird castle" 🐦⬛🏠 When we moved into our home, the garden had a hedge, house, lawn and trees of life. Like the arborvitae in the last picture. Now that lots of beds and life have arrived in the garden, my husband wanted to create a nesting, feeding and bathing area for all sorts of birds. We already have a few birdhouses, but the trunk of the tree of life was perfect for something new. What started with a small house in mind has now ended with our beautiful bird castle. With the fruit trees around it, we hope to create an oasis for young and old in a few years' time ❤️
Show 1 answerLiked 2 times
A happy new year. And go for a walk tomorrow morning, it's been raining horse mackerel for the plants. 🥳

Liked 1 times
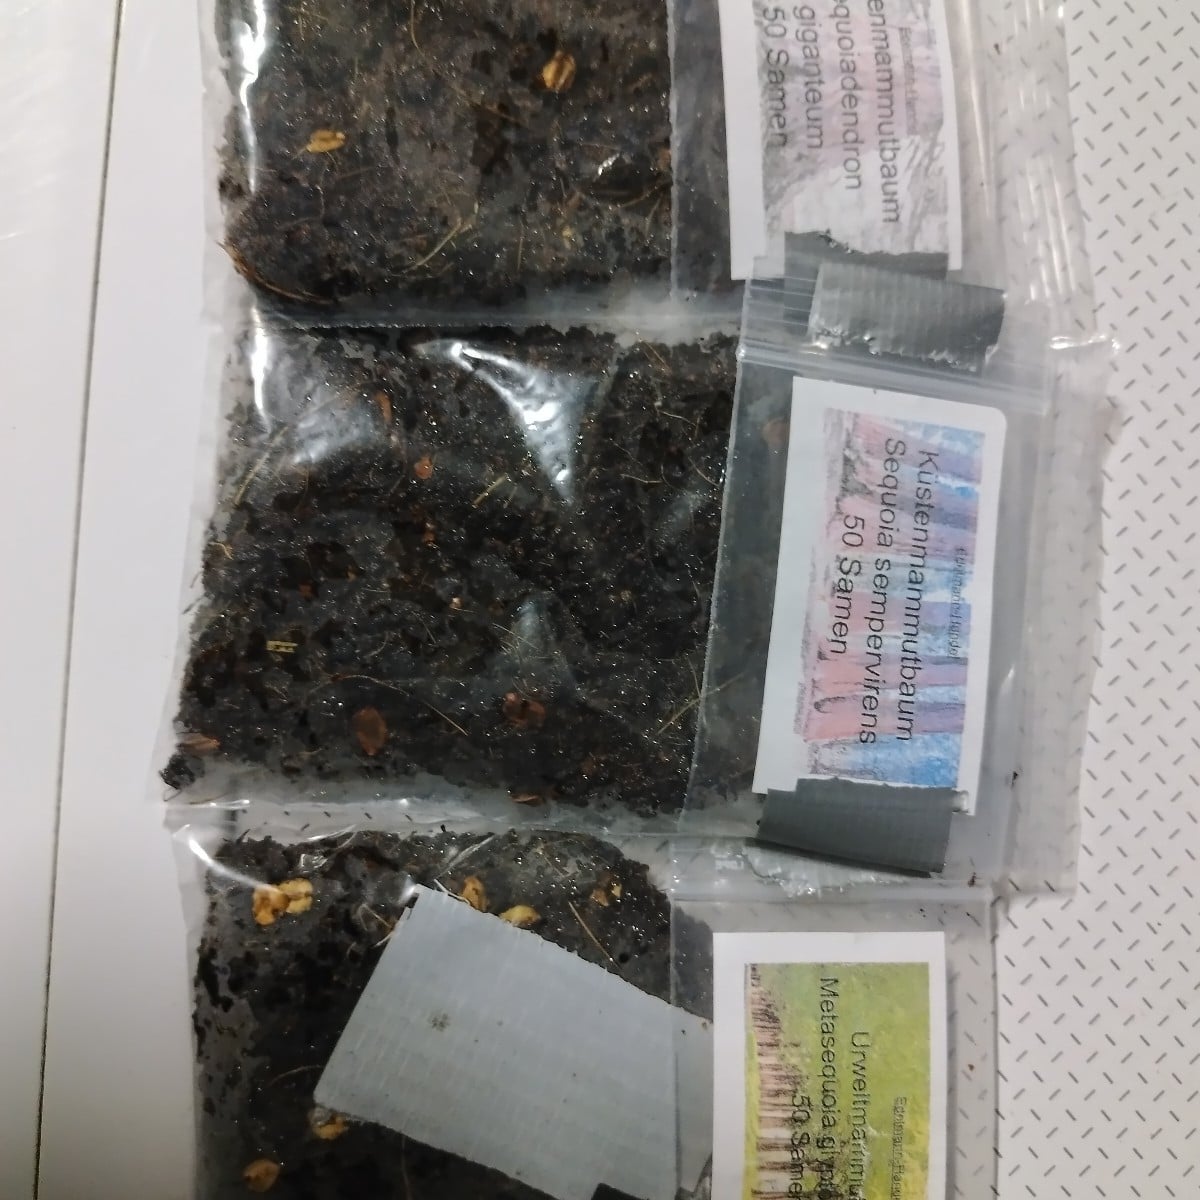
When the weather gets uncomfortable and I get bored, I experiment a little. Primeval sequoia, coast redwood and the giant sequoia. Half of the seeds are kept well chilled in the fridge for a few weeks and the others are placed in lukewarm water for 24 hours without stratification and then placed in the soil. I'm curious to see what works better now. As with so many things, opinions differ.
Popular Articles
Overwintering Parsley: How to Do It Successfully
How to Grow Lettuce in Winter: Varieties, Sowing, Harvesting

Growing Sage Plant: Tips for Sowing and Harvesting
What Herbs Can Be Planted Together?
Create & Design a Permaculture Garden
Overwintering Plants: Tubs, Pots and Raised Beds

Pruning, Fertilizing & Propagating Currants: Care Tips
Pruning Raspberries: How to Do It
Vegetable Garden With Greenhouse: How to Use Greenhouse Effect
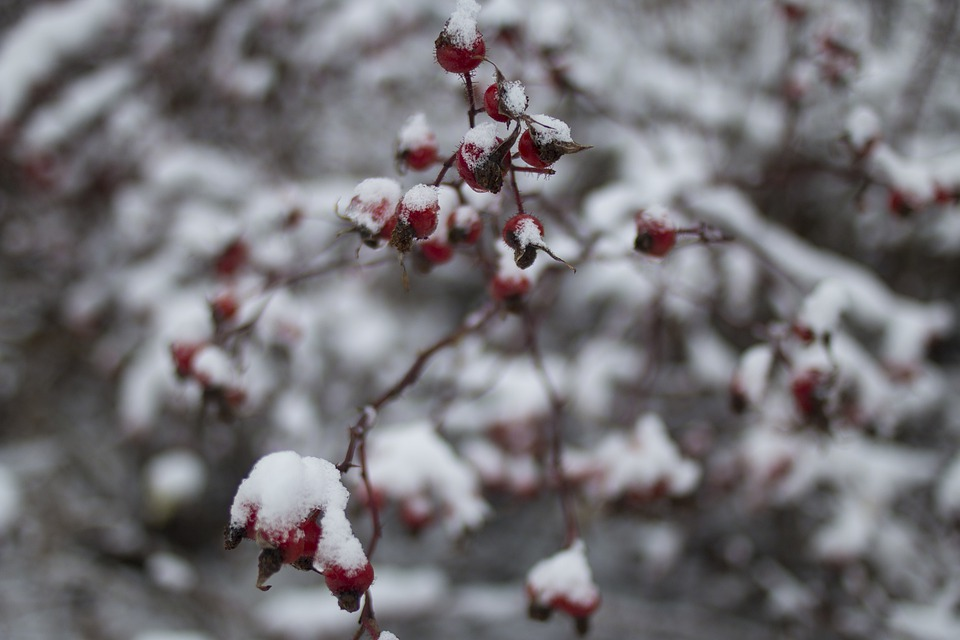
Winterizing Beds and the Garden: How to Do It
FAQ
What are the most important gardening tasks in October?
In October you should prepare beds for winter, sow and harvest certain vegetables, store vegetables, turn the compost, plan the crop rotation for the following year, spread compost and mulch beds or sow green manure.
Which vegetables can still be sown in October?
Vegetables can still be sown in October, including chard, winter cress, postelein, lamb's lettuce, spinach and field beans. Onions and garlic can be planted to harvest early next year.
How do you store fall vegetables properly?
Autumn vegetables such as carrots, beet and pumpkins should be stored in a cool, dry place, depending on the variety. Root vegetables can be wrapped in damp sand and pumpkins can be stored in a cool, dry place.
How do you protect winter vegetables from frost?
Winter vegetables such as leeks, kale and lamb's lettuce can be protected from frost by covering them with fleece. To do this, semi-circular arches can be placed over the beds and the fleece attached to them.