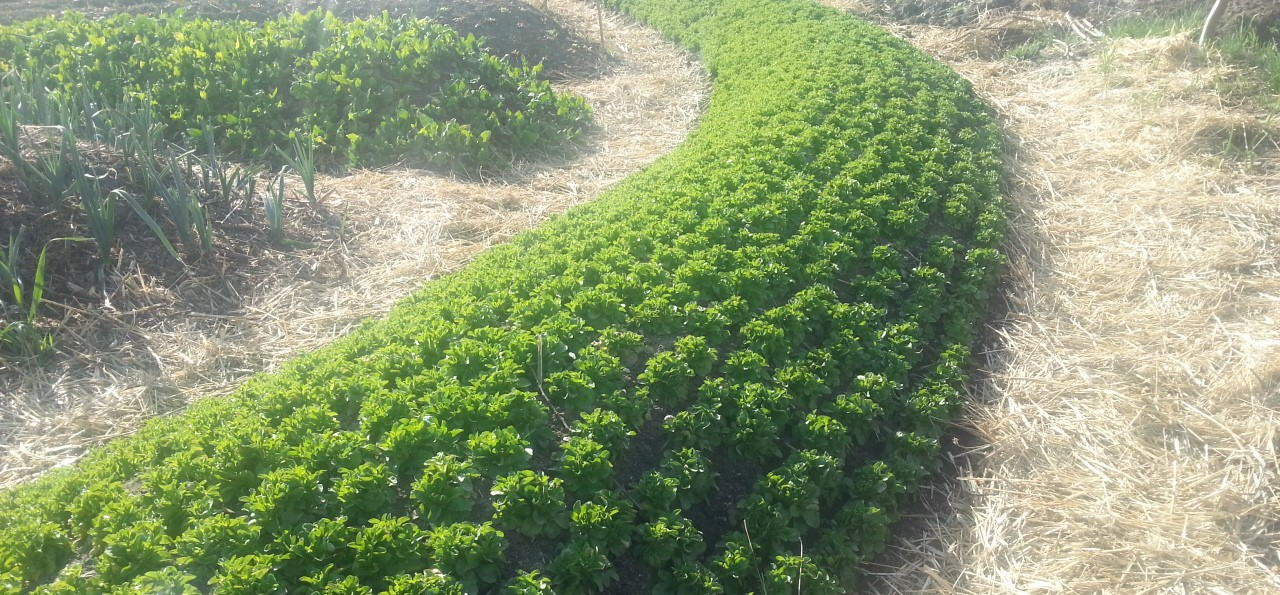
Creating and Planting a Mound Culture: A Guide
Mound beds are not only pleasing to the eye, but also offer a number of advantages for the gardener. Garden waste can be recycled by incorporating it into the inside of the mound. This makes your work a little easier as you don't have to bend down so far. The idea is that the rotting plant material inside the mound creates a soil in which new nutrients are constantly released. The steep angle on the "slope" of the bed also keeps the soil nice and loose. This makes it easier for the roots of your vegetables to grow. In this article, you can find out how to build a raised bed and what you need to bear in mind.
This Article Contains:
- Hugelkultur Principles for the Garden: Advantages
- The Right Location for Your Hugelkultur
- Designing a Hugelkultur: Shape and Size
- Creating a Hugelkultur Mound: A Guide
- Tips for a Successful Harvest
- Planting a Hugelkultur Mound: Tips and Ideas
- Planting Plans for Your Hugelkultur
- Frequently Asked Questions About Hugelkultur Mounds
Quick Overview
Creating a Hugelkultur Mound: How to Do It
- Dig out turf, weeds and soil by 10 - 20 cm/3.9 - 7.9 in or alternatively lay cardboard on top
- Place larger branches/pieces of wood as scaffolding
- Place garden waste such as harvest residues, hedge cuttings, leaves or straw on wood. Place weeds and turf with the roots facing upwards
- Apply compost or manure as the next layer, optionally mix in rock flour and ash
- Top with excavated soil and garden soil if required
- Top layer: mulch
Planting a Hugelkultur: What You Need to Consider
- In the first few years, plant shallow- to medium-rooted heavy feeders such as pumpkins, melons, zucchinis or various cabbages.
- Avoid low-yielding leafy vegetables such as lettuce and spinach or other nitrate-enriching vegetables such as daikon, as a particularly large amount of nutrients are released in the mound bed in the first few years.
Hugelkultur Principles for the Garden: Advantages
HUgelkultur mounds originally came from China. The flatter mounds there provided farmers with rich harvests, making them increasingly popular and eventually spreading to the western world. Some crops such as shallots, cucumbers and potatoes are still grown in mounds or on raised sites today.
The rotting material in the core constantly releases nutrients and thus supplies your bed with nutrients all year round. This means you hardly need to fertilize at all. Hugelkultur beds can be easily integrated into a wide variety of gardens and are compatible with the Permaculture principle. As already mentioned, raised beds offer a number of advantages, not to mention their attractive appearance. The shape allows you to create microclimate zones that meet the various requirements of different vegetables. In addition to increased water storage capacity, the soil warms up more quickly in spring and allows you to grow heat-loving crops even in rather harsh climates. Drainage is also optimal thanks to the loose core. Composting therefore takes place directly in your bed. In addition, as with raised beds, you don't need to worry about the type of topsoil you have. Even if your garden soil is very clayey, this is not a problem, as you are piling up some organic material on top of the soil. Last but not least, the surface area of your bed will be increased, giving you more growing space.
The Right Location for Your Hugelkultur
Almost any location is suitable for raised beds. The soil does not have to be the best, as you are creating "good" soil by building the mound, so to speak. The plant material that gives the bed its shape provides food for many soil organisms. This releases important nutrients that your vegetables need to grow. This creates good soil from the inside out, in which your vegetables will thrive. You also save yourself a lot of composting work, as this process already takes place in the mound itself.
Alignment According to Sky Directions
Many beds are oriented from north to south, as this means that almost the entire hill is optimally exposed to the sun. However, you are free to be creative, as you should always consider the conditions in your garden first.
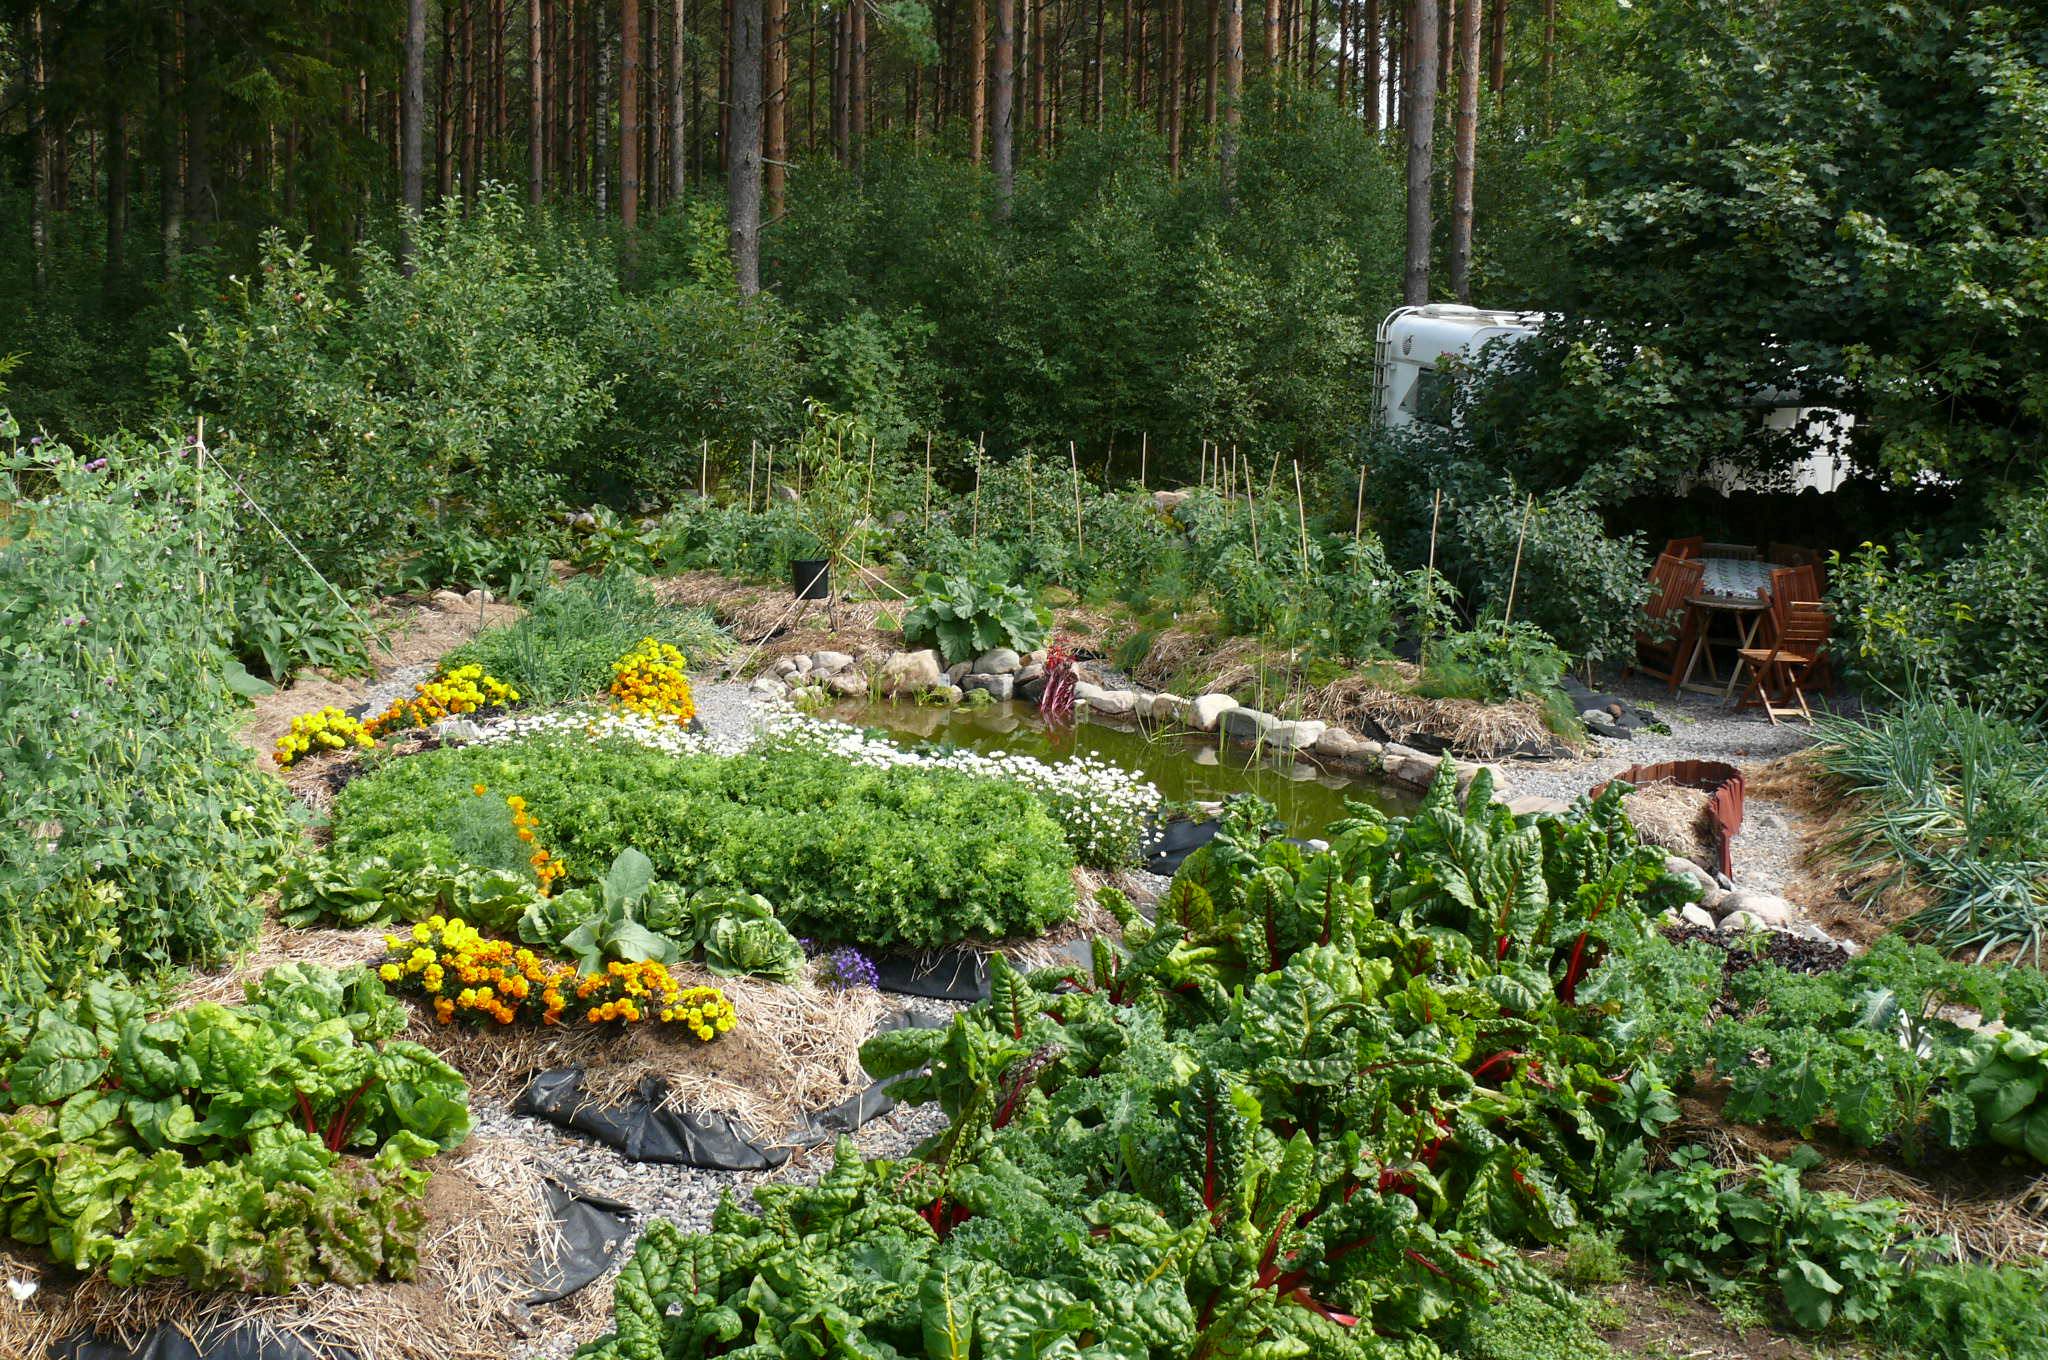
If it is rather cold and windy, your raised bed can be oriented so that one side is protected from the wind. More sensitive crops such as tomatoes, peppers, cucumbers or zucchinis can be planted there. For the side exposed to the wind, you can choose more robust plants such as cabbage or grasses. If the soil is moist, create drier conditions at the back of your bed. You can even create a natural pond between two raised beds, which can be used for watering in summer. In dry locations, you can create a more humid climate between the raised beds, allowing crops that require more water to thrive. In hot regions, raised beds provide the shade that some plants need to thrive.
Designing a Hugelkultur: Shape and Size
It is therefore advisable to first take a close look at your garden before you create a Hugelkultur too hastily. In principle, there is no fixed rule for the shape either. You can create your raised bed in wavy lines, crescents or circles. If you want to create raised beds on slopes, the beds should not run parallel to the slope, as otherwise the water cannot drain away properly. This can lead to waterlogging and, in the worst case, landslides.
How wide or long you make your raised bed is entirely up to you. The higher you want it to be, the wider you need to make it to start with. With a width of 60 cm/23.6 in, you can still easily reach your bed from both sides. The height of the bed should then be at least 30 cm/11.8 in so that the slope of the mound is at least 45°. This slope prevents your raised bed from compacting. Compaction in the soil can lead to poor root growth and reduced oxygen supply. So if you don't want to carry out any major annual repairs, try to maintain the minimum slope.

Exchange Ideas With Other Gardeners
To connect with other gardeners and benefit from their experiences, you can visit our Fryd community. Maybe someone has already built a Hugelkultur and can give you some tips.
Join Our Community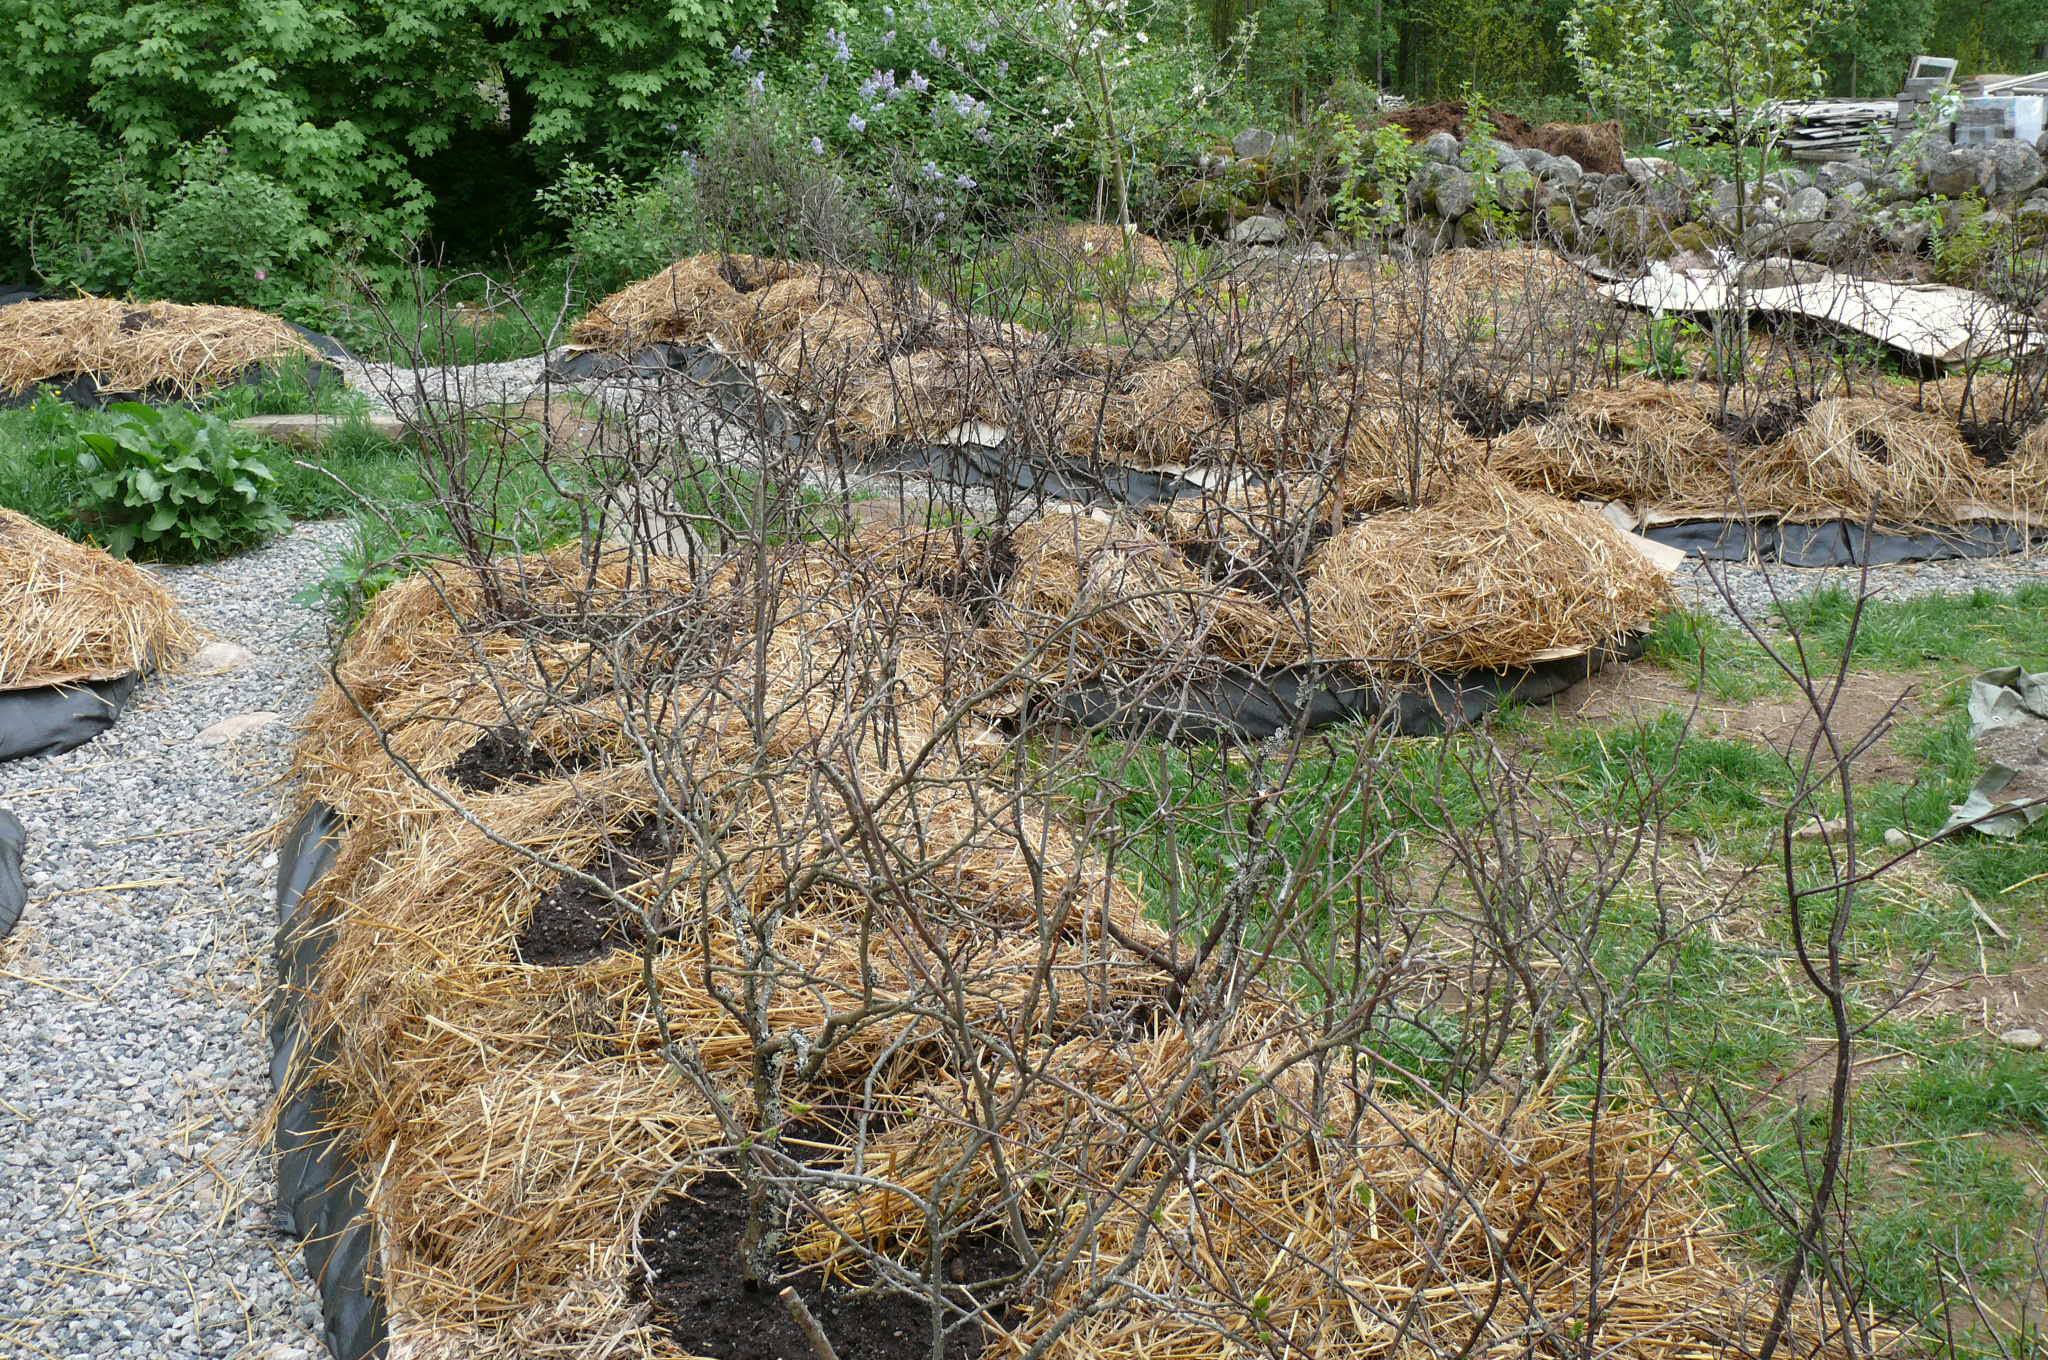
Creating a Hugelkultur Mound: A Guide
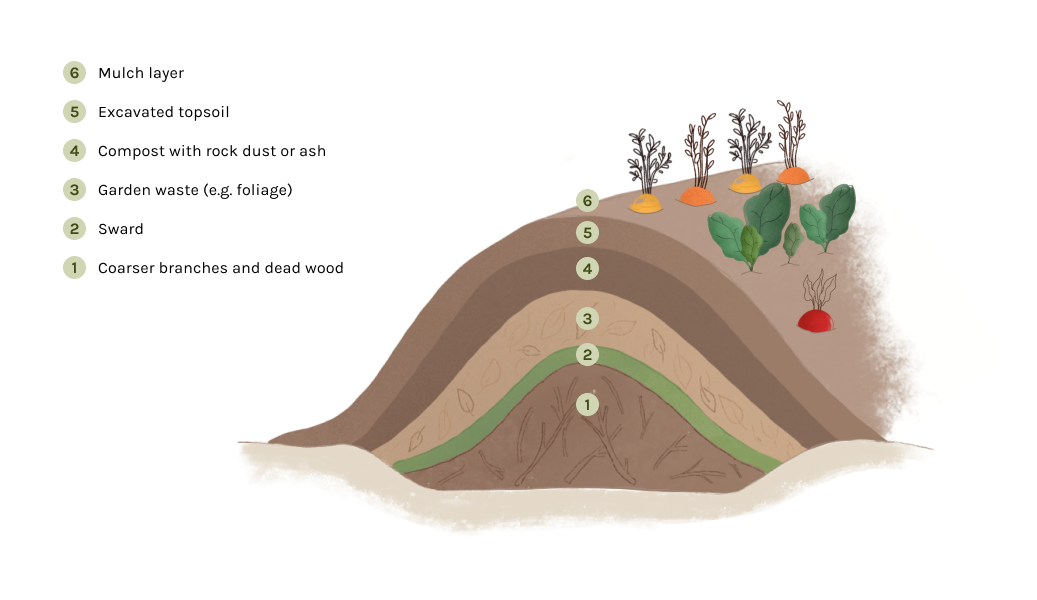
- Remove weeds or the turf, depending on the location. Dig the soil to a depth of 10 - 20 cm/3.9 - 7.9 in. Keep the excavated material or turf, as you will need it again later. Alternatively, you can also dispense with digging and lay cardboard on top of the turf, as with a No Dig Bed, to kill off the existing vegetation.
- Larger branches or pieces of wood form the "framework" for your bed. Make sure you use dead wood, as cuttings can form when the wood is still green and sprout the following year. Shape the wood to the desired shape and height. Of course, you should not build a "scaffold", but layer the pieces of wood on top of each other so that you can build a mound on top. But remember: the larger this layer becomes, the more material you will need in the following layers. The coarse wood decomposes slowly and sustainably, so that nutrients can still be released even after several years. The soil remains loose due to the changing soil moisture, which causes the material to constantly expand and contract.
- As a second layer, add garden waste such as crop residues, hedge cuttings, leaves or straw . You can also use turf or weeds turned upside down (so that the roots are pointing upwards). It is best to use what is already in your garden or what is left over. Start with the coarser material and apply the finer material last.
- The next layer is compost or manure. You can also mix in rock flour or ash with a rake to accelerate the release of nutrients. These fine structures activate soil microbes, which initiate the first decomposition processes.
- Add your excavated topsoil on top. If this is not sufficient, you can also use purchased garden soil. Make sure that this planting layer is thick enough if you want to start planting straight away. It should be about 15 - 25 cm/5.9 - 9.8 in high.
- Finally, you can optionally apply a layer of mulch. This will prevent unwanted weeds from spreading on your mound culture. It also reduces moisture loss. You can also surround your bed with stones. This not only looks attractive, but also keeps out weeds.
How to Build Your Hugelkultur Mound:
Tips for a Successful Harvest
- Rotting material such as wood or leaves normally lie on the floor as a litter layer. The microorganisms need sufficient oxygen to decompose the litter. This is why you should take care not to press the layers of litter too firmly onto your wooden frame at the heart of the mound. This allows enough oxygen to reach the inside of the bed and the wood can decompose slowly. Otherwise, rotting can occur under oxygen-deficient conditions.
- Especially in hot, dry summers, the mound can dry out quickly. Although the moisture can drain away easily, it is difficult for it to rise again from the original soil. In the first few years, you should therefore water sufficiently and apply a layer of mulch to prevent evaporation.
- Mice and voles feel particularly at home in raised beds. So if you are already struggling with these little pests, a raised bed is rather unfavorable. However, rodents can be repelled by repellent plants such as emperor's crown, spurge or garlic. Jerusalem artichokes can be used as an attractant to keep voles away from other crops.
- A raised bed can live for between 5 and 10 years, depending on how much organic material can decompose inside. After this time, it will have turned into humus, which can be reused for the upper layers of new raised beds. As the raised bed ages, you can always add compost from above.
Planting a Hugelkultur Mound: Tips and Ideas
You've done it: your raised bed is ready to be planted. Especially at the beginning, a lot of nitrate can be released through the rotting process. You should therefore avoid growing nitrate-enriching plants such as spinach, radishes, daikon or lettuce in the first two years. Especially with lettuce and spinach, nitrate levels in the leaves can be harmful to health. From the 3rd year onwards, it is safe to grow light feeders.
For a freshly planted raised bed, start with heavy feeders such as pumpkins, melons, zucchinis or cabbage. These utilize the excess nitrogen and grow excellently. However, you should make sure that your soil is not too deep at the beginning. You should therefore only grow shallow and medium-deep-rooted plants in the first year. Plants with deep roots, such as beans or tomatoes, usually do not have enough space in the soil in a raised bed. It is also advisable to underplant the raised bed with low-growing plants such as strawberries or herbs to protect the soil from erosion and retain moisture.
Planting Plans for Your Hugelkultur
You should also plant a raised bed with mixed crops to promote healthy plant growth and maintain soil fertility. Here are some examples and inspiration for your mixed crops in a raised bed.
We wish you every success in creating your own raised bed and a rich harvest. If you have any questions or suggestions about raised beds, please write to us at [email protected]. Follow us on Instagram or Facebook to never miss another article. You can also subscribe directly to our newsletter.
Want to get helpful gardening tips all year round and plan your own beds in the best possible way? Then register here or download the Fryd app for Android or iOS.
Fryd - Your digital bed planner

Isabell
Isabell studies agricultural sciences and loves to be surprised by nature and its complexity again and again. Herbs - whether gathered wild or in the garden - are her passion.
Learn MoreCurrent Topics in the Community


Liked 3 times
The professional pruning of the first 100-150 chestnut trees has been completed 💪
Show 1 answerLiked 3 times
Love at first sight! Mr. Blackbird is munching on the ornamental apples on the terrace! I am sooooo happy to have gotten them from a private seller. They bring me so much joy visually, and they're useful too 🫶
Show 1 answer
Liked 3 times
It's a bit slippery here today.
Show 5 answersPopular Articles

Overwintering Parsley: How to Do It Successfully
How to Grow Lettuce in Winter: Varieties, Sowing, Harvesting

Growing Sage Plant: Tips for Sowing and Harvesting

What Herbs Can Be Planted Together?
Create & Design a Permaculture Garden

Overwintering Plants: Tubs, Pots and Raised Beds

Pruning, Fertilizing & Propagating Currants: Care Tips

Pruning Raspberries: How to Do It

Vegetable Garden With Greenhouse: How to Use Greenhouse Effect

Winterizing Beds and the Garden: How to Do It
FAQ
Where is the best location for a Hugelkultur bed?
You can generally create your raised bed at any location in the garden, as you are layering up new material. This means you can create a bed even on sites with moderate soil quality.
How do you create a Hugelkultur?
In a Hugelkultur mound, you layer different organic materials on top of each other. At the bottom is dead wood, then the turf, garden waste such as leaves, then compost and finally the excavated topsoil or other soil on top. The whole thing is rounded off with a layer of mulch.
Which plants can be planted in the Hugelkultur?
As the bed is very rich in nutrients, especially at the beginning, you should plant heavy feeders such as zucchinis, pumpkins or cabbage. As the soil is not yet deep, it is best to choose plants with shallow or medium-deep roots.
What helps against voles in the Hugelkultur mound?
The small rodents feel quite at home in raised beds. If you are struggling with them, a decoction of garlic will help. The imperial crown and spurge should also keep them out of the bed. Jerusalem artichokes, on the other hand, attract mice and voles.