
Sowing Pumpkin: Propagating and Direct Sowing
Pumpkins (Cucurbita) are plants that need warmth. In our latitudes, they are given a head start in growth and grown on the windowsill. This allows you to plant out strong young plants directly and benefit from their growth advantage with a rich harvest. However, direct sowing is possible depending on the region. In this article, you will learn how to pre-grow pumpkins or sow them directly. There are also instructions for planting out pumpkins.
This Article Contains:
Quick Overview
Pumpkin Cultivation (From Mid-April)
- Sow one seed per seed pot with the tip facing downwards
- Sowing depth: 2-3 cm/0.8 to 1.2 in deep
- Germination temperatures: 20 to 24 °C/68 and 75.2 °F; after germination: 16 to 20 °C/60.8 and 68 °F
- Germination time: one week
Planting Out the Pumpkin Plant
- After the last frosts
- Plant deeper into the soil than before for more stability
- Planting distance: 0.5 - 1.5 m/1.6 - 2.2 yd
Direct Sowing (After the Last Frosts)
- the soil temperature must be at least 10 to 15 °C/50 to 59 °F
- a snail fence or cold frame protects the seedlings from voracious visitors
Sowing Pumpkin Seeds: What You Need
- Organically produced pumpkin seeds of seed-resistant varieties
- Growing pots
- Alternative for potless cultivation: Soil Baler
- Potting Soil for seed starting
Our Tip: Find the Right Pumpkin Variety for You
As there are an incredible number of different pumpkin varieties, you can find an Overview of the Most Popular Edible Pumpkin Varieties here.

Propagate Pumpkin on the Windowsill: Sowing Pumpkin Seeds
When Are Pumpkins Sown?
So that you can plant out strong young plants in mid-May, you should start pre-cultivation about 2 to 4 weeks before the last frosts (mid/end of April), depending on the variety and environmental conditions.
Planting Pumpkin Seeds Correctly: How to Grow Them
From the middle/end of April, place one seed at a time , point downwards, about 2 to 3 cm/0.8 to 1.2 in deep in a small pot of potting compost. Pumpkin seeds are sown individually and not pricked out, as the roots of the pumpkin plant are fragile and do not tolerate pricking out well. It is therefore better to give each seed its own pot. At temperatures between 20 and 24 °C/68 and 75.2 °F, the seeds usually germinate within a week. A glass or foil over the pot can help to achieve the germination temperatures. After germination, cooler temperatures between 16 and 20 °C/60.8 and 68 °F are sufficient for the seedlings.


Don’t Waste Precious Space in Your Vegetable Garden!
With our bed planner, it’s easy to design a beautiful and productive companion planting layout. You’ll see which plants grow well together — and which don’t — along with tips for crop rotation and succession planting!
Plan Your Bed NowPlanting Out Pumpkin Seedlings
Pumpkin plants need to be hardened off before planting out in order to acclimatize to the environmental conditions and the weather. You should also prepare your pumpkin bed, as pumpkins are heavy feeders and therefore have high nutrient requirements. You can find out How to Harden off Your Pumpkin Seedlings and Prepare Your Pumpkin Patch in this article.
Planting Pumpkin Plants Outdoors: How to Do It
Now you can plant your pumpkin seedlings outdoors. Place the plants deeper in the soil than before. The plant will then develop additional roots, which will give it more stability. This is important because pumpkin plants have very fragile roots. Now water the plant well and apply a layer of mulch. As pumpkins grow very vigorously, you should allow plenty of space for the giants: there should be around 1.5 - 2 m/1,6 - 2,2 m between the rows and between 0.5 - 1.6 m/0.5 - 1.7 m in the row. One pumpkin covers about two square meters of bed area.
To ensure that your pumpkins thrive, it is important to look after your pumpkin plants. You can find out How to Care for Pumpkin in this article.

Sowing Pumpkin Directly
Depending on the location, sowing outdoors can be started after the last night frosts. In our latitudes, this is possible after the ice saints (mid-May). Pumpkin seeds only germinate from a soil temperature of at least 10 to 15 °C/50 to 59 °F. The seedlings and young plants are at the top of the snails' menu and will be happy to have a snail fence or cold frame until they are strong enough to withstand the molluscs. You can read more about Preplanting or Direct Sowing in this article.
We wish you every success with your pumpkin sowing! If you have any questions or comments, please write to us at [email protected].
Want to get helpful gardening tips all year round and plan your own beds in the best possible way? Then register here or download the Fryd app for Android or iOS.
Fryd - Your digital bed planner
Cover picture by AllNikArt on Pixabay.

Marie
Marie is an agronomist. She is particularly interested in the sustainable and organic cultivation of vegetables and other plants. In her own garden, she gained experience and likes to try things out to learn from nature. She is particularly interested in the values and principles of permaculture, in order to contribute not only to the well-being of nature, but also to the well-being of people and future generations.
Learn MoreCurrent Topics in the Community
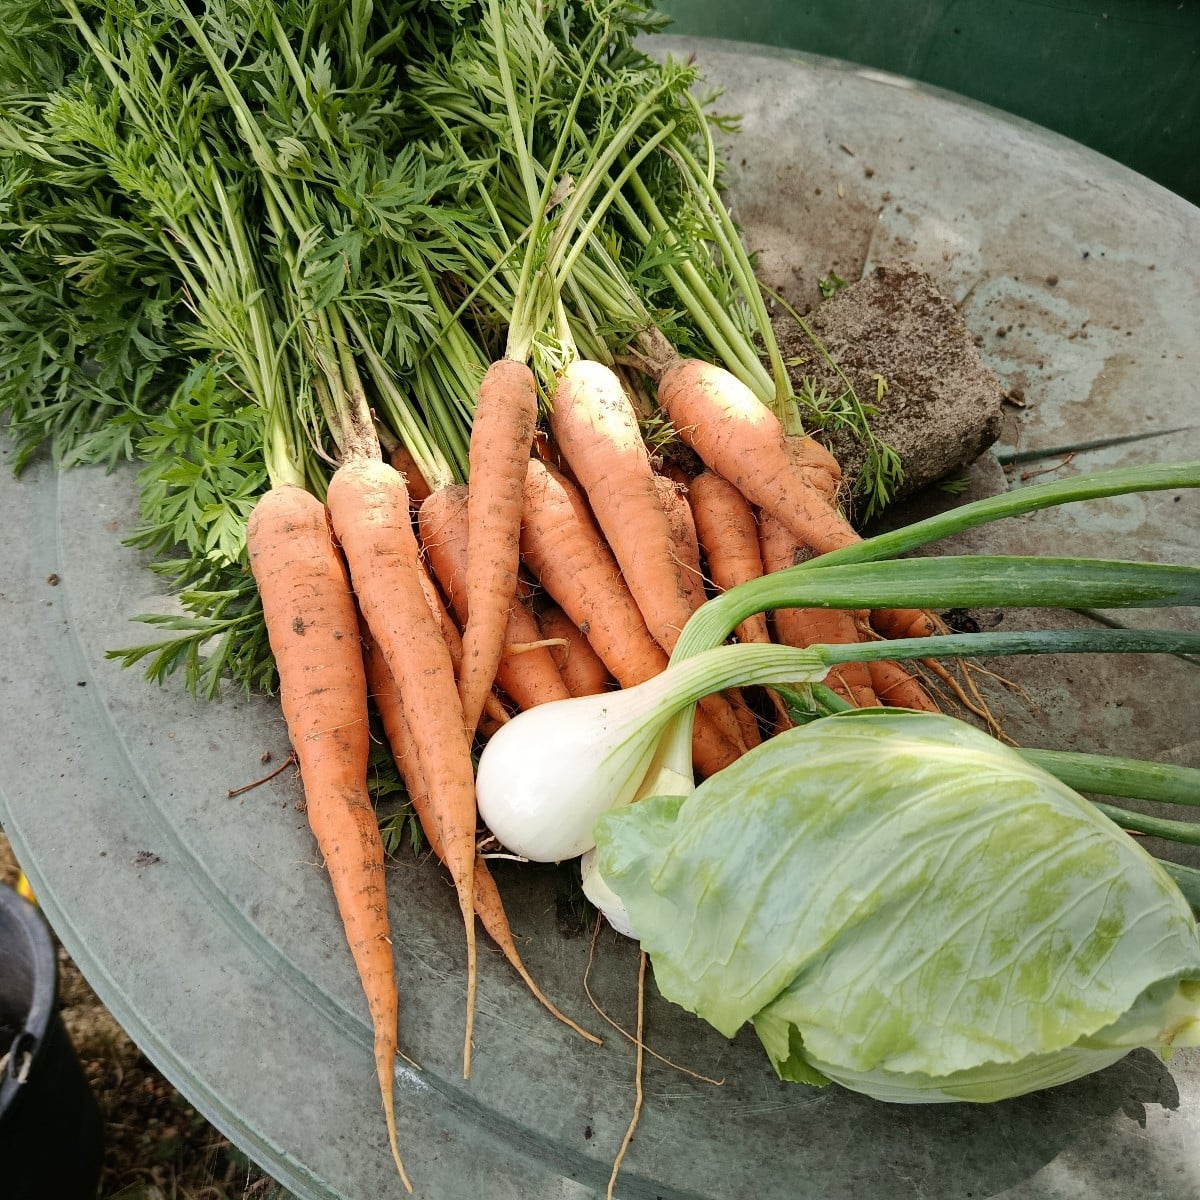
Today I harvested my first batch of carrots, along with a clumped onion and a small pointed cabbage. I finally planted my flower sprouts, kale, and Brussels sprouts today. The plants were already a little overdue. I secured everything with netting. The cucumbers are blooming, but they’re getting a bit of powdery mildew at the base. I always cut that off. My onions are growing huge this year. And I harvested some mahonia berries. Does anyone have a good recipe?
Liked 4 times
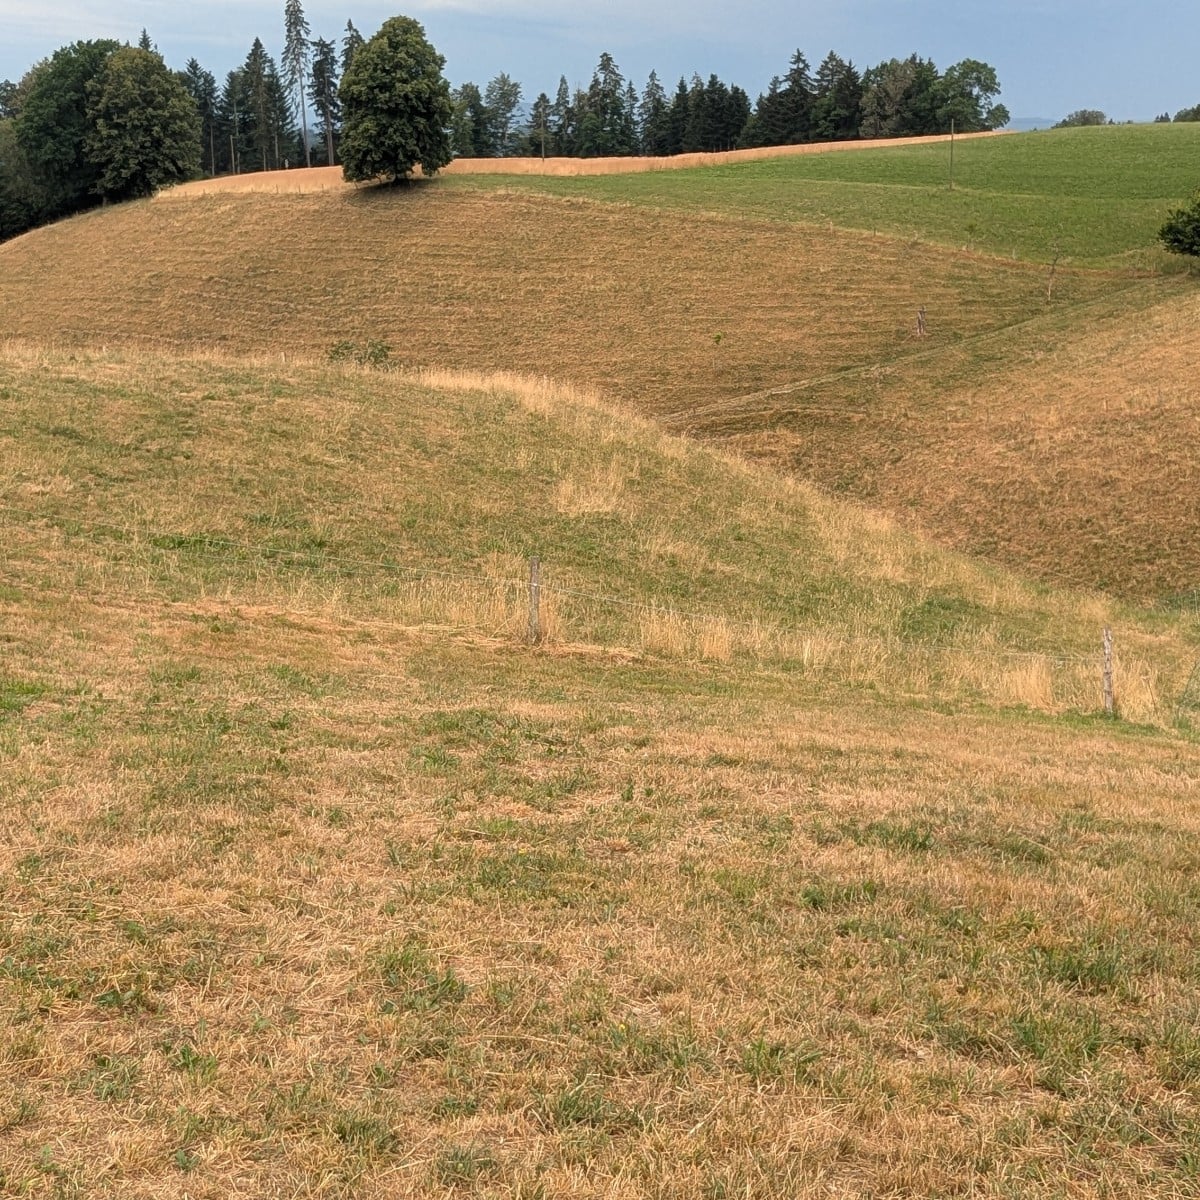
The #Emmental is actually a landscape like Tolkien's Shire. Right now, it's more like a semi-desert...
Show 1 answer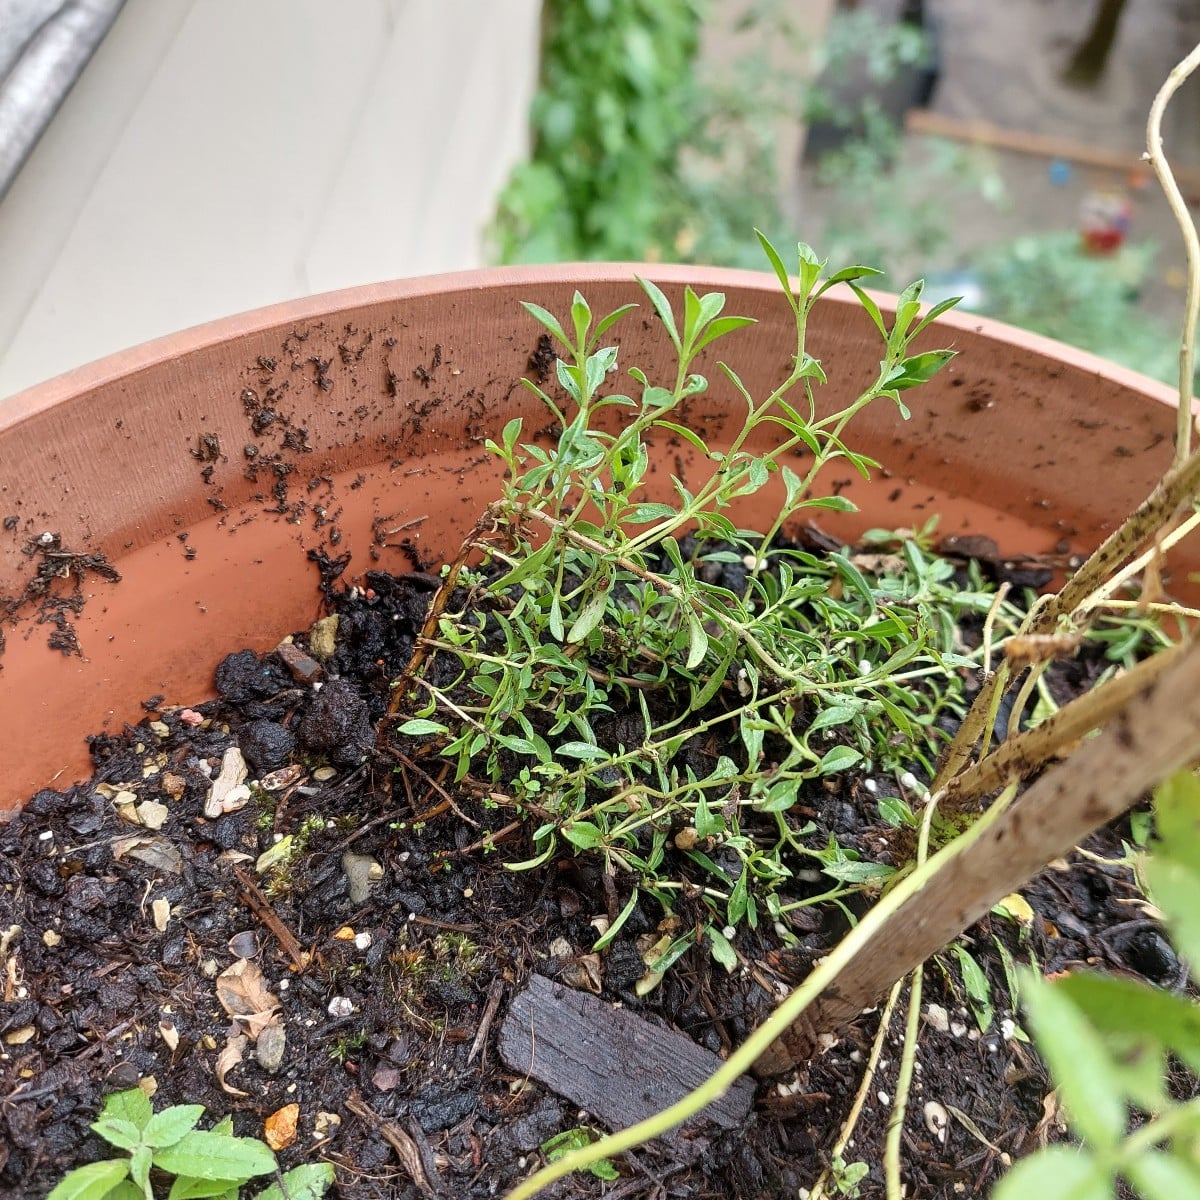
What can I do to keep the rain and the water from the upper balcony from always washing away half the soil from my planters?
Show 3 answersPopular Articles

Gardening in March: Preparation & Cultivation

Propagating Peppers/Chillies: How to Grow Them Successfully

Cultivation or Direct Sowing: When and Which Vegetables to Propagate?

Sowing and Propagating Tomatoes: This Is How It Works

Raised Beds: Your Planting Plan for a Year

Plant Lights for Growing and Overwintering Plants

Growing Cucumbers Seedlings in Pots: Tips for Propagation

Pricking Out Vegetable Plants: Tips and Instructions

Growing & Harvesting Rocket: Good & Bad Companion Plants

How to Grow Broccoli: Tips for Cultivation
FAQ
When to plant pumpkin seeds?
Pumpkins should be grown about 2 to 4 weeks before the last frosts, i.e. around mid to late April.
How to plant pumpkin seeds correctly?
Pumpkin seeds should be placed in potting compost about 2 to 3 cm/0,8 to 1,2 in deep with the tip pointing downwards. They germinate at temperatures between 20 and 24 °C/68 and 75,2 °F.
How do you go about planting out pumpkin seedlings?
Pumpkin seedlings should be planted outdoors after the last frosts, deeper than before in the growing medium to ensure stability.
Is it possible to direct sow pumpkins?
Yes, direct sowing is possible after the last frosts if the soil temperature is at least 10 to 15 °C/50 to 59 °F.