
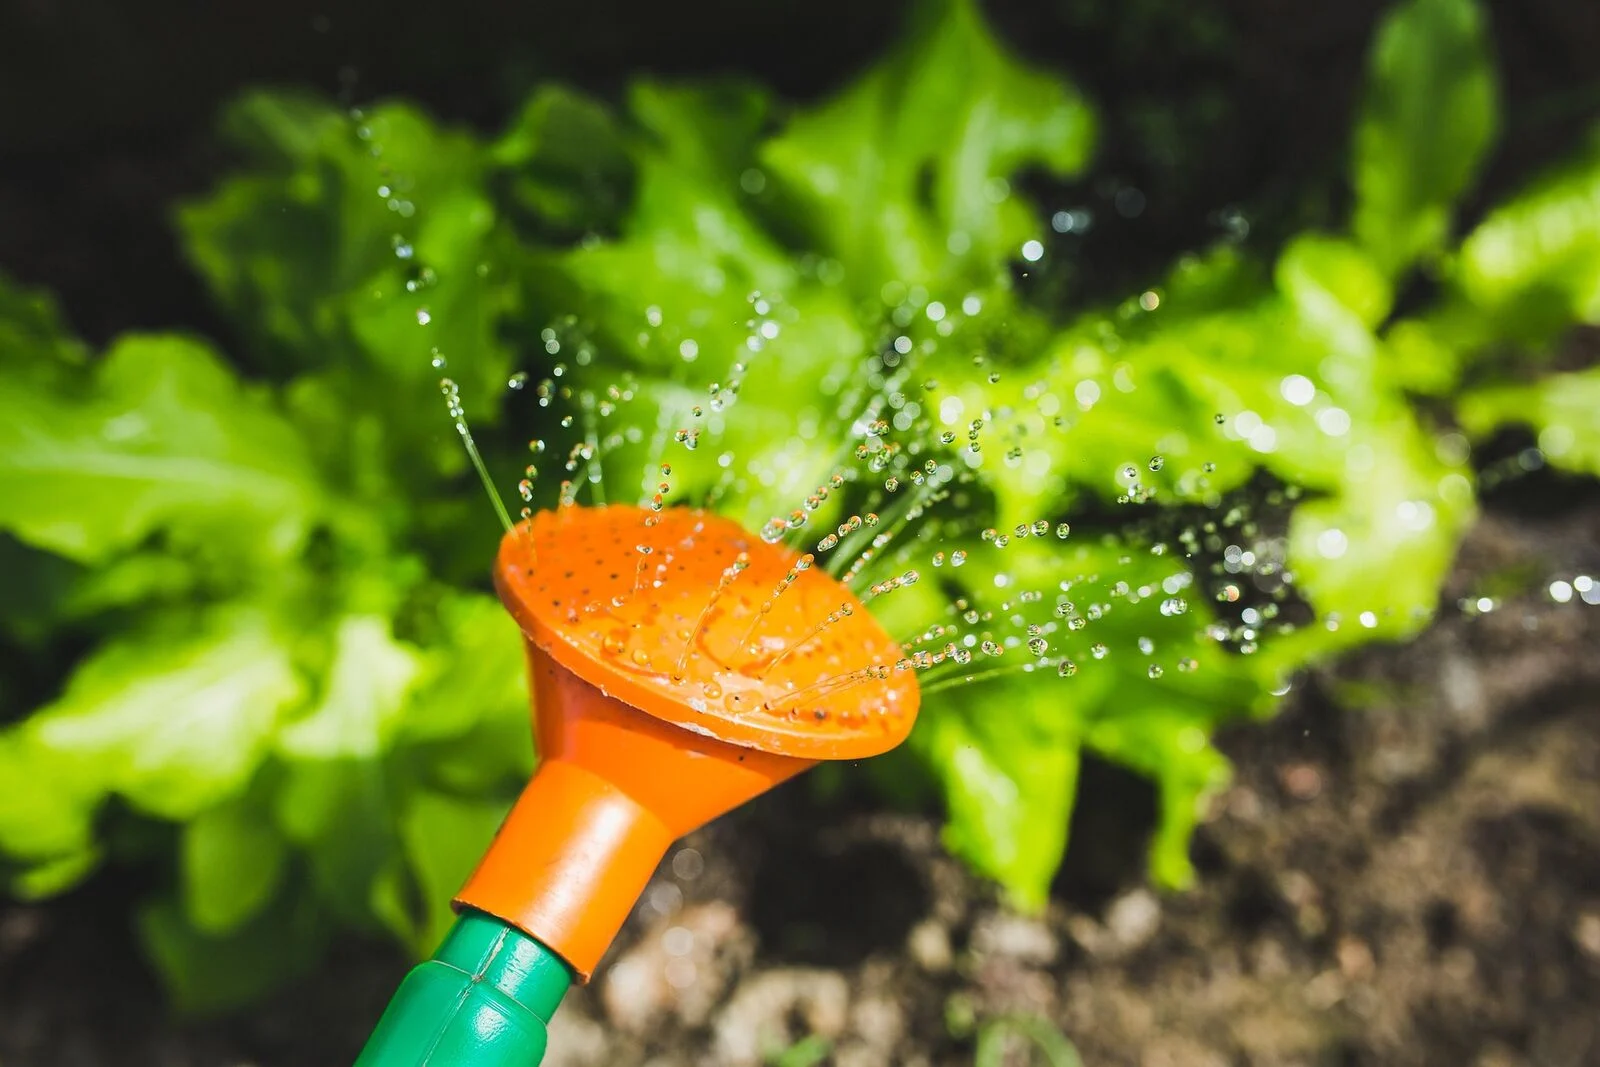
Build Your Own Ollas: Watering System for Raised Beds
Watering plants is a constant issue when gardening. A sufficient water supply is therefore very important. Especially in times of climate change, effective watering and saving water is becoming increasingly relevant. One simple and natural method is the use of ollas. In this article, you will learn what ollas are and how to make and use them.
This Article Contains:
Quick Overview
Ollas for Irrigation - An Overview
- Ollas are clay pots for the continuous watering of plants.
- To make them, you need clay pots, clay glue, water and a cover for the hole in the pot.
- Regularly checking and refilling the ollas is important to ensure sufficient watering.
DIY ollas - Instructions
1. Seal the hole in the lower clay pot.
2. Stick and glue the pots together with clay glue or similar.
3. Let the glue dry overnight.
4. Dig your olla into the soil so that at least 3 - 5 cm/1.2 - 2 in is still sticking out.
5. Fill it up with water and cover the top hole with a saucer.
Ollas: A Smart Watering System
Ollas originally come from the Mediterranean region. They are clay pots that are used as an irrigation system in the soil. Due to the porous structure of the clay, water is continuously released to the plants via the soil. As the clay pots are buried, evaporation is kept to a minimum. To do this, the ollas are buried in the raised bed so that only the top edge protrudes from the soil. The pots are then filled with water and covered.
As plants in raised beds are more exposed due to higher temperatures and drainage and dry out more quickly than plants in the ground, they often need more water there than when planted in the ground. Ollas are a simple and effective solution for using less water. You can find even more information on saving water in our article on Watering Plants Properly.

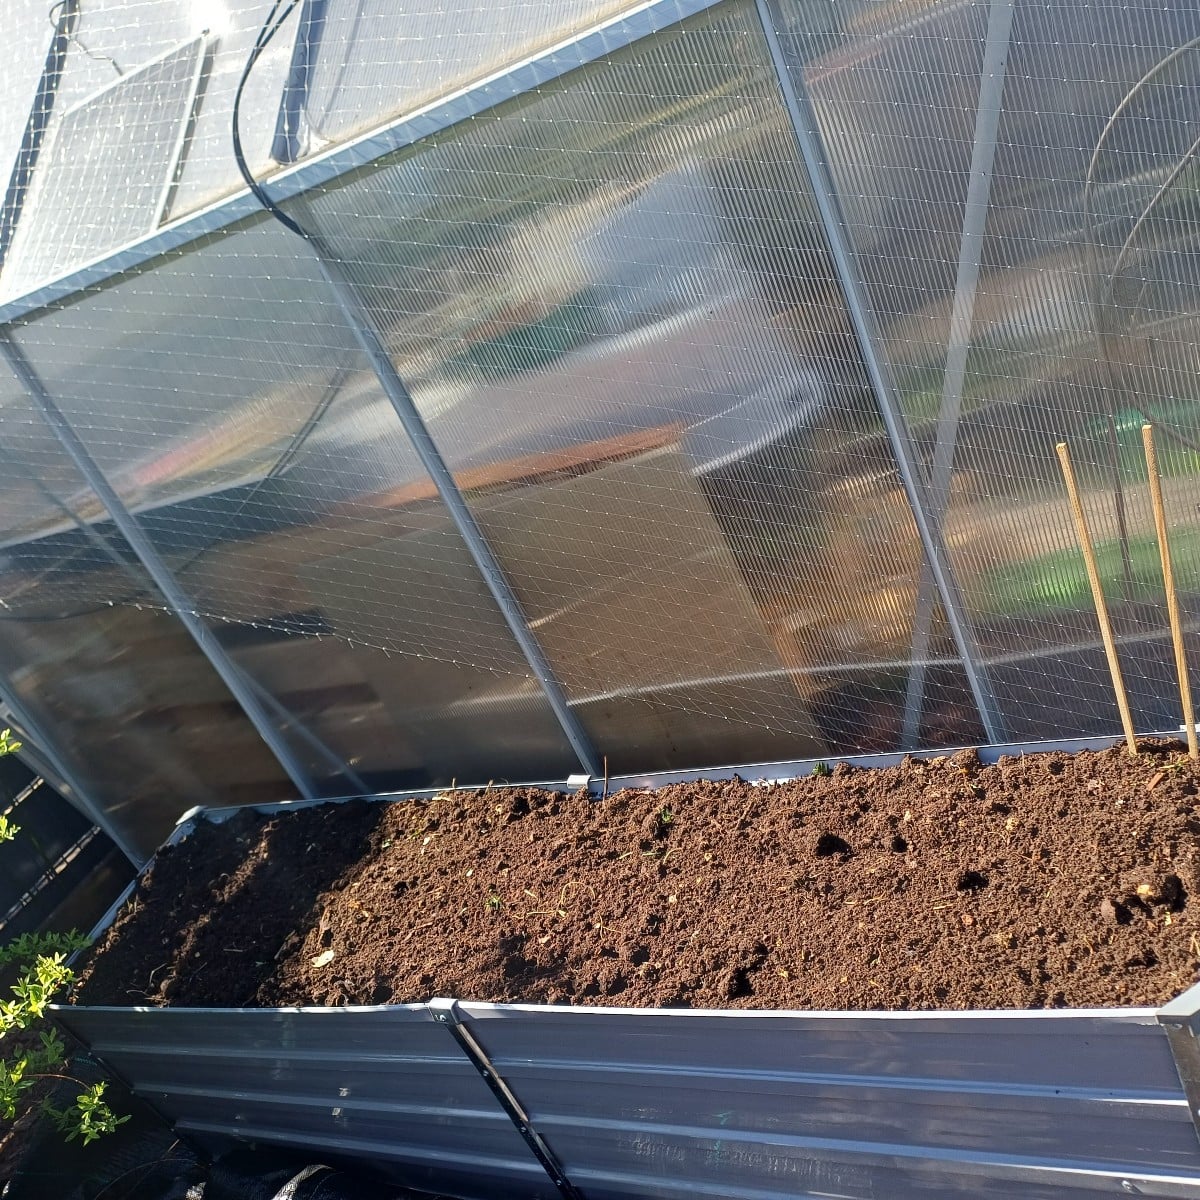
Greenhouse Irrigation With Ollas
Ollas can also help water your plants in a greenhouse. The slow release of water maintains a constant level of humidity, which is important for your plants. In this way, you can prevent drought damage caused by too little water, but also root damage caused by too much water. Good watering is particularly important for tomatoes, pumpkins, zucchinis, cucumbers and melons, for example, as these vegetables usually need a lot of water.
To do this, bury one or more clay pots in your greenhouse, depending on the area. You should plan for approximately one olla per m2/1.2 yd2 of bed area. However, the exact amount depends on the number and needs of your plants. Check their water level regularly and top them up with water as required.

Ever Feel Lost in the Garden? Connect With Others!
In the Fryd community, you’ll find friendly and helpful gardeners ready to share ideas, give advice, and celebrate wins (and failures) together. Gardening is just more fun when you’re not doing it alone.
Join the Community NowWatering System for the Balcony
Ollas are great for watering on the balcony. They offer a natural watering solution that is easy to use. You can make them in different sizes and shapes so that they can be adapted to the space available on the balcony.
Vacation Watering System From Clay Pots
When you go on vacation in summer, it is always a challenge to provide your plants with enough water. Ollas can be a great solution here to keep your plants sufficiently watered while you are away. The water is slowly released from the pot and waters your plants while you are away. However, you will still need to top up from time to time. Someone should check your Ollas once or twice a week to top up the water if necessary. How quickly your Ollas need to be topped up depends on conditions such as soil, rain, wind, sunlight and the water requirements of your plants.
DIY: Olla as a Pot Irrigation
If you want to make your own ollas, it's not difficult. Below you will find instructions on how to make these water dispensers yourself.
Make Your Own Ollas - That’s What You Need:
- Clay pots (unglazed and with a diameter of 10 - 30 cm/3.9 - 11.8 in)
- Clay adhesive (tile adhesive or wax may also be suitable)
- water
- A cover, e.g. a clay saucer or similar
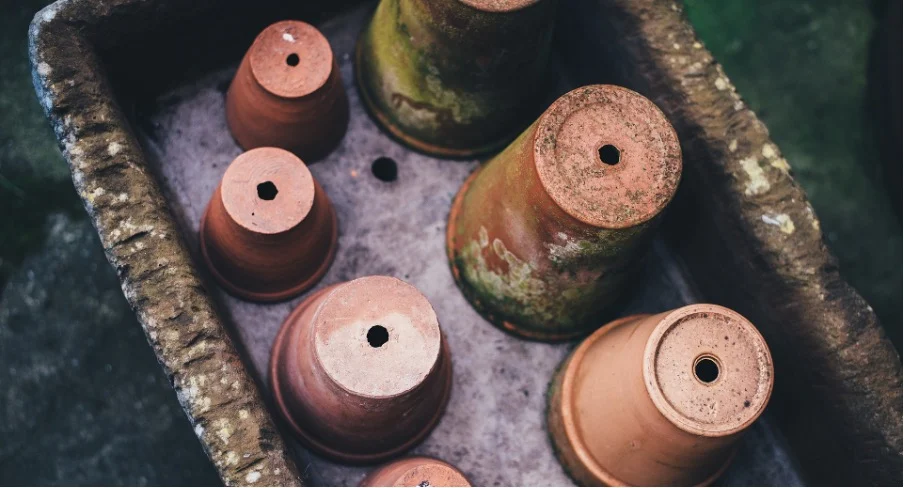
Glue Clay Pots Together
Two clay pots are glued together to make an olla. The clay pots can be the same size, or you can use a slightly smaller one for the top one. This makes gluing them together a little easier. It is best to use clay glue or clay paste for this. However, you should first seal the hole in the lower of the two pots with a cork, stone or some mortar or silicone. You can also place a shard of clay on the opening with a little clay glue to seal it. Then apply a generous amount of glue to the edge of the pot. Place the second pot on the glued surface and press down firmly. No more water should be able to leak out between the two pots. Make as many ollas as you need for your bed area. You should allow for one to two ollas per m2/1.2 yd2. A bed in the sun needs a little more water than beds in the shade or partial shade. After you have glued the pots together, you should leave them to dry for a day before planting them in the ground.

Build Your Own Wartering System - Here’s How
Once your clay pots have been made, you can place your ollas in your beds or raised beds with the closed end facing downwards. The pots should still protrude a few centimeters from the ground (approx. 3 - 5 cm/1.2 - 2 in). A place in the middle is ideal for smaller raised beds. For larger beds, it is best to place the ollas near plants that need water. A circular arrangement of your plants around the ollas is ideal. Next, fill the ollas with water and close the top opening with a cover. This prevents water from evaporating or small animals and dirt from falling into the clay pots. The water is now slowly released from the pot to your plants. Check the water level in your Ollas regularly and top up with water if necessary.

Ollas Simply Homemade
You can also simply make an olla from a single clay pot. To do this, you also close the hole in the bottom of the pot, place it in the soil, fill it and cover it. This makes it easier to make and fill, but it also has a smaller volume.
Tip for DIY enthusiasts with the opportunity to make pottery: you can even make ollas yourself if you feel like it and have the opportunity. This saves you having to glue them together.
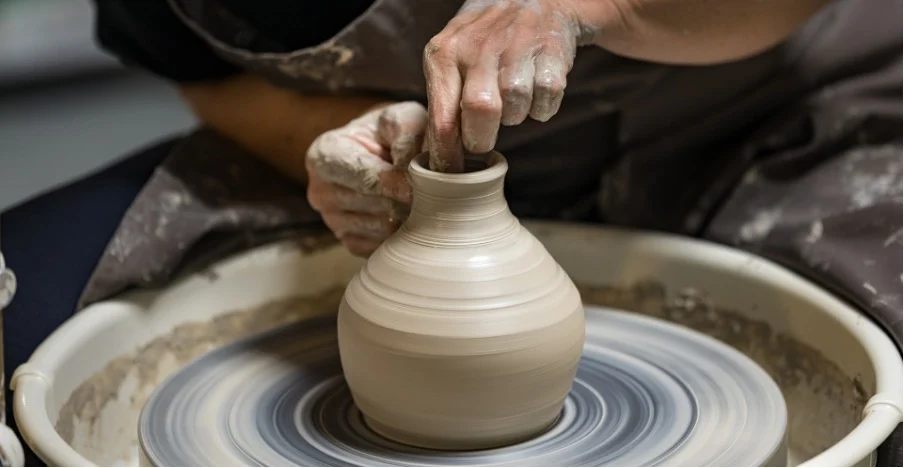
Image by Marcel on Pixabay.
Ollas as a Watering Aid: Tips for Correct Use
When using Ollas as a watering aid, there are a few things to consider to ensure that your plants are sufficiently watered:
- Top up with water regularly to prevent drying out.
- Do not place Ollas too close to plants, this can impair root growth if the roots cannot spread properly.
- Best used in combination with other watering methods. Especially with freshly sown and young plants, you should use a watering can to help, as the roots of your plants are not yet well developed.
- At the beginning, you should water the soil in your bed or raised bed well. As the soil dries out, water will be released from the clay pot until the moisture level is back to the same level as before.
- Important: In winter, you should dig out your ollas again to prevent them from bursting in the event of frost.
Our tip for saving extra water: Mulch your beds with grass cuttings or wood chips. This will keep the moisture in the soil for longer and save even more water.
Advantages and Disadvantages of Ollas
| Advantages | Disadvantages |
|---|---|
| reduced water loss. Up to 70 % water is saved. | need to be checked regularly for holes and water level. |
| reduced labour input as no daily watering. | large areas may not be sufficiently watered. |
| deeper root formation due to deep watering. | planting too densely can impair root growth. |
| even watering due to slow release of water. | must be dug up in winter, otherwise they may burst. |
| less weeding: Dry surface keeps weeds from germinating. | young plants or seeds should also be watered from above. |
| fewer fungal diseases and pests due to dry surface. | |
| adaptability due to variability in the size of the clay pots. | |
| lower costs: Inexpensive alternative to a drip hose system. |
If you have any questions or comments, please write to us at [email protected]. Would you like to receive helpful gardening tips all year round and plan your own beds optimally? Then register here or download the Fryd app for Android or iOS.
Fryd - your digital bed planner
Cover picture by congerdesign on Pixabay.

Marielena
Marielena studies agricultural and environmental sciences. She gardens at home and at an allotment and likes to try out new things.
Learn MoreCurrent Topics in the Community
Liked 3 times
Spring!
Liked 8 times
I've prepared and planted the new raised bed; I hope it will be a good harvest year. The mud kitchen is also set up and already in use.
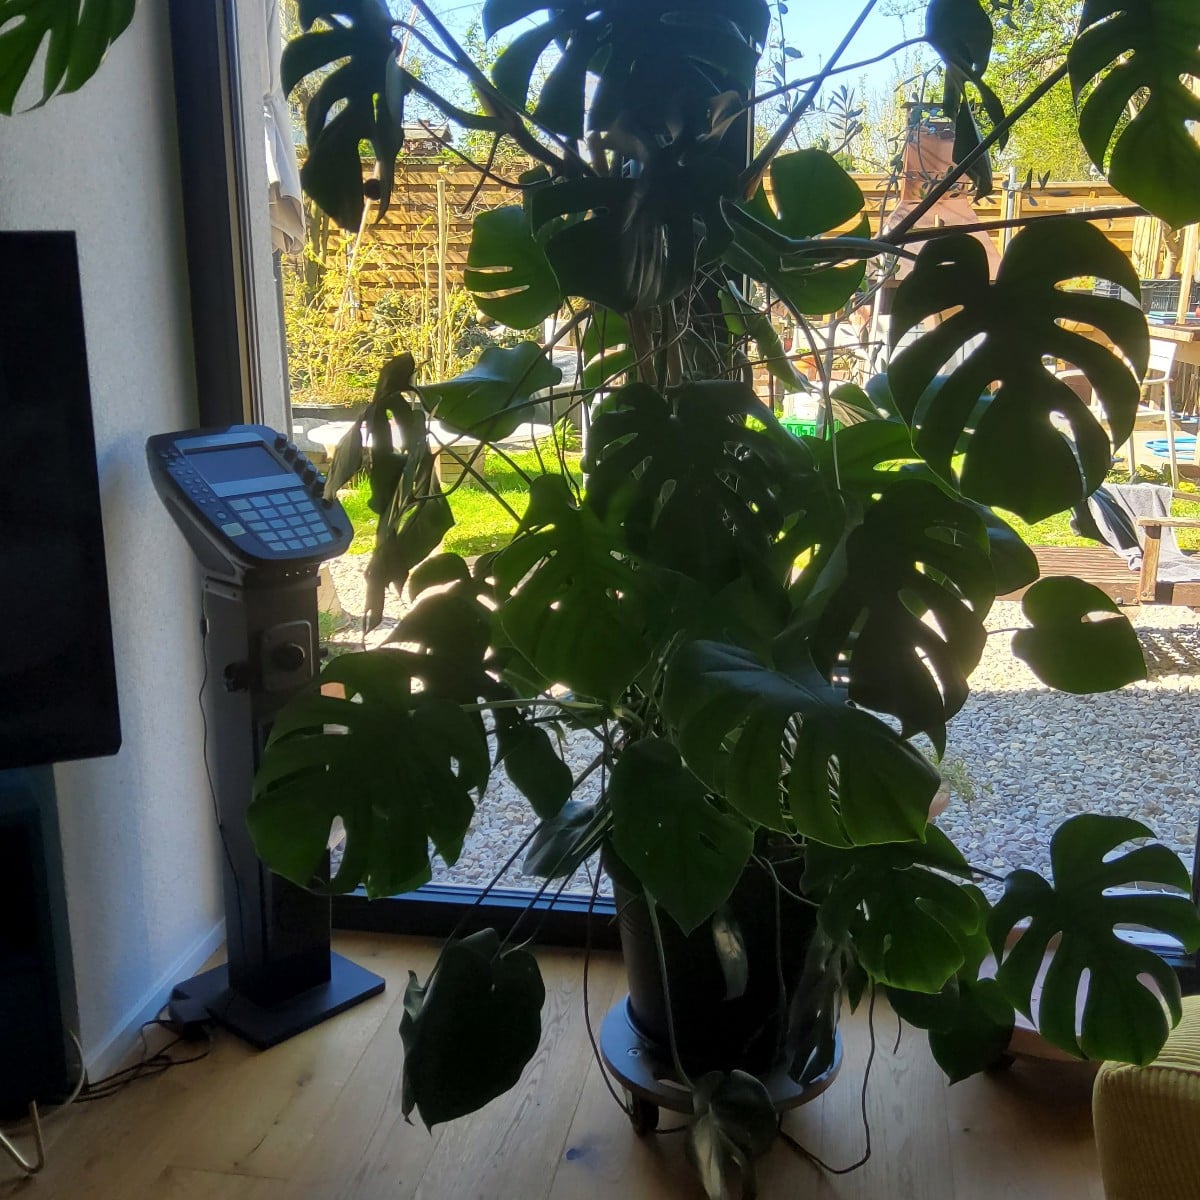
...At the risk of the app cropping the photo all over the place again, here’s a picture of our #monstera... It’s now 180 cm tall, and I’d like to know if I should or can prune it somehow so it doesn’t grow over our heads 🤔
Popular Articles

Gardening in March: Preparation & Cultivation

Propagating Peppers/Chillies: How to Grow Them Successfully

Cultivation or Direct Sowing: When and Which Vegetables to Propagate?

Sowing and Propagating Tomatoes: This Is How It Works

Raised Beds: Your Planting Plan for a Year

Plant Lights for Growing and Overwintering Plants

Growing Cucumbers Seedlings in Pots: Tips for Propagation

Pricking Out Vegetable Plants: Tips and Instructions

Growing & Harvesting Rocket: Good & Bad Companion Plants

How to Grow Broccoli: Tips for Cultivation
FAQ
The size of an olla depends on the size of the pot and the plant to be watered. As a rule, clay pots should have a diameter of 10 to 30 cm/3.9 to 11.8 in.
Which clay pots should I use for ollas?
The best clay pots for ollas are unglazed, porous pots that can release water slowly. It is important that the pots are made of a suitable clay material that allows water to pass through easily and can be glued well.
Ollas can last for several years if they are well cared for. The lifespan depends on the quality of the clay material and how well they are cared for.
How many Ollas do you need per square meter?
The number of ollas required depends on the size of the plants and the size of the bed. As a rough guide, you can use about one olla per square meter of bed area.
Which plants are Ollas suitable for?
Ollas are suitable for most plants that can be grown in a garden or on a balcony. They are particularly suitable for vegetable plants that need to be watered regularly, but also for flowers and herbs.