
Peat-Free Soil for Sowing and Cultivation: Tips for the Right Growing Soil
Many gardeners are familiar with the problem of seedlings growing poorly or not at all. Most vegetable plants are particularly sensitive during germination and need to be well supplied with water and light. In addition, the potting soil in which the seedlings grow is a key factor. In this article, we give you tips on the right substrate to ensure that nothing stands in the way of successful cultivation. It is particularly important to know what matters when it comes to peat-free soils. We sought advice on this from plant physiologist and gardening author Steve Quarrie. He is an expert in sowing in peat-free substrates and provides valuable tips in line with the motto: when materials change, cultivation methods must also adapt.
This Article Contains:
- Why Many Modern Substrates Are Now Peat-Free
- Finding the Right Potting Soil
- Preparing Pots and Seed Trays Correctly
- Sowing Seeds Correctly
- Preventing Long Necks: How to Stop Your Seedlings From Bolting
- Watering Seedlings Correctly
- Tips on Providing Nutrients to Seedlings
- Pricking Out and Repotting Seedlings: How to Do It
- Frequently Asked Questions
Quick Overview
Common Problems & Mistakes When Sowing
- Compacting the substrate too much
- Watering too frequently
- Insufficient light
- Incorrect sowing depth
Tips for Successful Cultivation With Peat-Free Soil
- Choose high-quality soil: Good potting soils have a loose structure, good water retention capacity and a fine grain size.
- Water correctly: Peat-free substrates often absorb water differently and should be kept evenly moist.
- Seedlings need good conditions: loose substrate, sufficient light and a suitable temperature are crucial for healthy development.
- Avoid compaction: only press the soil lightly so that the roots get enough air.
- Repot after germination: As soon as the first true leaves appear, young plants can be transferred to more nutrient-rich soil.
Why Many Modern Substrates Are Now Peat-Free
Peat used to be a standard ingredient in potting soil. It has a high water storage capacity and helps to keep the substrate moist for a long time – a huge advantage for cultivation. However, peat comes from bogs, which are extremely valuable habitats for rare species and store enormous amounts of carbon. They also regulate the water balance by binding moisture in the soil, thus providing entire regions with a stable supply of water. Peat extraction releases this carbon and massively disrupts the ecosystem, as the soil loses its most important property: its ability to store water.
Alternatives to Peat: New Substrates, New Strategy
Due to the ecological consequences of peat extraction, many countries are rethinking their approach to horticulture, resulting in an increase in the production of peat-free alternatives. Today, many potting soils and planting substrates are made from materials such as wood or coconut fibres, composted bark, green compost and mineral components such as sand or perlite. These new substrates differ from the previous soils – they may look or feel different. Nevertheless, they offer optimal conditions for young plants and have been continuously developed, which is why many professional nurseries and tree nurseries now work successfully with them.
Practical Tips for Working With Peat-Free Soil
Whether you like peat-free soils or not, you have to accept that peat substrates will disappear from the shelves in the long term. However, this is not a big deal, because peat-free alternatives can also be used to grow excellent plants. However, there are a few things to consider when sowing and, above all, when watering. With a few simple adjustments, nothing stands in the way of successful sowing. In line with Steve Quarrie's dynamic approach, you will learn below how to create optimal conditions for your plants and which adjustments you can make.

The right growing medium is essential.
Finding the Right Potting Soil
The right growing medium is essential.
A good potting soil is rich in humus, has a loose, crumbly structure and a high water retention capacity. It is often heat-treated or sterilised to prevent it from transmitting pathogens, fungal spores or pests to the sensitive seedlings. It usually consists of a mixture of garden soil, compost and mineral components such as sand or perlite. You can either buy it ready-mixed from specialist retailers or simply make it yourself. Instructions on how to make your own potting soil can be found here.

Incidentally, you can also use a root ball press without pots.
Preparing Pots and Seed Trays Correctly
Incidentally, you can also use a root ball press without pots.
Do you have the right substrate and your seed pots ready? Then you're good to go! If you are a beginner and still unsure about what you need to get started, you can find out everything you need to know here Useful information about seed pots and other useful tools for sowing your own seeds.
First, loosely fill your seed pots with soil. This ensures an airy structure and optimal oxygen supply in the root area. Do not press the substrate too tightly to avoid compaction. This allows the water to drain away much better and the fine roots to grow more easily.

Tips for sowing
Sowing Seeds Correctly
Tips for sowing
Before you start sowing, you should be clear about the specific needs of your plants:
- Are they light or dark germinators?
- How big are the seeds and how deep do they need to be planted in the soil?
- And above all: What is the best way to water the delicate seedlings without damaging them?
The Correct Sowing Depth
As a rough rule of thumb, you can remember: sow seeds about twice as deep as they are large. Tiny seeds are usually light germinators; these seeds are not covered with soil at all or only very thinly, as otherwise the delicate seedlings will not make it to the surface. Large seeds, on the other hand, develop into stronger seedlings. These dark germinators are usually placed a few centimetres deep in the soil.
Watering Seeds Correctly
It is best to always use a fine spray when watering. Otherwise, tiny seeds in particular can easily be washed away. With a fine attachment, you can carefully control the amount of water. Alternatively, it is possible to water from below. However, for light-dependent germinators that lie directly on the surface, it is advisable to also provide sufficient moisture from above so that they do not dry out.

Plant Knowledge at a Glance
Want to get to know your plants without digging through thick books? In the Fryd Lexicon, you’ll quickly find all the essentials about different plant types and varieties — from sowing, planting, and harvest times to companion planting, location tips, and care advice.
Explore the Lexicon Now
When repotting, you can place most plants deeper into the soil.
Preventing Long Necks: How to Stop Your Seedlings From Bolting
When repotting, you can place most plants deeper into the soil.
The following applies to most vegetable plants: during germination, the seeds prefer slightly warmer temperatures, but after sprouting, lower temperatures are usually sufficient. The most important factor is the right balance of light and heat. If it is too warm and there is not enough light, the plants will usually grow very poorly. In the northern hemisphere, it is generally advisable to wait until the spring equinox, as the days are only then long enough. Alternatively, you can support the cultivation with special plant lamps. In my experience, this combination of too much heat and too little light is often responsible for the plants becoming leggy on the windowsill.

The correct watering routine supports root growth.
Watering Seedlings Correctly
The correct watering routine supports root growth.
Since water is extremely important for germination, you naturally want to do everything right. As soon as the surface appears dry, you water again – does this sound familiar? This is precisely why many seedlings get too much water, which can lead to rot or fungal infestation. We therefore recommend the finger test: stick your finger into the soil and check whether it is still moist 1–2 cm/0.4 - 0.8 in below the surface. Only water when it is dry there. It is actually beneficial if the surface dries out in between waterings. This encourages the plants to penetrate deeper layers and develop stronger roots. For this reason, watering from below is particularly recommended.

When the first real leaves appear, it is time for pricking out and repotting.
Tips on Providing Nutrients to Seedlings
When the first real leaves appear, it is time for pricking out and repotting.
Potting soil is often less nutrient-rich. The reason for this is that the seeds already contain all the reserves necessary for germination and the formation of the first roots and cotyledons. In fact, young plants become even more susceptible to disease and often grow too quickly and thus become unstable if the substrate is too nutrient-rich. Only when the first real leaves appear after the cotyledons is it time to repot and/or prick out into a more nutrient-rich soil.

When pricking out, your plants are separated.
Pricking Out and Repotting Seedlings: How to Do It
When pricking out, your plants are separated.
Once the young plants have developed several leaves, you can transfer them to larger pots with fresh, nutrient-rich soil. First fill the new pot with substrate – this time it can be richer so that the plants are optimally nourished until they are finally planted out. The process is simple: carefully place the seedling in the pot and press the soil down lightly. If you need to separate your seedlings beforehand, you can find instructions on how to prick them out and other tips on how to repot them correctly here. It is often even beneficial to place the plants a little deeper in the soil. In any case, it is important to water the plants afterwards: this allows the roots to make contact with the soil and grow well. Without water, the plants would quickly wilt.
If you have any questions or comments, please feel free to contact us at [email protected]. Would you like to receive helpful gardening tips throughout the year and plan your own beds optimally? Then register here or download the Fryd app for Android or iOS.
Fryd – your digital garden planner
Sources
- Steve Quarrie, 2026: From seeds to success – in 6 steps

Marie
Marie ist Agrarwissenschaftlerin. Sie interessiert sich besonders für den nachhaltigen und ökologischen Anbau von Gemüse und anderen Pflanzen. Im eigenen Garten sammelte sie dabei Erfahrungen und probiert sich gerne aus, um von der Natur zu lernen. Dabei liegen ihr Werte und Prinzipien der Permakultur besonders am Herzen, um neben dem Wohl für die Natur, auch für das Wohlergehen der Menschen und zukünftiger Generationen beizutragen.
Learn MoreCurrent Topics in the Community
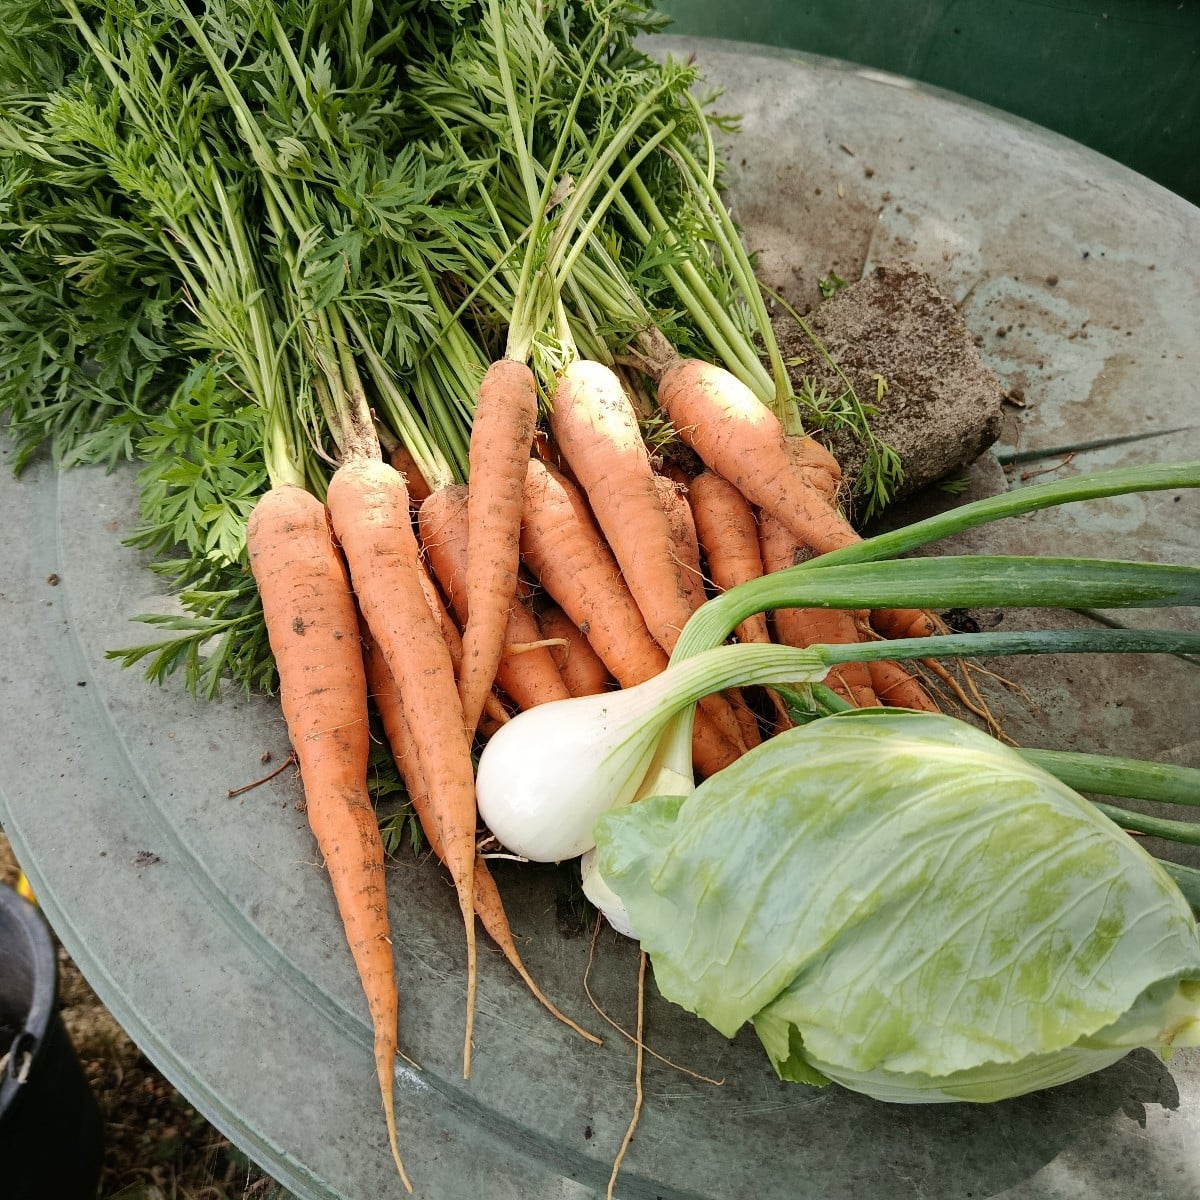
Today I harvested my first batch of carrots, along with a clumped onion and a small pointed cabbage. I finally planted my flower sprouts, kale, and Brussels sprouts today. The plants were already a little overdue. I secured everything with netting. The cucumbers are blooming, but they’re getting a bit of powdery mildew at the base. I always cut that off. My onions are growing huge this year. And I harvested some mahonia berries. Does anyone have a good recipe?
Liked 4 times
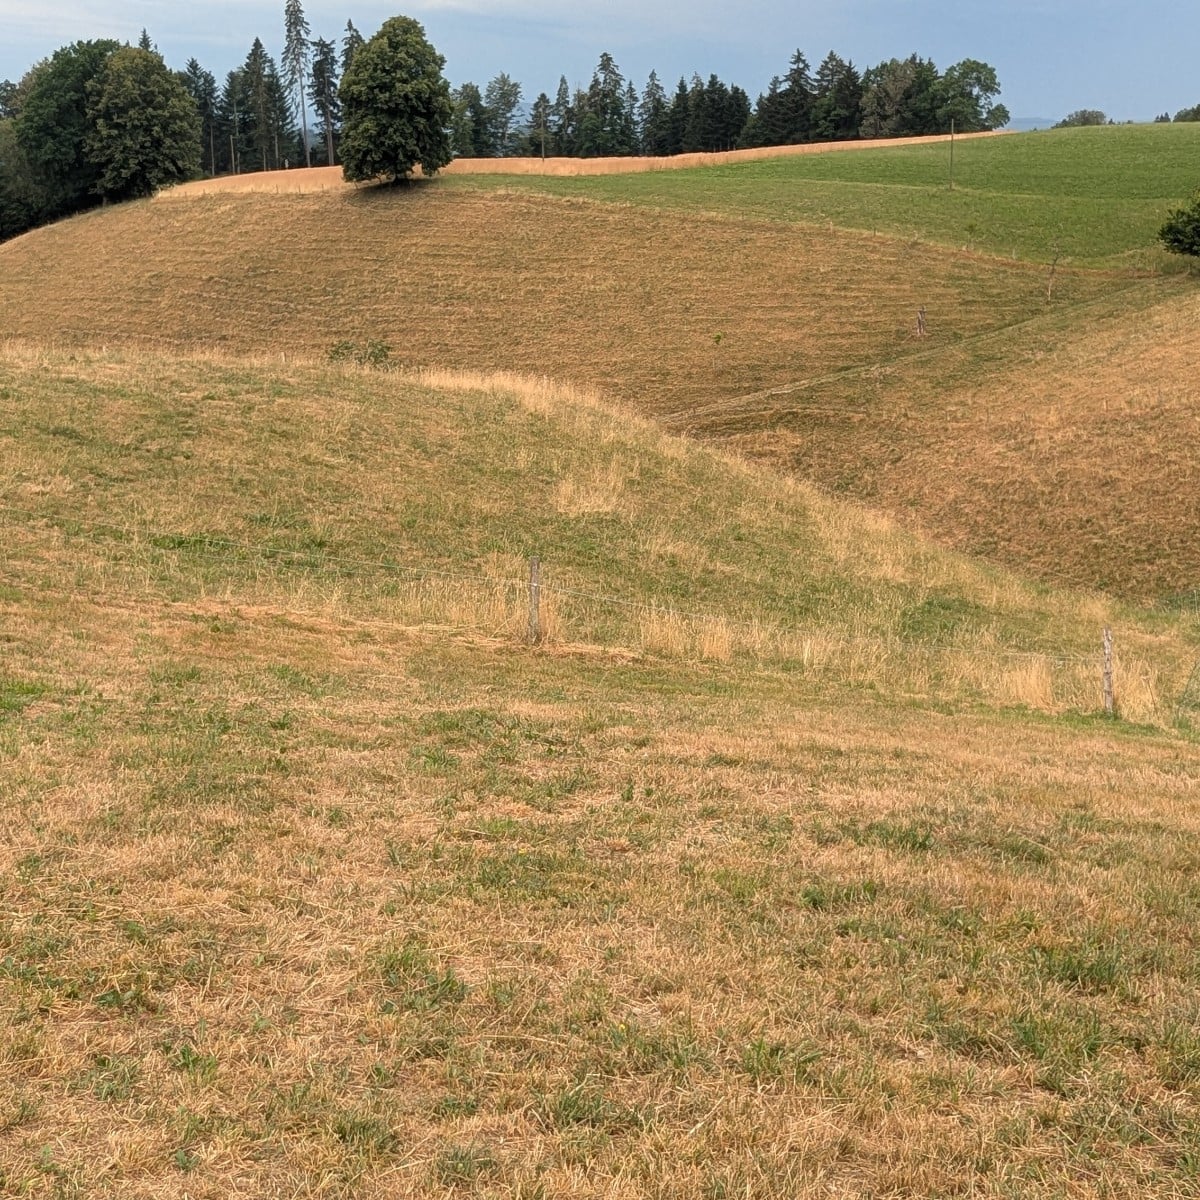
The #Emmental is actually a landscape like Tolkien's Shire. Right now, it's more like a semi-desert...
Show 1 answer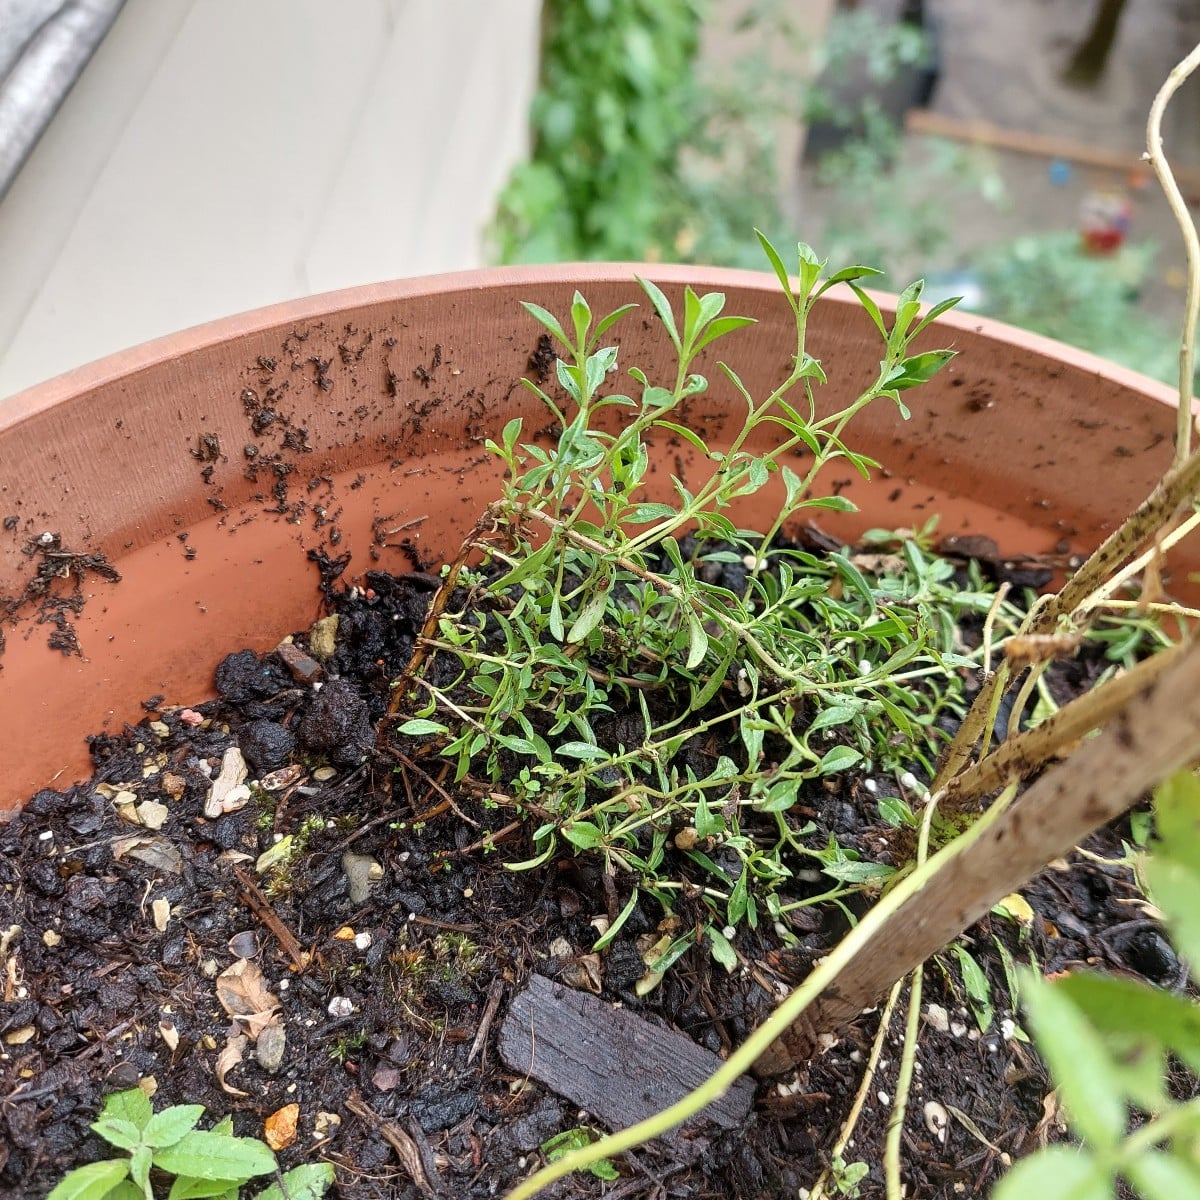
What can I do to keep the rain and the water from the upper balcony from always washing away half the soil from my planters?
Show 3 answersPopular Articles


FAQ
Why is the right growing medium so important?
Because seedlings are particularly sensitive in the early stages. Good potting soil should be loose, crumbly, fine and have good water retention properties so that seeds can germinate well and young roots can develop.
Why are many potting soils now produced without peat?
Because peat comes from bogs. These store large amounts of carbon, regulate water and are valuable habitats. Peat-free substrates are therefore becoming increasingly important for ecological reasons.
Why do seedlings bolt and what can be done about it?
Seedlings become leggy, especially when there is too little light and often also when there is too much heat. Place them in a brighter, cooler spot or support their growth with plant lamps.
When should seedlings be repotted or pricked out?
As soon as the young plants have developed several leaves or the first true leaves appear after the cotyledons. Then they can be moved to more nutrient-rich soil and carefully separated.