KräuterMaxi
24.06.2026, 07:57
#automaticirrigation without electricity or a water connection:
We discussed the topic of automatic #irrigation a while back. I improvised my own solution yesterday for 0€ and am surprised at how well it works.
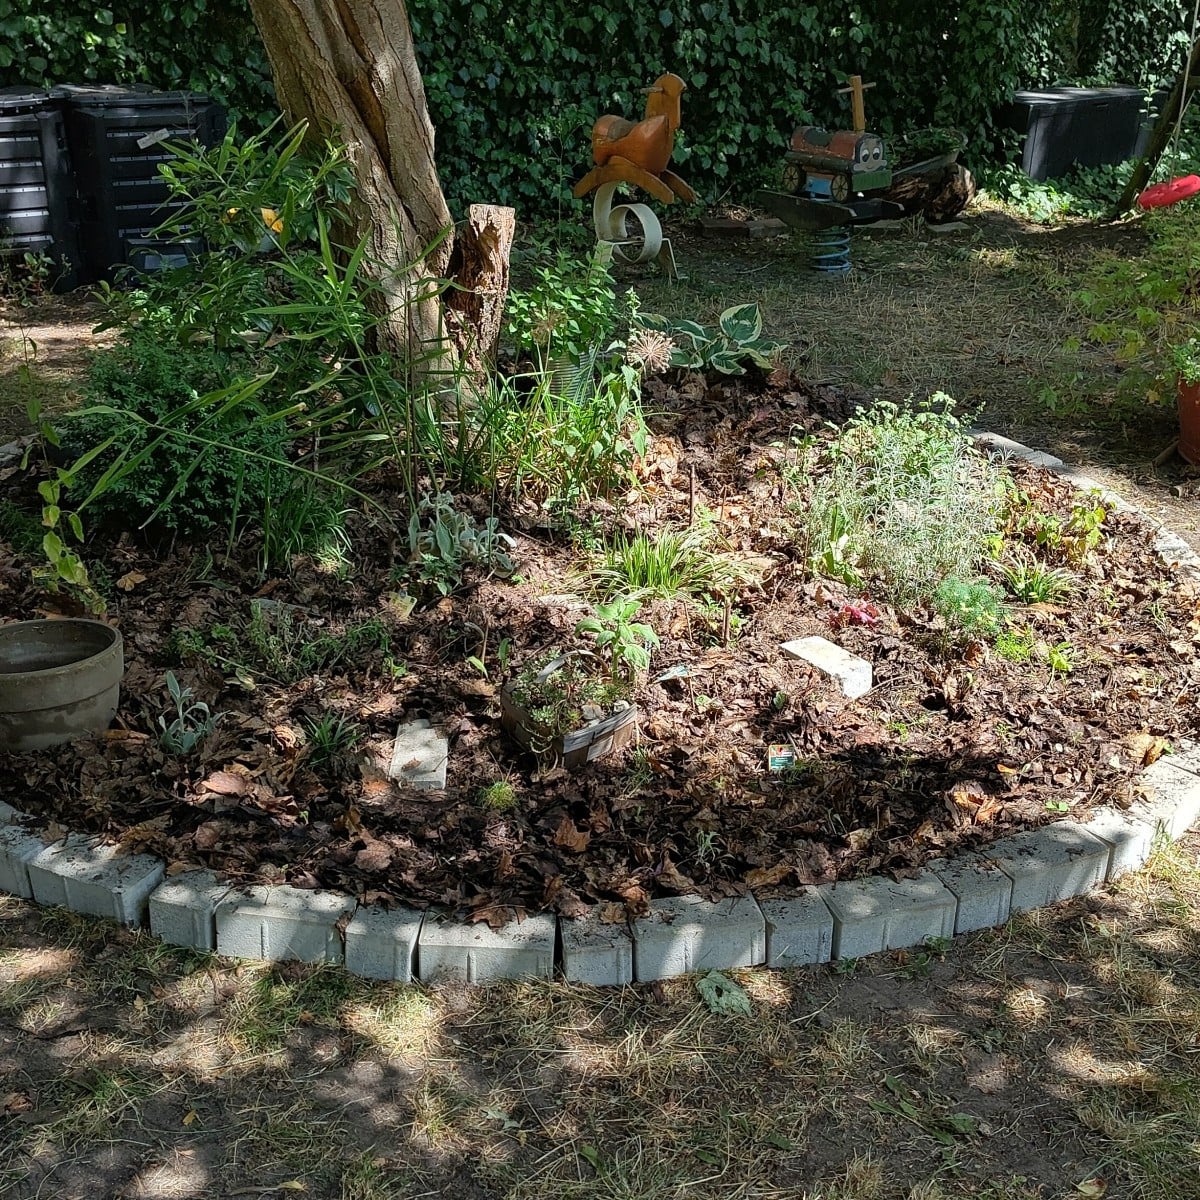
A few weeks ago, I dug up a soaker hose from another part of the garden, where it had been lying unused for many years and everyone had forgotten about it. We’d also been given some concrete bricks a while back, and the day before yesterday we received several large clay pots, each with a capacity of between 10 and 20 liters. (The ad didn’t specify the size, and I’d actually planned to turn them into ollas—until I was pleasantly surprised.)
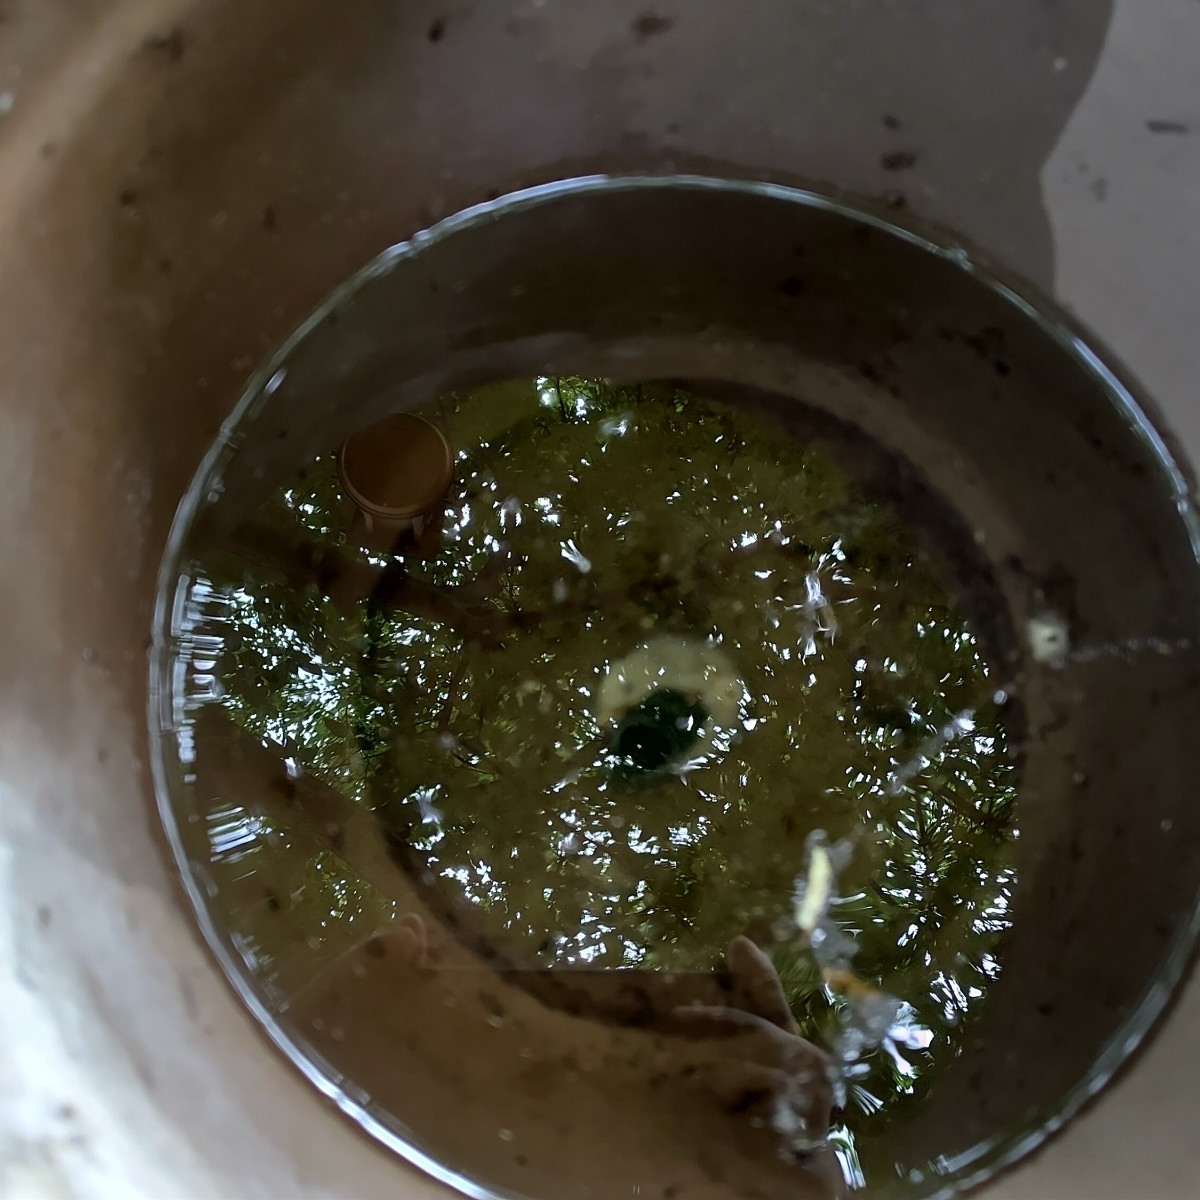
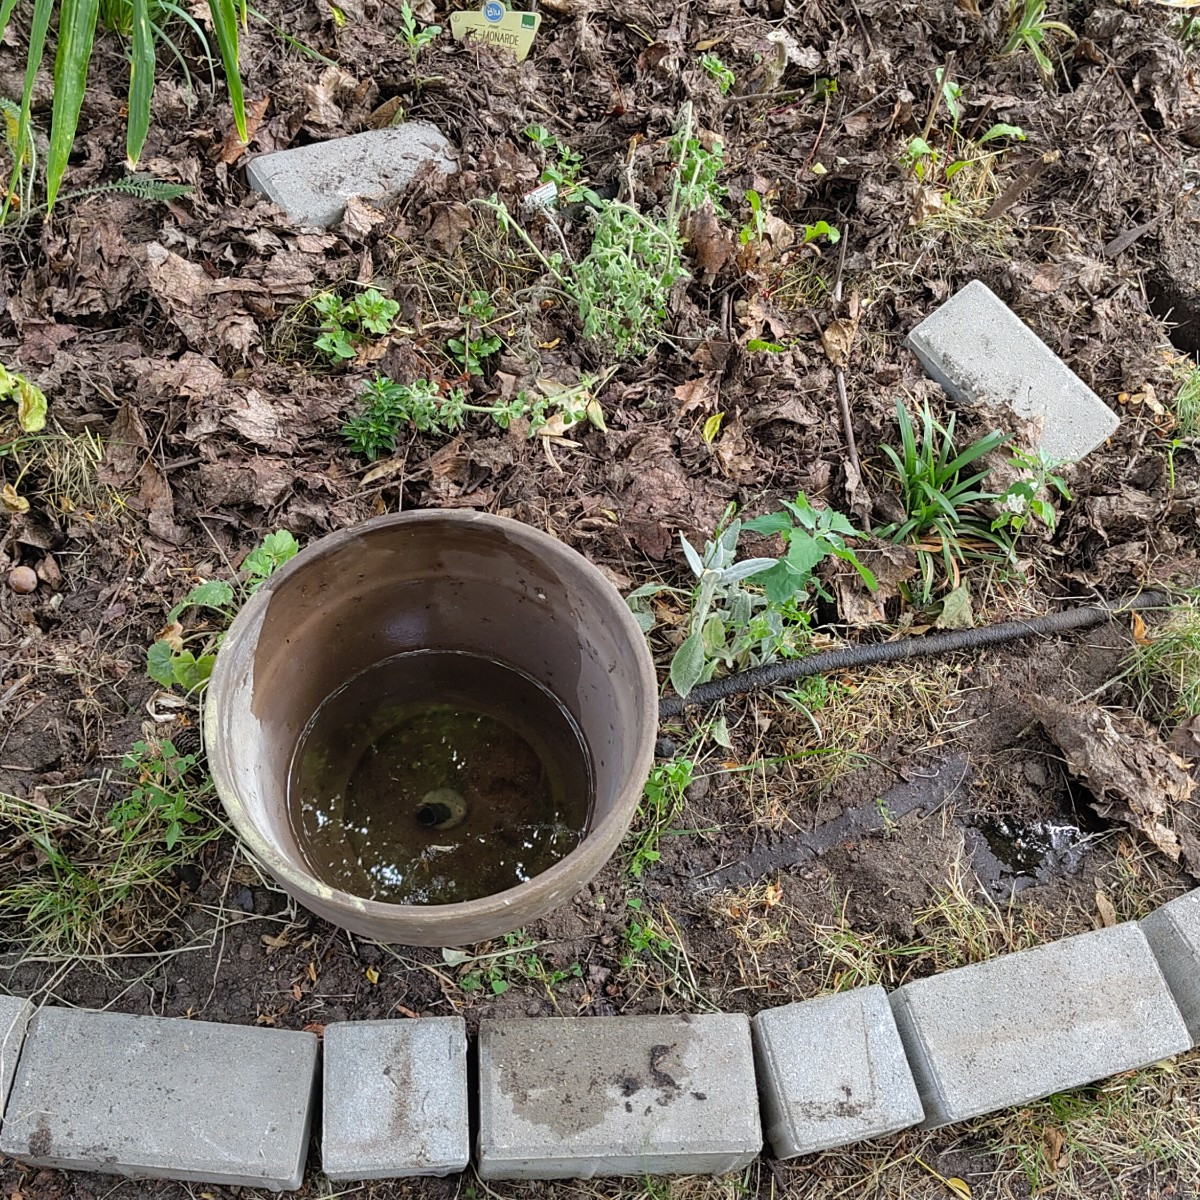
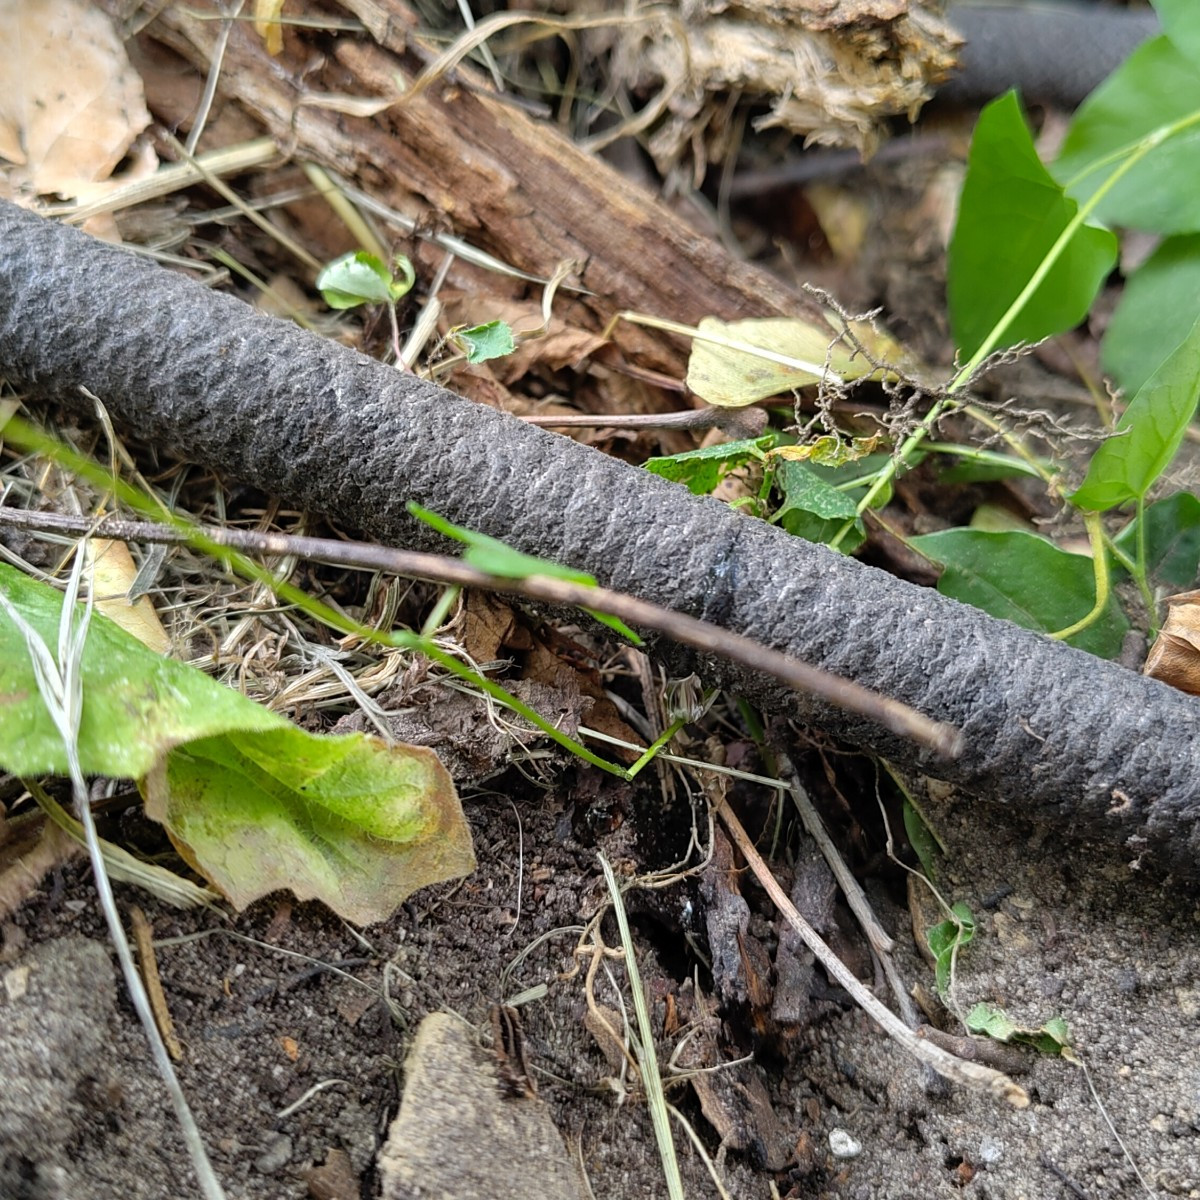
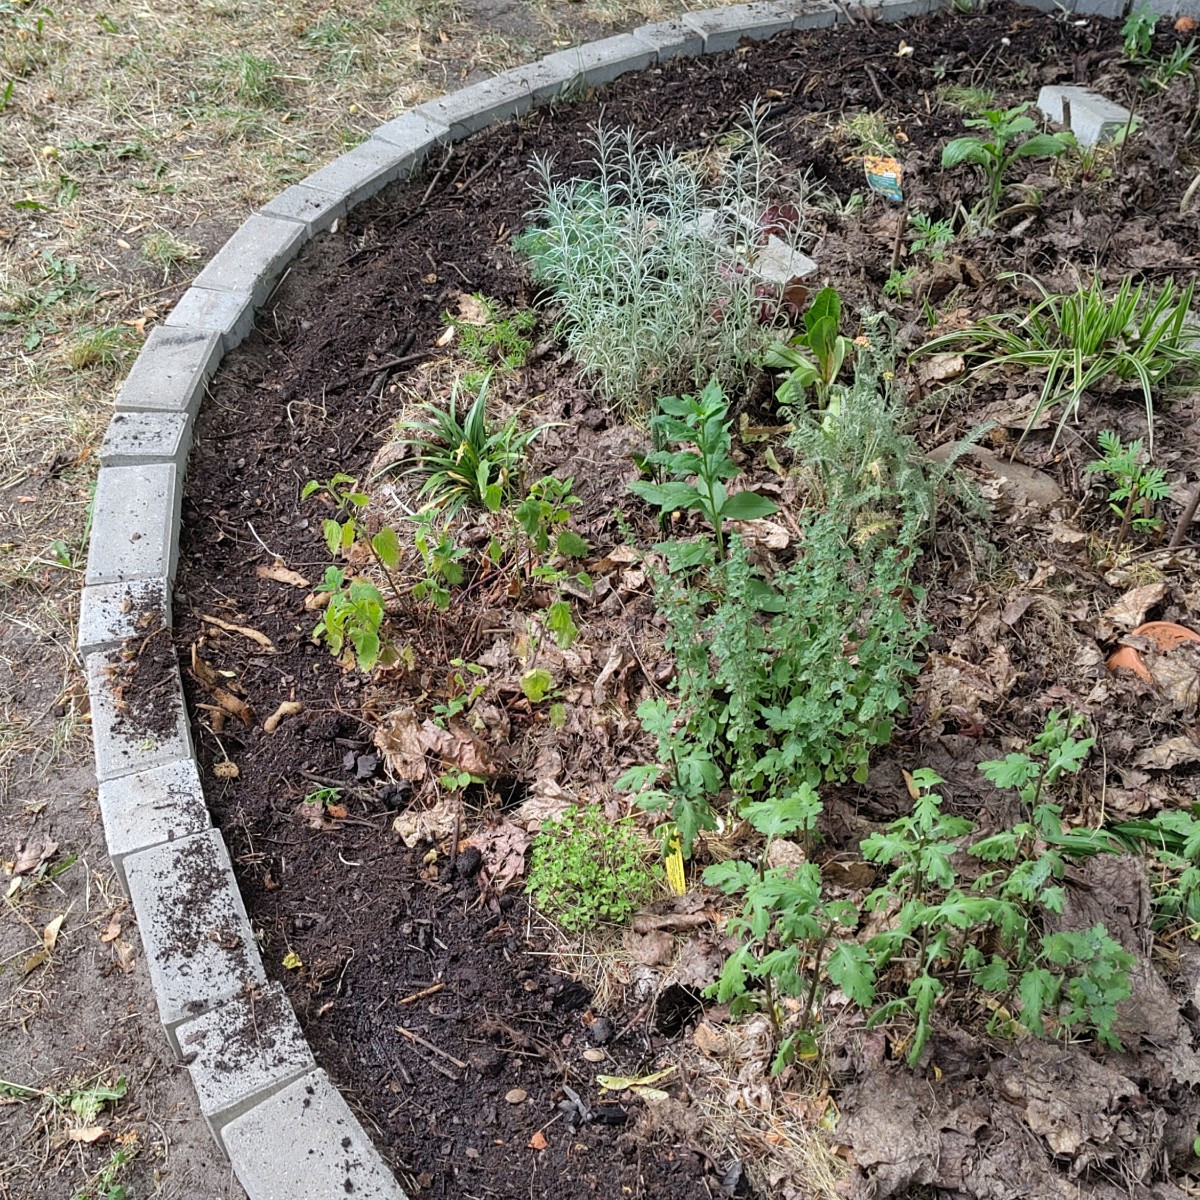
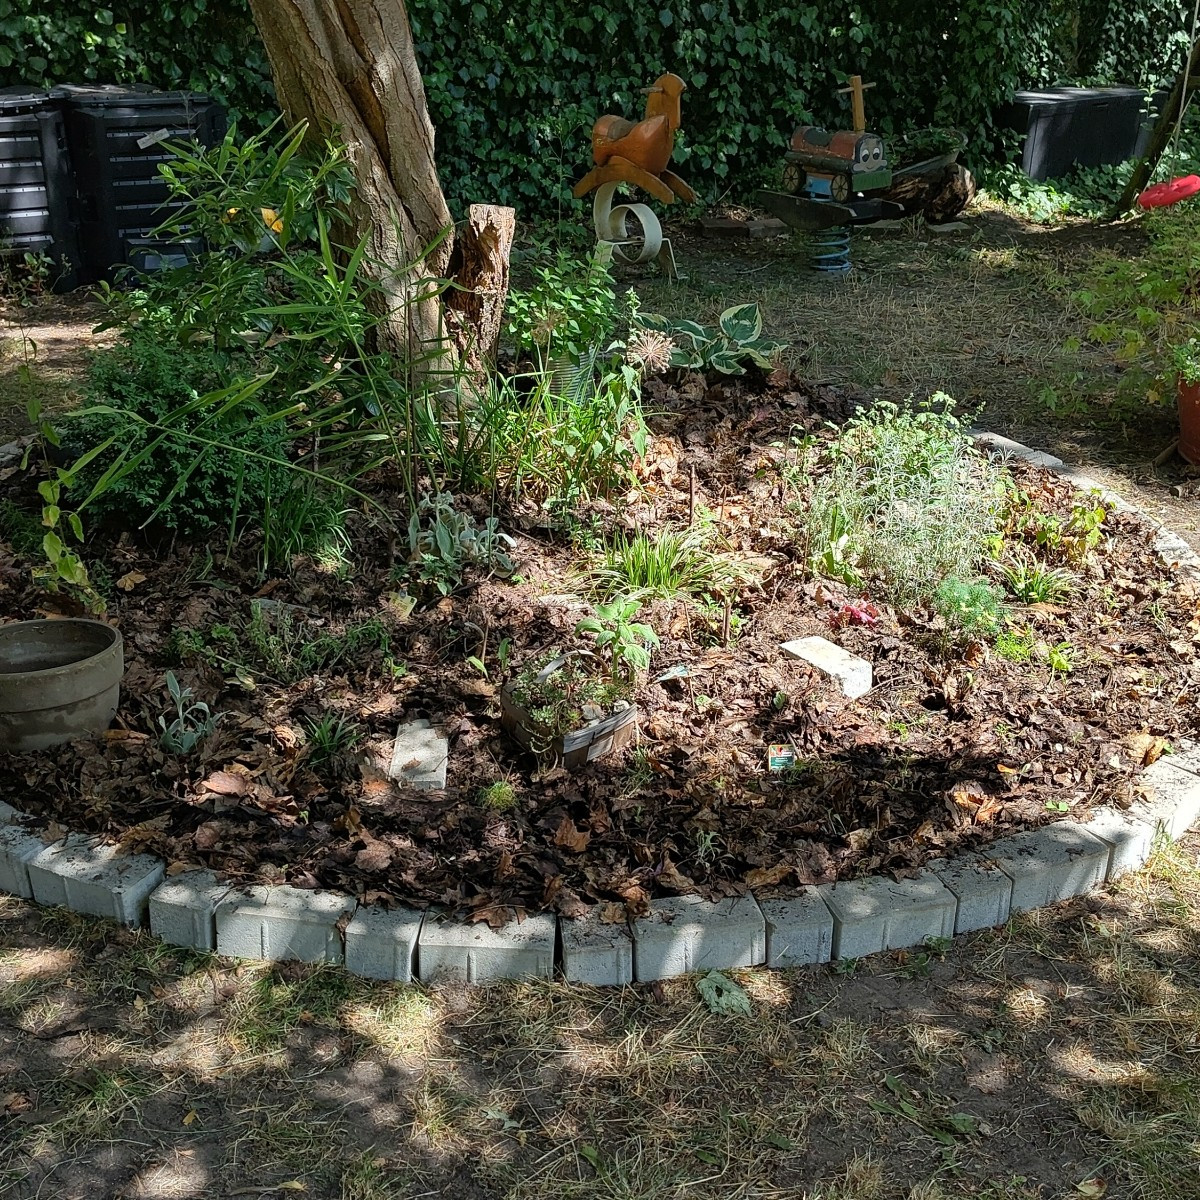
Since the old bed edging wasn’t working well (water was constantly leaking out, and I often stepped on the plants between the edging stones), I decided on the spot to rebuild it using the concrete bricks. I dug up the old stones and loosened the soil between them with a digging fork. Next, I laid out the hose so that the plants in the bed would get as much of it as possible. The tree will take its share anyway, unless it roots into the groundwater itself. Since the hose’s pores were surely clogged and the hose is designed for pressurized water anyway, I simply made small cuts every 40–60 cm with garden shears. I actually just wrapped the end of the hose tightly with sheep’s wool—just as a test—and stuck it into the large clay pot. Sometime in the next 4–6 weeks, the sheep’s wool will probably have decomposed enough that it no longer seals the hose, but until then, it’s working surprisingly well. I deliberately placed the pot near the plants that prefer slightly moister conditions, so that I can better plant in that shaded area in the future.
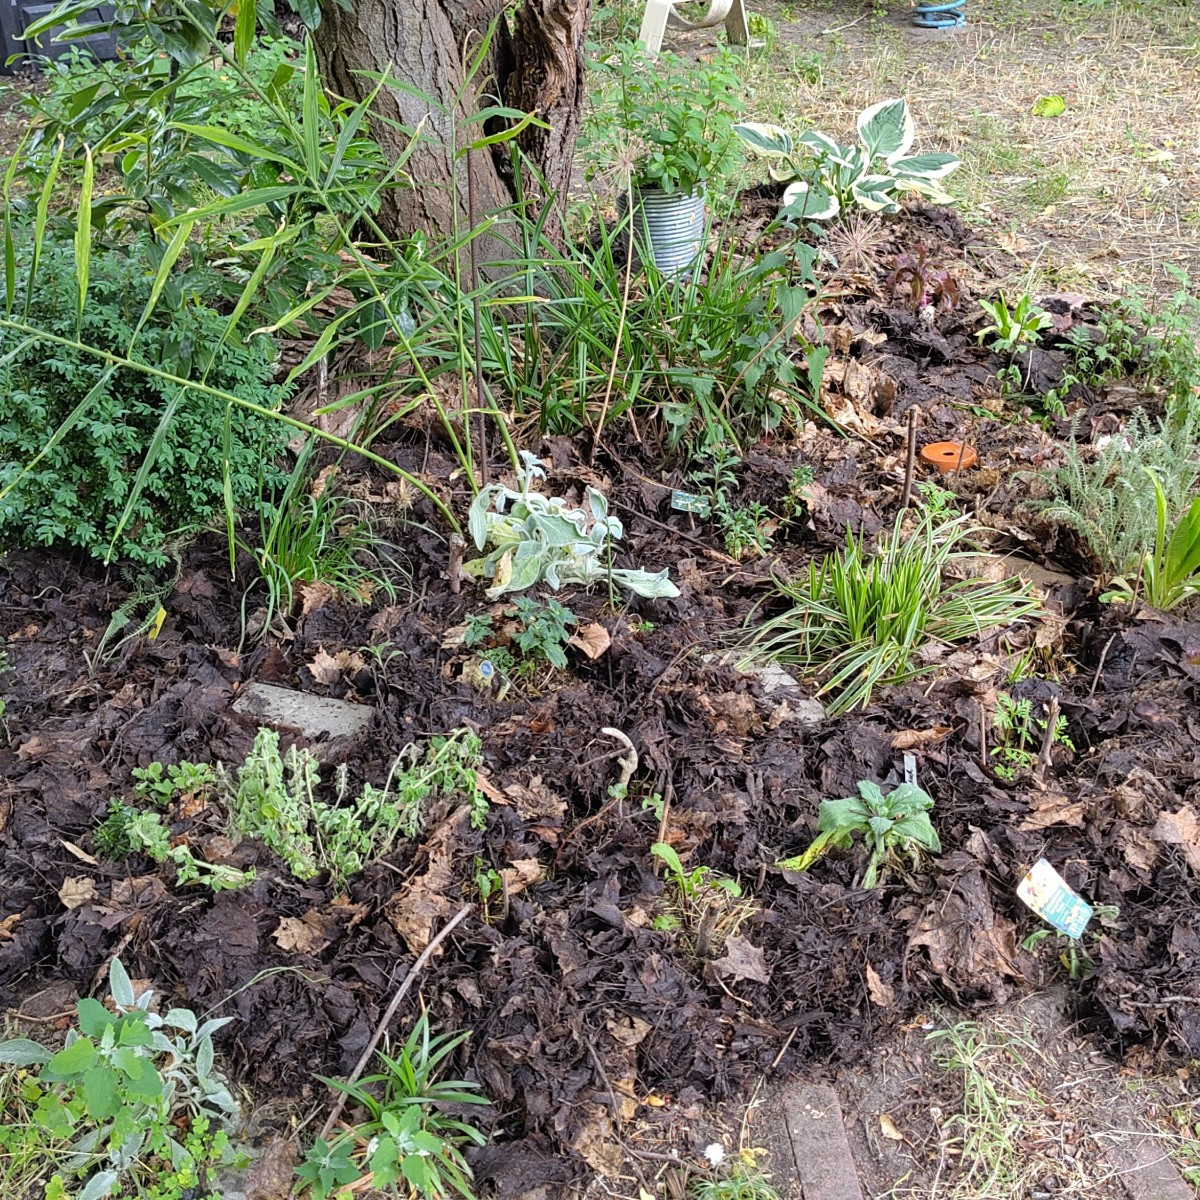
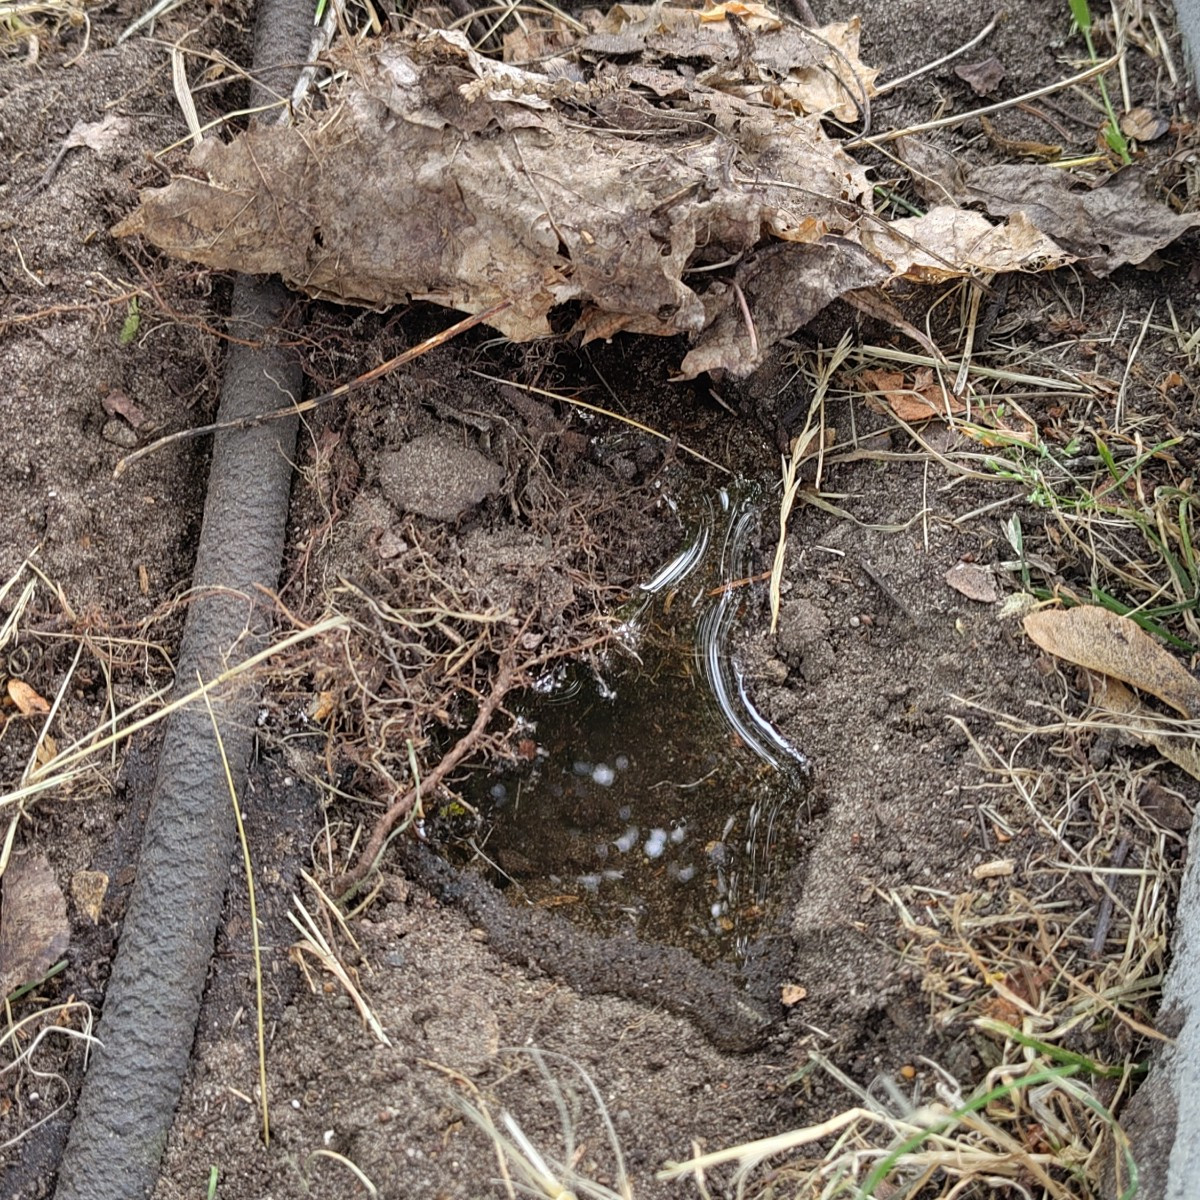
Then I ran the test. You can clearly see how dry the soil is. Just like @Gardenofeden described, the water sits on top for about 10 minutes before it eventually starts to seep in. Surprisingly, it flows very slowly through the hose and still reaches all the way to the end. So I pushed the soil up against the curbs to form a small barrier, added some compost, and then covered it with a thick layer of fall leaves as mulch.
From now on, all I need to do is pour a few watering cans of water into the pot, and the whole bed waters itself without the water evaporating right away or sitting on top of the mulch layer. 🤩 I can comfortably take care of other things in the garden while it’s happening, and the plants won’t get knocked over by an impatient stream of water anymore. I do make a point of watering very rarely (just enough to soak the soil and only during periods of severe and prolonged drought), but this still helps me a lot. Especially since I can now easily channel the water there that the water barrels can no longer store during wet periods or heavy rain. After all, very little rain actually reaches the ground under the tree canopy, even when everything around it gets wet.
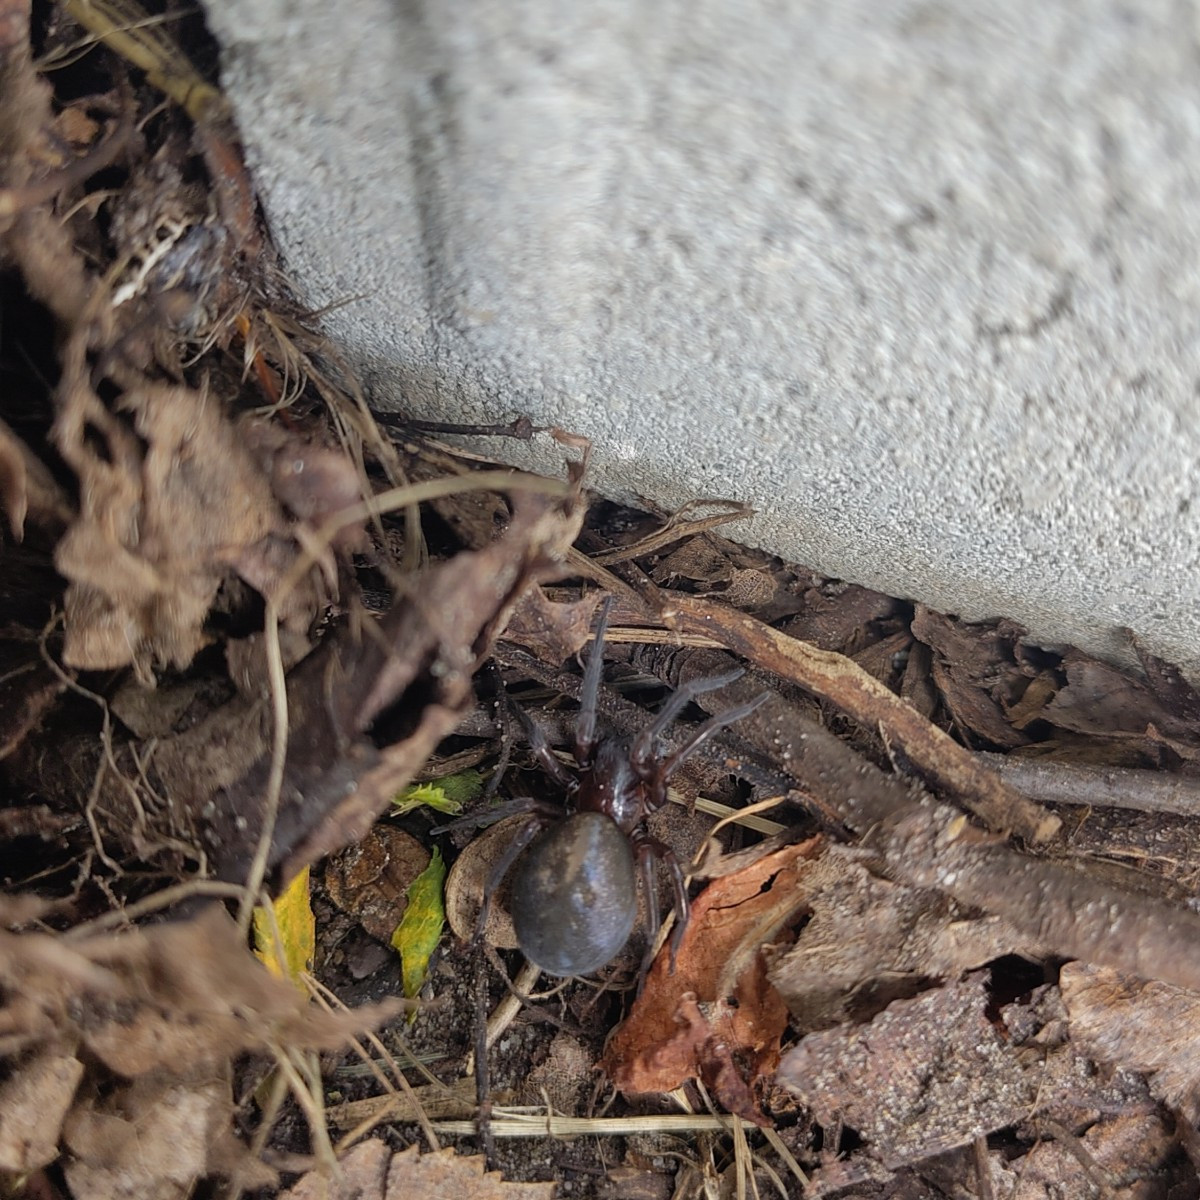
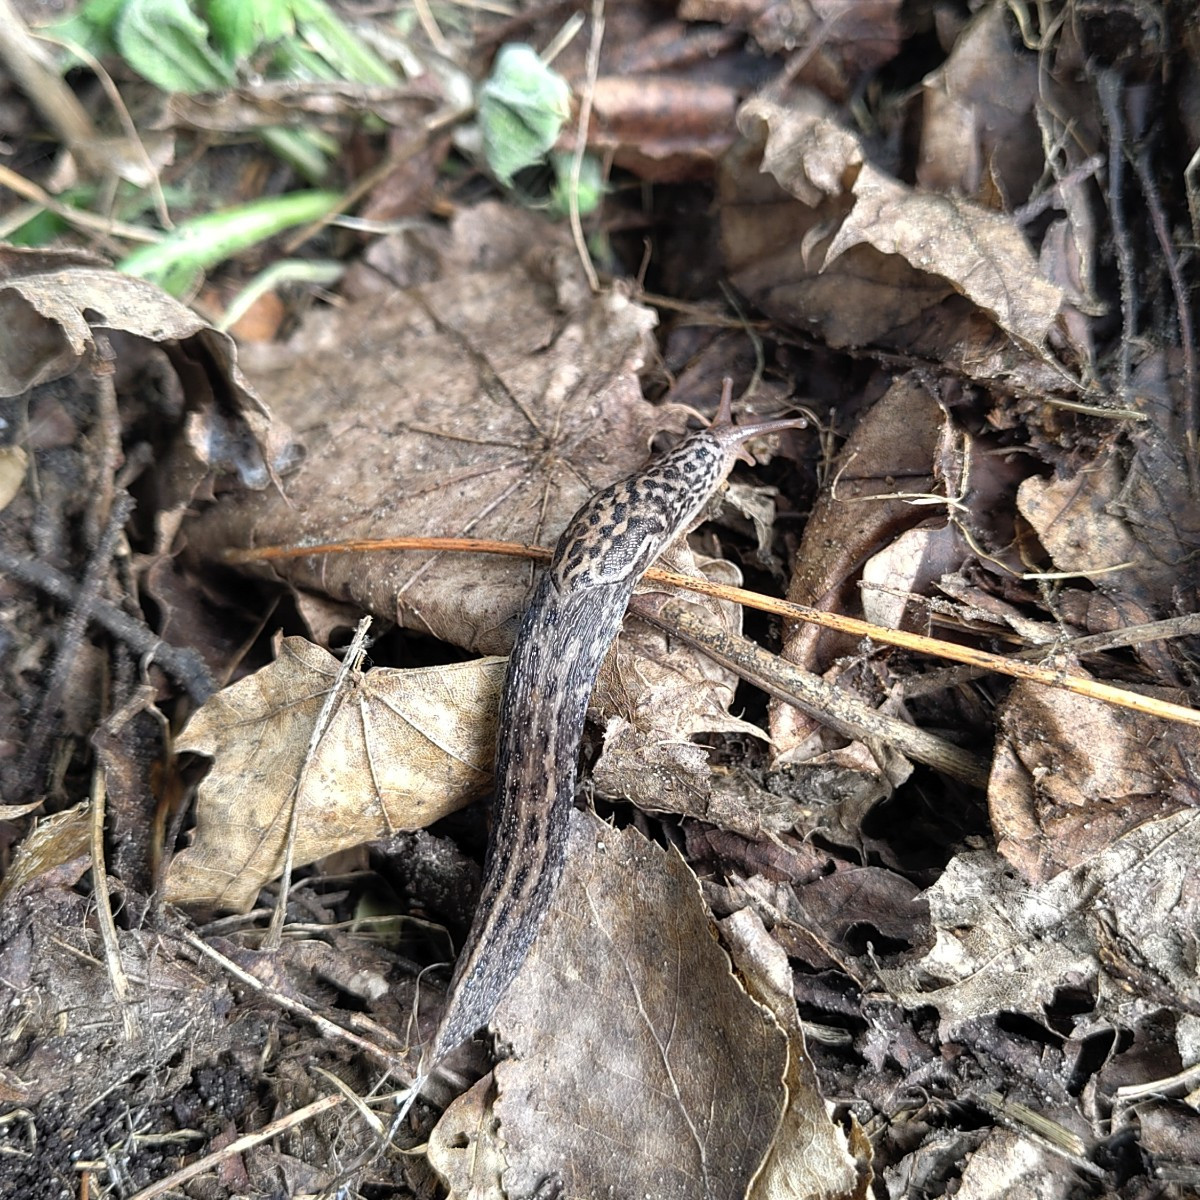
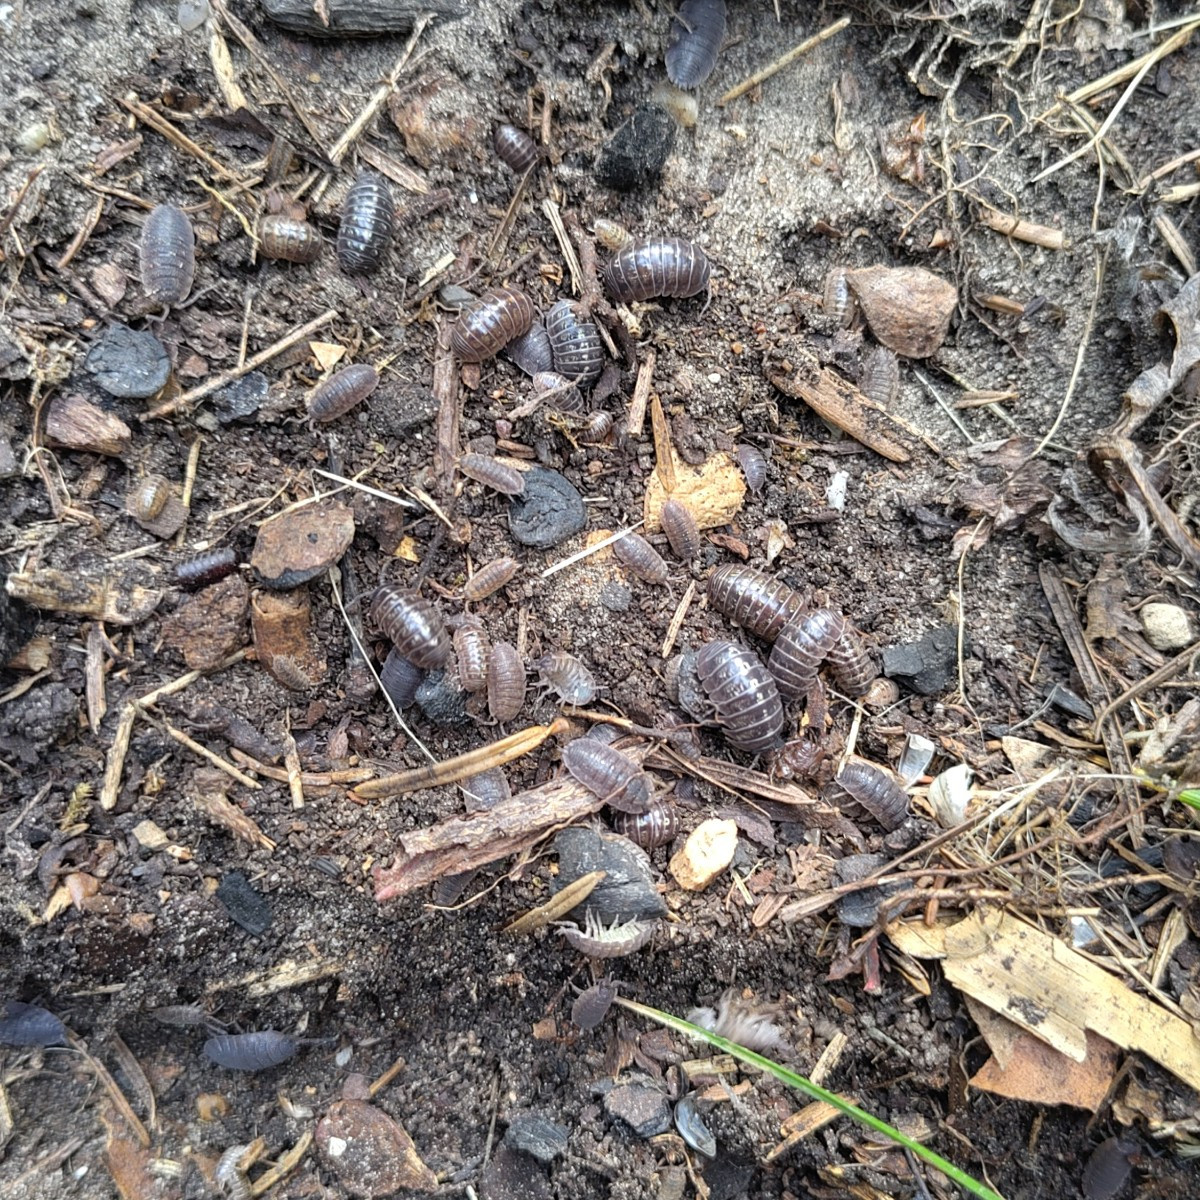
Last but not least, I went ahead and planted my remaining seedlings in the mulch. From Russian tarragon to marigolds to lettuce, there were still quite a few that hadn’t had a place before. While doing so, I noticed not only hundreds of woodlice but also a big spider and a tiger slug.
Unfortunately, my wife thinks the mulch looks totally ugly and “shabby.” Now I have to figure out how to cover it with something nicer and inexpensive. Do you have any suggestions? There’s no grass clippings right now because the lawn is more like a dry, yellow meadow at the moment.

11 Likes
15 Comments
Comments
Genial!
Eine Frage hätte ich da. Der Schlauch liegt soweit in der Erde, wie das Ablaufloch vom Topf?
Sieht auf den Bildern aus, als ob er höher liegt.
Der Perlschlauch ist bestimmt eingebuttel das sieht man auf den letzten Foto. Aber das was so funktioniert weiß ich nicht. Meine Perlschlauch haben in Wasser noch drin wenn ich im Herbst wegräum.
Im Prinzip liegt der Schlau nur lose auf dem Boden auf ja. Ein gebuddelt ist er nicht wirklich nur die Mulchschicht bzw. der Kompost liegt drüber. Lediglich dort wo das Gelände etwas ansteigt hab ich ihn etwas eingebuddelt, damit er etwas mehr in Waage liegt und sich das Wasser schon deutlich vor dem Ende staut. Der Schlauch hat also auf ganzer Länge etwa die Höhe vom Topfboden.
Danke, jetzt hab ich es verstanden. Ist auch für mich eine Option für verschiedene Stellen im Garten! 💚
Mulch: mit bodendeckendem Thymian zuwachsen lassen.
Den Thymian züchte ich schon an einigen Stellen u.a. genau dafür in verschiedenen Sorten. Allerdings wächst der nicht so schnell wie Frauchen das gerne hätte. Ich denke gerade über Gundermann, Kapuzinerkresse und Glockenblumen nach- die könnten einen relativ günstigen und schnellen Bodendecker abgeben. Aber Thymian soll da auf jedenfall auch noch mehr hin. Außerdem stehen noch Wegeriche, Fingerkräuter, Borretsch, Fingerhut, Johanniskraut, wilde Geranium, Walderdbeeren und Wolfsmilch auf dem Plan. Ich Versuche mich von den umliegenden Wäldern inspirieren zu lassen. Dummerweise dauert das trotzdem seine Zeit bis das dicht zu wächst. Aber ich hoffe es klappt jetzt zumindest besser als vorher.
Das bringt mich auf eine Idee. Hab auch noch irgendwo so einen Perlschlauch rumliegen. Danke fürs teilen.
Ahh sehr gut, dann hat sich das Projekt gleich doppelt gelohnt. 😍
Geht bestimmt auch mit normalen Schläuchen, wenn man eh Löcher reinschneidet.
Meine erste Bewässerung war sowas. Allerdings mit Hahn und Zeitschaltuhr.
 Batavia
24.06.2026, 10:47
Batavia
24.06.2026, 10:47
Abgefahren, dass das funktioniert
So viel Mühe gemacht obwohl der Erfolg in den Sternen stand, Hut ab
Etwas Geduld, Gruß an die Frau, das entwickelt sich doch noch. Vielleicht hilft hier und da ein Farbtupfer (Gartendeko?) oder ein einziger Eyecatcher
Manchmal hilft auch Aussitzen.😇
Allerdings ist die Frage wie die Nachbarn das sehen, des ist nur ein Gemeinschaftsgarten am Mietshaus.
Sehr cool... 👍 das könnte ein gutes Verfahren für mein vollsonniges Terrassenbeet sein... das ist nämlich abschüssig - da läuft Giesswasser weg und geht verloren...
Meinst Du, der Schlauch muss zum Winter raus aus dem Beet?
Also der Schlauch soll wohl schon über ein Jahrzehnt im Garten liegen und würde die ganze Zeit nicht bewegt/genutzt. Nur die Partei, die am längsten hier wohnt konnte sich überhaupt an ihn erinnern. Dem Schlauch dürfte das nicht viel ausmachen, wenn man ihn nicht als Perlschlauch im ursprünglichen Sinne verwendet, sondern eigene Löcher rein macht.
Hallo, nur zum besseren Verständnis, hast du das Ende des Perlschlauches von unten durchs Abflussloch des Topfes gedrückt? Ist der Perlschlauch aber nicht zu groß für das Loch?🤷♂️ Wenns funktioniert wärs auch für mich eine geniale Lösung für die Baumscheiben 😀
Der Perlschlauch hat geschätzt nen Durchmesser von 1,5cm. Das Loch im Topf ist dagegen mit ca. 3cm Durchmesser viel größer. Das Durchstücken vom Schlauch ist also kein Problem. Nur das Abdichten. Aktuell hatte ich kein Silikon oder sonstige Dichtmassen offen, aber die ungewaschene Wolle scheint ausreichend wasserabweisend zu sein.

